This article was co-authored by Ollie George Cigliano. Ollie George Cigliano is a Private Chef, Food Educator, and Owner of Ollie George Cooks, based in Long Beach, California. With over 20 years of experience, she specializes in utilizing fresh, fun ingredients and mixing traditional and innovative cooking techniques. Ollie George holds a BA in Comparative Literature from The University of California, Berkeley, and a Nutrition and Healthy Living Certificate from eCornell University.
This article has been viewed 16,696 times.
As the weather gets warmer, many home chefs begin counting down the days to the start of grilling season. From steaks and chicken to fresh vegetables and fruits, outdoor grilling imparts mouthwatering flavor to almost any food, and it’s easier and healthier than many other cooking methods. To keep your gas or charcoal grill in top condition, you’ll want to season it regularly to prevent rust and make clean-up a snap.
Things You Should Know
- Start by cleaning your grill grates with a wire brush (you can use soap and a sponge if necessary).
- You can either soak a clean cloth or paper towel with oil and apply it manually, or use an oil spray to ensure that you evenly distribute the oil.
- You can use whatever cooking oil you’d like to season the grill, although most manufacturers recommend grapeseed, canola, or peanut oil due to their high smoke points.
- If your grates are soaking in oil, wipe the excess off—you only need a thin layer of oil to maintain the grates.
- Turn the grill on and heat the grates for 30 minutes or so to give the grates time to absorb the oil and you’re done!
Steps
Cleaning the Grates
-
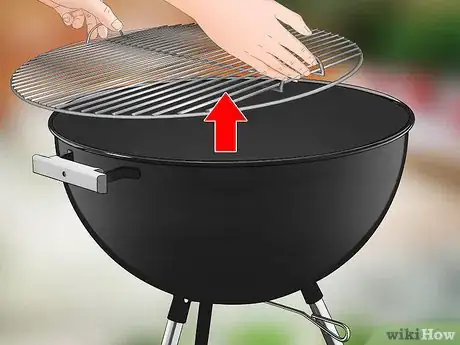
1Remove the grates from the grill. They may lift right off, or you may need to unhook them from the inside of the grill. If the grates are extremely dirty, you may wish to wear rubber cleaning gloves to keep your hands clean and protect them from any rough edges.
-
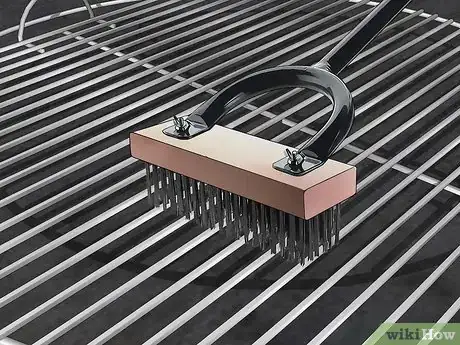
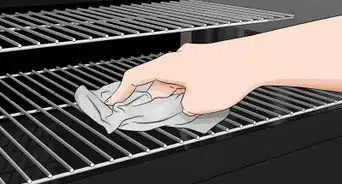
2Brush the grates with a wire grill brush. Firmly brush both sides of the grate to remove any charred food or other debris leftover from past use. If significant build-up remains after a vigorous brushing, you can try soaking the grates in a bucket of warm, soapy water for about 15 minutes to help loosen stubborn stuck-on particles.[1]Advertisement
-
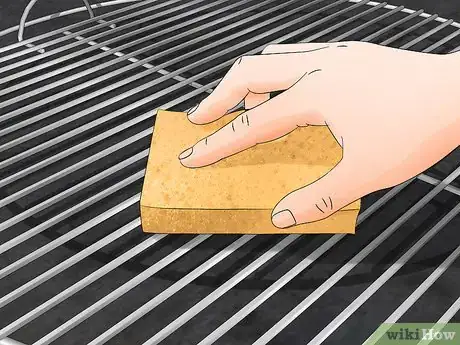
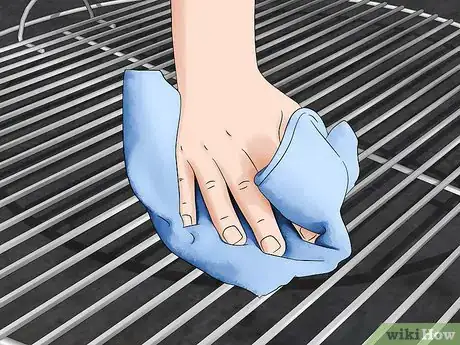
3Wash and dry the grates. Using a wet cloth or sponge and mild dishwashing liquid, wash the grates and rinse thoroughly. Dry the grates well with a soft cloth or allow them plenty of time to air-dry completely.[2]
- If your grill is new, this step will remove any waxes or other protective coatings applied during the manufacturing process.
- For older grills, the sponge session will help clear away any additional remnants of charred food.
Coating the Grates with Oil
-
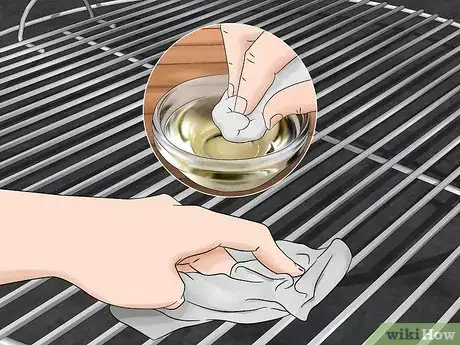
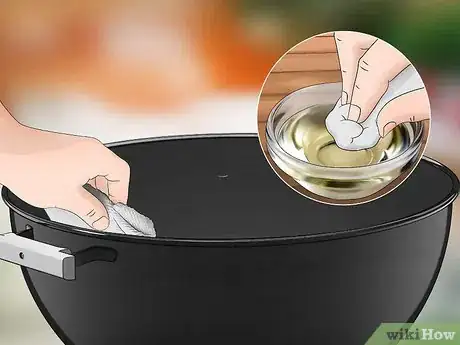
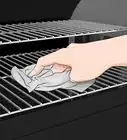
1Apply an even coating of cooking oil to all sides of the grate. You can use a clean cloth, paper towel or new, soft-bristled paintbrush to apply the oil, or you can fill a clean, empty spray bottle with oil and spritz it onto the grates. Be sure to use an oil with a high smoke point, such as grapeseed, canola or peanut oil, since you’ll be heating the grill to a high temperature during the seasoning process.[3]
- There's no need to use your expensive oils here. Focus on the basic ones, like canola oil.
-
2Wipe off any excess oil with a clean cloth or paper towel. If the grates are dripping with oil, it may cause a grease flare-up when you turn up the heat or light the charcoal.[4]
-
3Oil the inside of the grill pit and lid if your grill is brand-new. If your grill has them, be sure to apply oil to the emitters as well. This step will seal the interior of your grill, making it easier to keep clean.[5]
Baking the Coating onto the Grates
-
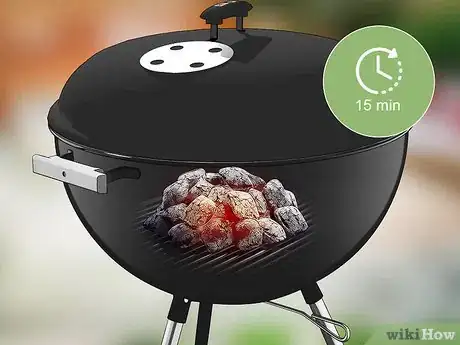
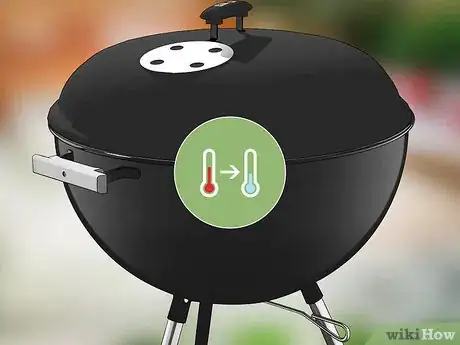
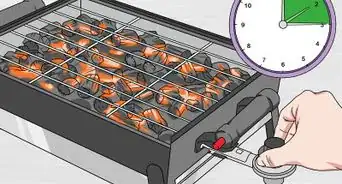
1Preheat the grill. With the lid closed and the grates removed, heat the grill on medium heat for approximately 15 minutes. If you have a charcoal grill, add enough briquettes to last about three hours to the grill pit and light them, allowing them to burn until the centers are glowing red and the exteriors are covered in a layer of gray ash.
-
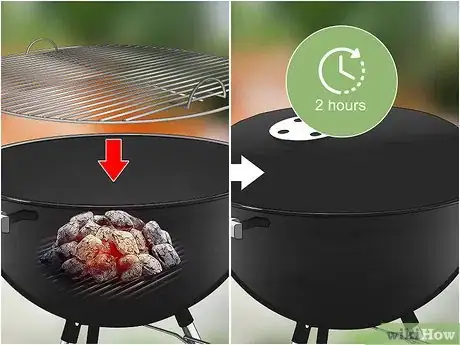
2Reinstall the grates and let them bake. For gas grills, reduce the heat setting to low, place the grates back inside the pit and close the lid. Find something else to occupy your time for about two hours while the grates bake.
-
3Allow the grates to cool. After two hours, turn off the heat, leave the lid shut and wait for the grates to cool completely. You’ll notice that your grates have changed color. After a proper seasoning, stainless steel grates will turn dark bronze, while cast-iron grates will take on a shiny black appearance.[6]
-
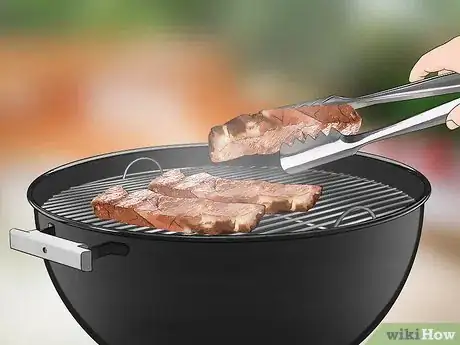
4Fire up the grill and get cooking. Your grill is now seasoned and ready for months of neighborhood barbecues and family meals.
Expert Q&A
-
QuestionDo you have to season a new grill?
 Ollie George CiglianoOllie George Cigliano is a Private Chef, Food Educator, and Owner of Ollie George Cooks, based in Long Beach, California. With over 20 years of experience, she specializes in utilizing fresh, fun ingredients and mixing traditional and innovative cooking techniques. Ollie George holds a BA in Comparative Literature from The University of California, Berkeley, and a Nutrition and Healthy Living Certificate from eCornell University.
Private Chef & Food Educator It's definitely a good idea! Oiling and heating the grill creates a protective barrier that prevents your food from sticking.
Things You’ll Need
- Cooking oil with a high smoke point (such as grapeseed, canola or peanut oil)
- Sponge or soft cloth
- Water source (bucket, hose or sink)
- Paper towels
- Mild dish soap
- Rubber cleaning gloves (optional)
- Spray bottle (optional)
- Wire brush
References
- ↑ https://www.popularmechanics.com/home/food-drink/how-to/a26737/how-to-clean-bbq-grill
- ↑ https://www.foodfirefriends.com/seasoning-a-grill/
- ↑ https://www.foodfirefriends.com/seasoning-a-grill
- ↑ https://www.foodfirefriends.com/seasoning-a-grill
- ↑ https://www.foodfirefriends.com/seasoning-a-grill
- ↑ https://www.foodfirefriends.com/seasoning-a-grill
