This article was co-authored by Tami Claytor. Tami Claytor is an Etiquette Coach, Image Consultant, and the Owner of Always Appropriate Image and Etiquette Consulting in New York, New York. With over 20 years of experience, Tami specializes in teaching etiquette classes to individuals, students, companies, and community organizations. Tami has spent decades studying cultures through her extensive travels across five continents and has created cultural diversity workshops to promote social justice and cross-cultural awareness. She holds a BA in Economics with a concentration in International Relations from Clark University. Tami studied at the Ophelia DeVore School of Charm and the Fashion Institute of Technology, where she earned her Image Consultant Certification.
There are 12 references cited in this article, which can be found at the bottom of the page.
This article has been viewed 54,603 times.
Setting a beautiful breakfast table is the perfect way to kick off your day. You can make your table as fancy or as laid-back as you prefer. To help you out, we'll walk you through three different ways you can set a table for breakfast: a simple, no-fuss setting, a formal setting, and a buffet-style setting.
Steps
Setting a Simple Breakfast Table
-
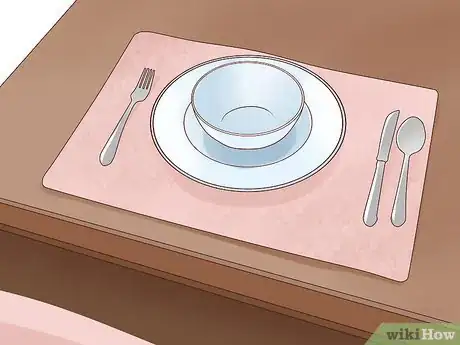
1Provide plates or bowls for guests, depending on what you’re serving. For a meal like pancakes or eggs and toast, a dinner plate should be provided to each guest. If you’re serving oatmeal or cereal, give everyone a bowl. If you’re serving both types of breakfasts, set a plate at each place and put a bowl on top of the plate.[1]
- For a formal place setting, think of the acronym "BMW"—the bread plate goes on the top left, the meal plate goes in the center, and the water glass goes on the top right.[2]
- Setting a basic table for your everyday breakfast doesn’t need to take long at all. Just think ahead about what you’re planning to make, and make sure to set out the dishware that’ll be needed.
-
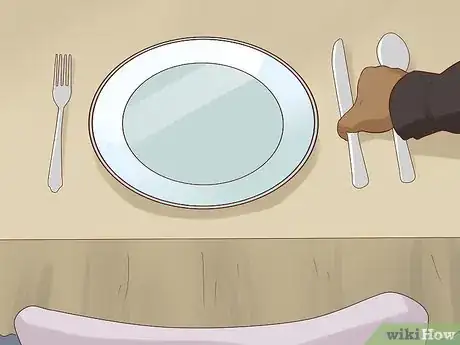
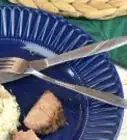
2Lay out silverware at each place setting. A fork, butter knife, and a small spoon should be adequate for a more casual table setting. Place the fork on the left-hand side of the plate, and put the butter knife and spoon on the right-hand side.[3]
- An easy way to remember which side the utensils go on is to think about the letters in each word. "Fork" has 4 letters, and so does the word "left." "Knife" and "spoon" both have 5 letters—the same as in the word "right."[4]
- Always place the knife with its blade pointing toward the plate. The spoon should go on the outside.[5]
- You could also put silverware into a basket on the table and let your guests take what they need for their meal. Some people may not need a knife or a spoon, and this could cut down on the dishes you need to clean later.
Advertisement -
3Give each guest a mug or juice glass for their morning beverage. Rather than setting out a mug and a glass for each person, ask each guest what they’d like to drink and set their place with the appropriate drinkware. Juice glasses can be used for water, juice, or drinks like bloody marys. Mugs are great for coffee, tea, or [hot chocolate. Set the glass above the plate, between where the plate and the utensils are.[6]
- If you’re serving mimosas or some other kind of batch-drink, provide a pitcher of the beverage and the appropriate glasses next to the pitcher so guests can help themselves.
-
4Set a napkin at each place setting. Use cloth napkins if that’s what you prefer, or give everyone paper napkins for easy clean-up. You can put the napkin underneath the fork on the left-hand side of the plate, or just set the napkin on top of the plate.[7]
- If you normally use a napkin-holder at your table, it’s okay to just set that out, too, instead of placing a table at each setting.
Placing Formal Settings
-
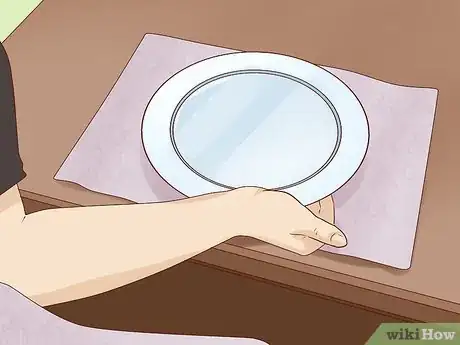
1Put a plate directly across from each chair. Depending on what you’re serving and how large your table is, use either a dinner plate or a salad plate for the main setting. Leave about 2 inches (5.1 cm) of space between the table’s edge and the bottom of the plate.[8]
- If you’re planning to use a tablecloth, lay it out before setting any plates down on the table.
- If you do happen to use a dinner plate, provide a salad plate as well for bread or muffins. Place the salad plate at the upper-left corner of the dinner plate.
- It’s okay if your dishes don’t all match! Mismatched plates hold a certain kind of charm when presented nicely.
-
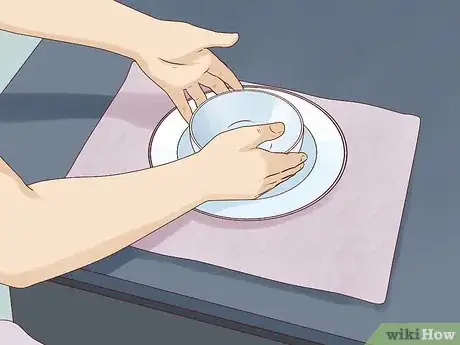
2Set a bowl either on top of the plate or directly above the plate. Provide bowls if you’re serving hot cereal, cold cereal, or yogurt. If you’re not serving any of those options, you don’t need to set a bowl.[9]
- Use smaller bowls for breakfast if you have them. A deep soup-bowl might look cumbersome on your breakfast table.
-
3Place the silverware around the plate. Provide 1 fork, 1 butter knife, and 2 spoons for each person. Place the fork on the left side of the plate. On the right side, place the butter knife down first, with the cutting edge facing inwards toward the plate. Next to the knife, set a soup spoon and then a teaspoon. If you aren’t serving cereal or yogurt, you don’t need to set out the soup spoon.[10]
- The soup spoon is for cereal or yogurt, and the teaspoon is for stirring hot beverages.
-
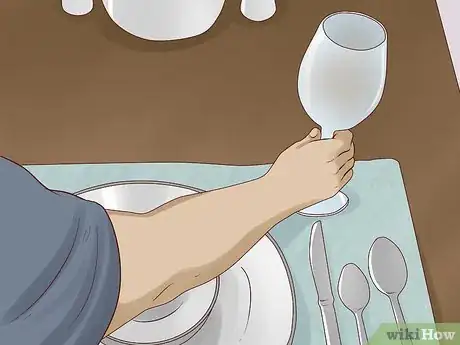
4Position a juice glass directly above the knife and spoons. Use juice glasses if you have them, but if not, normal water glasses are just fine. Some people even use mason jars for beverages.[11]
- You can often find pretty, unique glassware at thrift stores.
- If you’re serving an alcoholic drink, like mimosas or bloody marys, provide the appropriate glassware for the drink. Champagne flutes are great for mimosas, and highball glasses are commonly used for bloody marys.
-
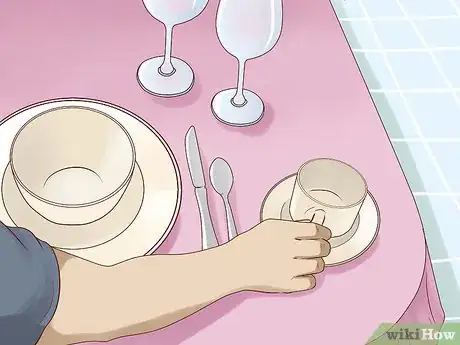
5Provide a cup and saucer for hot beverages to the right of the glass. If you don’t have saucers, it’s okay to use a mug or teacup on its own. The saucer is a nice addition so people have a place to set their teaspoon after stirring their drink.[12]
- For an eclectic look, use mismatched cups and saucers for each place setting.
-
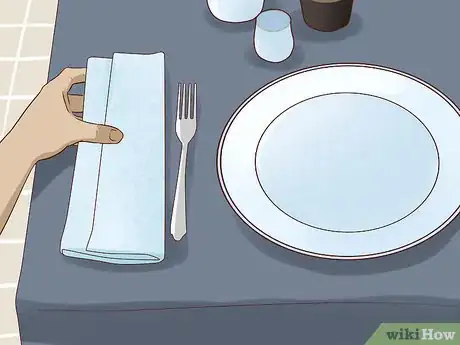
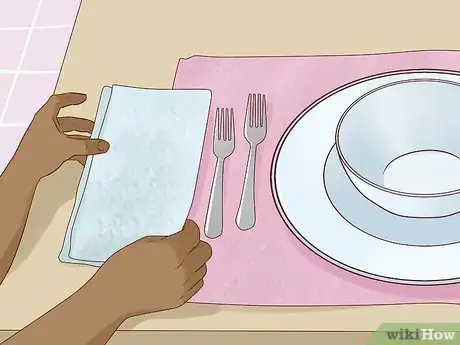
6Fold a napkin and set it to the left of the fork. If you have cloth napkins, this is a great time to use them. If you don’t have cloth napkins, paper ones are fine, too. If there isn’t much room on your table, put the napkins underneath the fork to save space.[13]
- If you want to, you could even fold the napkin into a fancy shape.
Organizing a Buffet-Style Setting
-
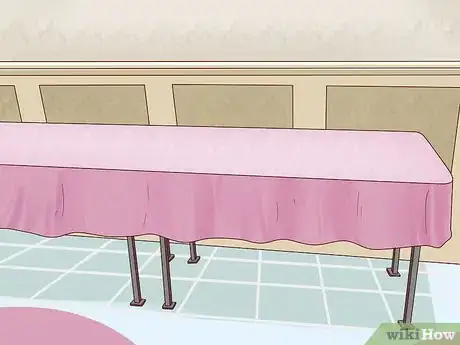
1Pick a place for your buffet, like a long counter or side table. You need a place that is big enough to host the food, plates, and other breakfast accessories. You’ll want to put the buffet somewhere it’ll be easily accessible, but somewhere it won’t be in the way of people trying to sit and eat.[14]
- For example, if you have a dining room, try setting up the buffet in the kitchen. That way people can congregate in the kitchen and gather their food and then move out of the way as they head to the dining room to sit down.
- If you are using disposable plates and bowls, don’t forget to put out a trash can for people to put their used dishes in.
-
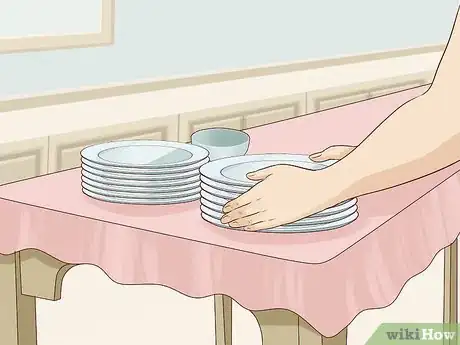
2Put plates and bowls at the front of the buffet table. Dinner plates, small plates, and small bowls should be set at the very beginning of the table so guests can pick up what they need to gather their food. Consider using disposable plates if you don’t think you’ll have enough or your normal tableware for all your guests.[15]
- Don’t put the silverware or napkins next to the plates, as that can make it harder for guests to juggle things as they try to get their food.
-
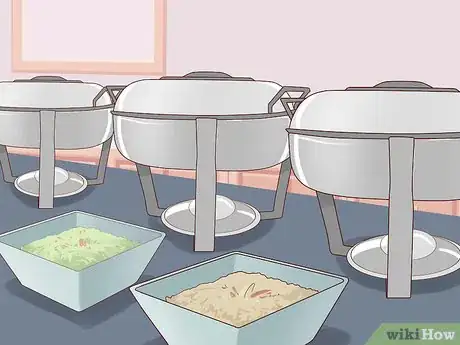
3Lay out the food in serving bowls and on large platters. Keep each type of food separated from the others so guests don’t get overwhelmed by all the options. For example, if you’re serving toast, bagels, and muffins, lay them out on a large platter all together so that people can see all their options at once. Or if you’re serving pancakes or waffles, put the syrup, butter, and other toppings right next to them.[16]
- Consider creating labels or signs to put in front of each dish. This is especially helpful if you have guests that have dietary restrictions—you can specify if a dish is gluten-free, dairy-free, or vegan.
- Some great breakfast-buffet foods are: mini quiches, oatmeal station, fruit salad, and baked casseroles. Think of items that won’t require you to be in the kitchen or at the stove.
-
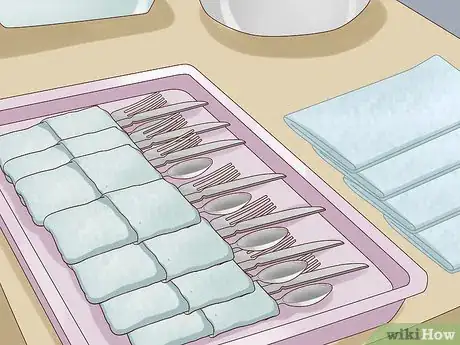
4Provide silverware and napkins at the very end of the buffet table. Put the silverware in a compartmentalized basket so guests can pick out what they need. Or, you could also wrap a knife, spoon, and fork into each napkin so guests can easily grab a bundle and be on their way.[17]
- This is helpful, too, for people who forget to grab their silverware or don’t have a free hand to pick it up. They can just go to the end of the table to get what they need without disrupting the flow of the buffet.
-
5Set up the drinks on a different table away from the food. People may want to refill their cups more often than they want to get more food, and setting the drinks apart from the food will keep things moving smoothly. For your drink area, include:[18]
- Mugs for hot beverages
- Glasses for juice and water
- Sugar, sugar substitutes, and cream
- Teaspoons or plastic stirrers
- Napkins
- Pitchers of water, juice, or other beverages
- Carafes of hot water and coffee
Adding Special Touches
-
1Provide beverage carafes to make drinks more accessible. Instead of having people get up from the table every time they want a refill on their coffee or juice, provide a carafe of the offered beverage(s) so they can stay at the table. Coffee, hot water, cold water, juice, and bloody mary mix are all possible breakfast beverages you could put in a carafe.[19]
- A carafe is a large pitcher used to serve beverages. It can be insulated or not, depending on whether it’s for hot or cold beverages, and it can be open-topped or have a lid. Carafes used for cold liquids are generally open, whereas coffee or hot water is usually served in a lidded carafe.
- Use an insulated carafe for hot liquids and a glass carafe for cold liquids.
-
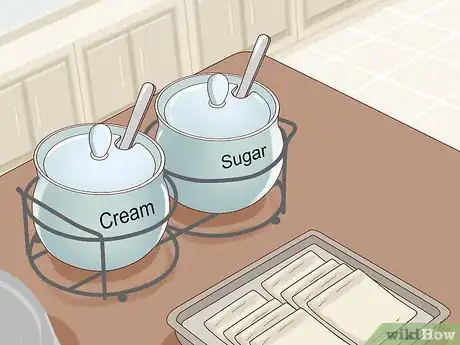
2Set out cream and sugar for people to modify their hot beverages. Serve sugar in a small bowl with a spoon, and pour some cream into a miniature pitcher. Putting each of these elements into their own container makes your table look nicer than if you were to just set out a carton of creamer or a bag of sugar.[20]
- You could also set out honey for tea, oatmeal, and muffins.
-
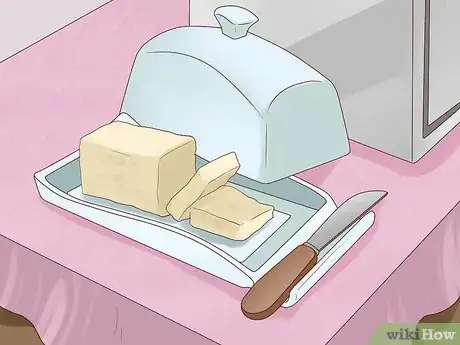
3Put out a butter dish with its own knife for toast and muffins. Instead of asking guests to use their own cutlery to spread butter, set out a separate knife that is designated just for the butter dish. Check the butter before you put it out to make sure there is enough left and that the butter is in good shape (not covered in crumbs or hardened anywhere).[21]
- If you aren’t serving toast and muffins, you most likely don’t need to set out the butter.
-
4Give your guests an assortment of jams and jellies to spread. If you can, put each jam and jelly into their own small bowls with spoons. This makes the presentation look a little nicer.[22]
- If you’re offering multiple options, you could even create cute labels to put on each container so guests easily know which option they’re choosing.
-
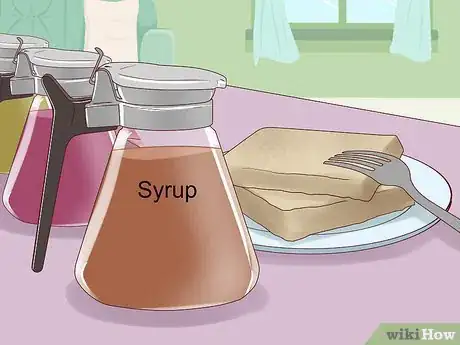
5Warm a pitcher full of syrup for pancakes and waffles. Use the kind of pitcher that has a lid, or use an open pitcher. Whatever you have available is fine! Make sure the container is microwave safe, fill it with syrup, and then heat it up for 30 to 60 seconds.[23]
- If you don’t have a specific syrup pitcher, you could also use a gravy boat or a creamer pitcher for a similar look.
-
6Place salt and pepper shakers out so people can season their food. For a fancier table, put miniature salt and pepper shakers in front of each person’s place setting. If you don’t have that capability, just put out one shaker of each seasoning in the center of the table for guests to use as they need.[24]
- You could also use salt and pepper bowls or boxes with small spoons for a nice effect.
Expert Q&A
Did you know you can get expert answers for this article?
Unlock expert answers by supporting wikiHow
-
QuestionWhat's the right way to place the silverware?
 Tami ClaytorTami Claytor is an Etiquette Coach, Image Consultant, and the Owner of Always Appropriate Image and Etiquette Consulting in New York, New York. With over 20 years of experience, Tami specializes in teaching etiquette classes to individuals, students, companies, and community organizations. Tami has spent decades studying cultures through her extensive travels across five continents and has created cultural diversity workshops to promote social justice and cross-cultural awareness. She holds a BA in Economics with a concentration in International Relations from Clark University. Tami studied at the Ophelia DeVore School of Charm and the Fashion Institute of Technology, where she earned her Image Consultant Certification.
Etiquette Coach When you want to figure out which utensils go on which side, think about the number of letters in each word. "Fork" has 4 letters, the same as in the word "left." "Knife" and "spoon" each have 5 letters, and the word "right" has 5 letters. Then, you just have to remember that the knives go closer to the plate and the spoon is farther away.
 -
QuestionWhat is silverware?
 AditiCommunity AnswerSilverware refers to the different eating utensils you use to eat. Forks, spoons, and knives are all silverware, originally made from silver but some people use the term for any metallic cutlery now.
References
- ↑ https://www.realsimple.com/holidays-entertaining/entertaining/how-to-set-a-table
- ↑ Tami Claytor. Etiquette Coach. Expert Interview. 29 September 2020.
- ↑ https://www.realsimple.com/holidays-entertaining/entertaining/how-to-set-a-table
- ↑ Tami Claytor. Etiquette Coach. Expert Interview. 29 September 2020.
- ↑ Tami Claytor. Etiquette Coach. Expert Interview. 29 September 2020.
- ↑ https://www.realsimple.com/holidays-entertaining/entertaining/how-to-set-a-table
- ↑ https://www.realsimple.com/holidays-entertaining/entertaining/how-to-set-a-table
- ↑ https://youtu.be/nQ8_jRfvMjQ?t=114
- ↑ https://www.realsimple.com/holidays-entertaining/entertaining/how-to-set-a-table
- ↑ https://youtu.be/00ujvLANyE4?t=43
- ↑ https://youtu.be/00ujvLANyE4?t=65
- ↑ https://youtu.be/w_eVbjEMijQ?t=22
- ↑ https://youtu.be/00ujvLANyE4?t=60
- ↑ https://www.thekitchn.com/5-tips-for-setting-up-an-excellent-buffet-table-gatherings-from-the-kitchn-204939
- ↑ https://www.thekitchn.com/5-tips-for-setting-up-an-excellent-buffet-table-gatherings-from-the-kitchn-204939
- ↑ https://www.thekitchn.com/5-tips-for-setting-up-an-excellent-buffet-table-gatherings-from-the-kitchn-204939
- ↑ https://www.thekitchn.com/5-tips-for-setting-up-an-excellent-buffet-table-gatherings-from-the-kitchn-204939
- ↑ https://www.thekitchn.com/5-tips-for-setting-up-an-excellent-buffet-table-gatherings-from-the-kitchn-204939
- ↑ https://youtu.be/w_eVbjEMijQ?t=36
- ↑ https://youtu.be/w_eVbjEMijQ?t=12
- ↑ https://youtu.be/nQ8_jRfvMjQ?t=157
- ↑ https://www.realsimple.com/holidays-entertaining/entertaining/how-to-set-a-table
- ↑ https://www.realsimple.com/holidays-entertaining/entertaining/how-to-set-a-table
- ↑ https://youtu.be/w_eVbjEMijQ?t=6


