This article was co-authored by Isabelle Garson. Isabelle Garson is a Social Media Expert based in the San Francisco Bay Area. With 10 years of experience, she works in social media strategy and content production. She specializes in music and cannabis marketing and has worked with international touring artists. Isabelle studied graphic design at the Academy of Art University. Additionally, she holds a certification from Sprinklr Research Analyst Pro.
This article has been viewed 183,513 times.
If you are creating an indoor studio, whether temporary or permanent, you will need to have a good and consistent lighting for the best portraits. Rather than haphazardly placing lights around your studio space, read below the jump for helpful instructions on setting up indoor photography lights.
Steps
-
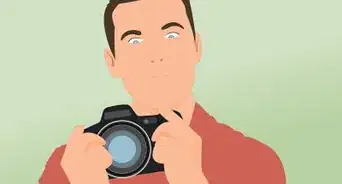
1Have the recommended minimum of 3 three lights. You will get the best effect, if you do. Having said that, if you don't, make adjustments, such as your lights and the window, and you can use your wall and ceiling as reflectors for the light you do have. The lights are the main light, fill light, and the hair or rim light.[1]
- One or two lights are going to be your backfill and one light will be your accenting light for doing photography or videography.
-
2To start with, set the key light behind or beside the camera, to the right (subject's left). This is assuming that the key light will be off camera. If it is on its own, use a tripod. The main light adds definition and highlight to the subject.[2]Advertisement
-
3Add the fill light. The fill light is a less powerful light that helps fill in some of the shadows without blowing out parts of the photograph. Set it up directly in front of the subject. Make sure that:[3]
- It is aimed lower than the main light.
- It is positioned lower than the main light.
- Use less fill light if you want more shadows.
- Make sure that it is less powerful than the main light.
-
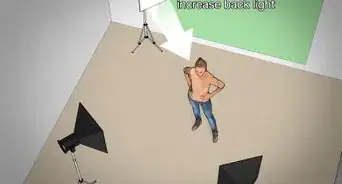
4Set up the hair light. The hair light (also called backlighting or rim lighting), separates the background from the subject and helps bring it out. If you have a light background or want the subject to blend in with the background, don't use it.[4]
- You can set up the rim lighting above or below the subject, depending on how you want the effect.
-
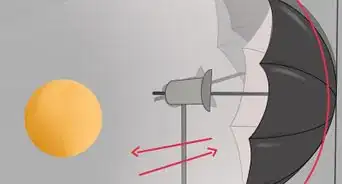
5Once all the lights are set up, start moving them around. Move them closer and further away from the subject to see which result you get.[5]
-
6Experiment with how much power your flash is using. Full power, versus 1/4 power, etc.
-
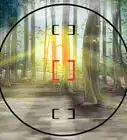
7As well as changing the distance of the lights, work on the angles. Try them lower and higher.


Community Q&A
-
QuestionHow do I make studio lights?
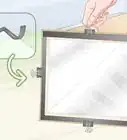
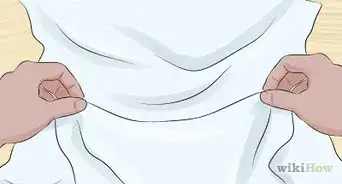
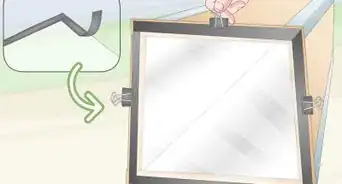
 RichCommunity AnswerTo make make shift lights, use reflective materials to have more light or use a see through fabric for a more even and soft touch.
Things You'll Need
- Tripods
- Off camera light sources
-
Modifiers
- Reflectors
- Diffusers
- Soft box (optional)
- Triggers for your remote flashes

Expert Interview
Thanks for reading our article! If you'd like to learn more about indoor photography, check out our in-depth interview with Isabelle Garson.
References
- ↑ https://www.techsmith.com/blog/get-perfect-lighting-video/
- ↑ https://www.techsmith.com/blog/get-perfect-lighting-video/
- ↑ https://www.mediacollege.com/lighting/three-point/
- ↑ https://www.mediacollege.com/lighting/three-point/
- ↑ https://improvephotography.com/49779/set-three-point-lighting-portrait-photography/
- All Things Photography.com
About This Article