This article was co-authored by Kristin Pulaski. Kristin Pulaski is a Professional Nail Artist and the Founder of Paintbucket, a self-owned and operated nail salon based in Williamsburg, Brooklyn. She has over five years of experience running Paintbucket and is licensed as a nail technician. Paintbucket offers nail art manicures, pedicures, and soft gel extensions along with customized packages for wedding and bridal parties. She holds a BA in Managerial Science from Manhattan College.
There are 8 references cited in this article, which can be found at the bottom of the page.
This article has been viewed 108,251 times.
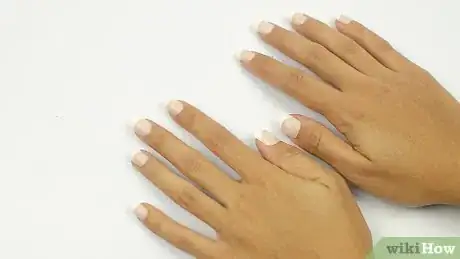
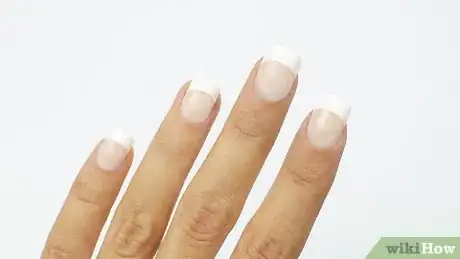
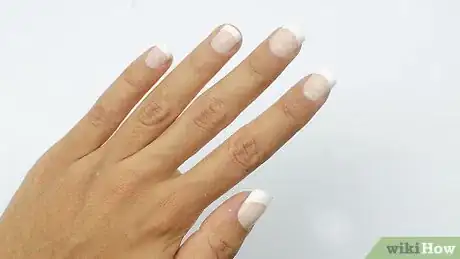
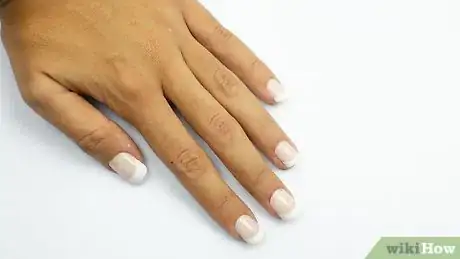
Long acrylic nails are great for special occasions, but they can become frustrating if you feel that they’re too long for you to use your hands! Luckily, you can safely shorten your nail tips at home using just a pair of nail clippers and a fine-grit file. Before you start trimming, be sure to protect your manicure by washing your hands and getting the right tools.
Steps
Trimming Acrylic Tips
-
1Wash your hands to remove dirt under your fingernails. It’s easy to get an infection if you accidentally cut yourself while trimming your nails. Before you begin trimming, scrub your hands and nails thoroughly to remove dirt and bacteria that can cause dangerous infections.
- Some experts recommend using a bristle nail brush under the nails to remove all of the dirt and debris that can gather there.
-
2Dab your nails with a towel until they are completely dry. Warm water can soften the nail, leading to painful breakage. Use a clean towel to dry your hands and nails completely, dabbing the nail bed and under the fingernails to make sure that the area is as dry as possible.
- If possible, use a microfiber towel, which has small fibers that are gentle on delicate areas, like hair and nails.
- Wait about 5 minutes after washing your hands to allow unabsorbed moisture to evaporate if you have sensitive skin.
Advertisement -
3Refrain from cutting tips that have gel polish on them. The tip of most gel manicures is “sealed” with a clear coat that protects the nail bed and polish. If you trim your nails, you will break this seal, allowing water and other debris to get between the nail and the polish, which will cause the manicure to peel. You can’t re-seal gel polish without a UV light machine.[1]
- If you have a chip in your gel polish, or your nails have gotten too long, visit your nail technician to remove the polish and trim your nails.
-
4Clip the sides of the nails into the center to form a small point. Since the center of the nail is the most delicate area, start by trimming the sides with nail clippers. Cut upward and on a slant to the tip of the nail, so that there is a small point in the center of the nail.[2]
- If you’re planning to do a square-shaped nail, try to cut on a shallow slant so that the pointed tip is less pronounced. This will make filing and shaping a lot easier.
- For a pointed tip, like a stiletto, you can cut a more drastic slant from the sides to the tip of your nail.
-
5Use your fingers to pull off the trimmed acrylic. The trimmed acrylic likely won’t separate from the nail immediately when you cut it. Gently pull and bend the cut portions until they break away from the rest of the nail.[3]
- You may need to go back and re-cut some of the acrylic to make sure the clippers cut all the way through the thick material.
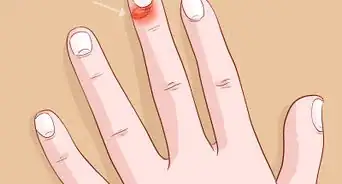
- If you feel the nail starting to crack vertically down the nail bed at any point, stop trimming and go to a nail technician to repair the nail.
-
6Trim off the point at the center of the tip for a flat or rounded shape. Using a pair of nail clippers, cut the pointed part of the nail straight across the top. If it doesn’t pull away from the nail immediately, use your fingers to gently bend and pull it off.[4]
- If you’re going to do a rounded nail, cut closer to the top of the point. This will keep some of the length of the nail so that you can round it out later with a file.
Filing and Shaping the Tips
-
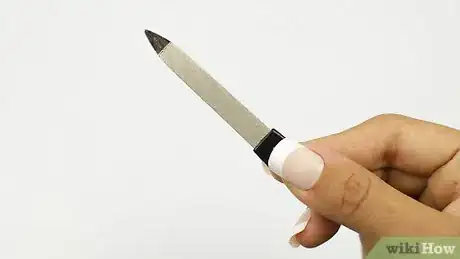
1Use a file that is 240-grit or higher to prevent breakage. Acrylic nails are strong, but they can break and crack when filed with a coarse nail file. Try to pick a file that has a grit of 240, 280, or even 320, which will give you the smoothest file possible without causing your nails to chip or crack.
- You can find fine-grit files at most beauty supply stores in the nail care section, and even at some supermarkets.
- As a general rule, a lower number means a coarser grit. Any number lower than 240 is unsafe to use for shortening acrylic tips.
-
2Smooth the tips with a file to remove bumps and ridges. Starting on the sides of the nails, move the file across the nail in long strokes working in from the corners to remove any imperfections. Focus on areas that are jagged, and pull the file in one direction at a time to smooth them.[5] [6]
- If your nails are going to be a rounded or square shape, be sure to smooth the top edge of the nail, pulling the file in one direction to get rid of any ridges created by the nail clippers.[7]
- When smoothing the nail, never pull the file back and forth across the nail. This can cause tiny “micro-cracks” in the nail, which can chip later.[8]
-
3Continue filing to shape the tips. Once you’ve removed most of the imperfections, file the nail with long, repetitive strokes to achieve the desired shape and length. For example, if you want a rounded shape, try moving the file from side to side in a long, rounded arc motion across the tip of the nail.[9] [10]
- If you want a pointed nail, like a stiletto, file and shape only the sides. Try not to file any length away from the tip of the nail if possible.
- Be patient when shaping your nails. It can take quite a few strokes of the file before your nail starts to take its shape.
-
4Rub a buffer over the nails to smooth them and add shine. Run the buffer over each nail 2-3 times to smooth the surface and the tips. This will also help to prepare the surface of the nail for an extra coat of polish.[11]
- Try not to over-buff the nails, as this can change their shape.
Sealing the Nails
-
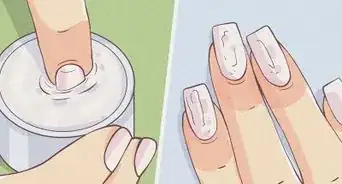
1Rinse and dry your hands to remove dust from the acrylic. Run your hands under warm water for at least 30 seconds, rubbing them with your fingers to remove any white powder, called acrylic dust. Then, pat them dry with a clean towel to remove the water.
- It’s important that your nails are clean and dry before you seal them with polish or a clear coat. This will prevent the polish from lifting or chipping.
- Let the moisture evaporate for 5 minutes after you wash your hands.
-
2Apply 1 coat of the same color of nail polish or a clear coat to seal the nail. If you have a matching polish color, apply 1 even coat across the nail and along the outer edge of the tip to “seal” the nail. If you don’t have a matching color at home, apply a thin layer of clear top coat to seal the nail.[12]
- This coat of polish will help to make your nails stronger after trimming, and it can hide any small imperfections from filing or trimming.
-
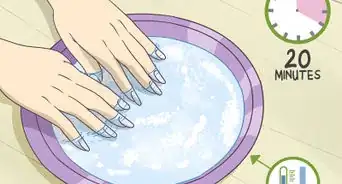
3Wait 20 minutes for your polish to dry and cure. Avoid using your nails for anything during this time, as you can easily chip or smudge the polish. If you want to speed up the drying process, place your hands in front of a fan, or dunk them in an ice bath for 2 minutes.[13]
- If your polish takes a very long time to dry, it may be expired. As a general rule, you should get rid of nail polish 2 years after it’s first opened.
Expert Q&A
-
QuestionCan I take acrylic nails off without acetone?
 Kristin PulaskiKristin Pulaski is a Professional Nail Artist and the Founder of Paintbucket, a self-owned and operated nail salon based in Williamsburg, Brooklyn. She has over five years of experience running Paintbucket and is licensed as a nail technician. Paintbucket offers nail art manicures, pedicures, and soft gel extensions along with customized packages for wedding and bridal parties. She holds a BA in Managerial Science from Manhattan College.
Salon Owner & Nail Specialist No. I wouldn't recommend taking them off at home though, even if you are using acetone. It's always better to have a professional do this.
 -
QuestionCan you file gel nails to make them shorter?
 wikiHow Staff EditorThis answer was written by one of our trained team of researchers who validated it for accuracy and comprehensiveness.
Staff Answer wikiHow Staff EditorStaff AnswerUnfortunately, filing can break the gel seal at the edge of your nail and make your manicure vulnerable to peeling and chipping. If you need to shorten your gel nails, your best bet is to remove the gel first and then redo it after you’ve trimmed or filed your nails.
 -
QuestionCan you get acrylic nails shortened during a fill?
 wikiHow Staff EditorThis answer was written by one of our trained team of researchers who validated it for accuracy and comprehensiveness.
Staff Answer wikiHow Staff EditorStaff AnswerYes, a fill is a great time to have your acrylic nails shortened or reshaped. Let your manicurist know that you’d like your tips a little shorter. They can trim your nails at the same time that they’re performing other maintenance on them.
Things You’ll Need
- Nail clippers
- Fine-grit file (240-grit or higher)
- Nail buffer
- Clean, dry towel
- Matching nail polish or clear top coat
Warnings
- If you feel your nail beginning to break or crack vertically at any point, stop trimming and visit a professional nail technician to repair the acrylic and prevent damage to your natural nails.⧼thumbs_response⧽
References
- ↑ https://www.bustle.com/articles/131238-can-you-cut-your-nails-with-a-gel-manicure-not-ruin-them-photos
- ↑ https://youtu.be/h3FW_gJAHUw?t=62
- ↑ https://youtu.be/h3FW_gJAHUw?t=75
- ↑ https://youtu.be/h3FW_gJAHUw?t=79
- ↑ https://www.nailsmag.com/389827/getting-nails-into-shape
- ↑ Kristin Pulaski. Salon Owner & Nail Specialist. Expert Interview. 19 May 2020.
- ↑ Kristin Pulaski. Salon Owner & Nail Specialist. Expert Interview. 19 May 2020.
- ↑ Kristin Pulaski. Salon Owner & Nail Specialist. Expert Interview. 19 May 2020.
- ↑ https://www.nailsmag.com/389827/getting-nails-into-shape
- ↑ Kristin Pulaski. Salon Owner & Nail Specialist. Expert Interview. 19 May 2020.
- ↑ https://www.nailsmag.com/389827/getting-nails-into-shape
- ↑ https://youtu.be/h3FW_gJAHUw?t=161
- ↑ https://www.instyle.com/beauty/products/how-make-nail-polish-dry-faster-tips
About This Article
To shorten acrylic nail tips, start by washing your hands thoroughly to get rid of any dirt under your nails. Once your hands are clean, use nail clippers to clip the sides of each nail, creating a small point in the center. Then, use your fingers to pull off the trimmed acrylic tip. After you’ve trimmed all of your nails, use a file with a fine grit to smooth out any bumps or ridges. If you want to shape the tips into a point or a rounded-shape, use a file to do so. When you’re happy with the shape of your nails, rinse and dry your hands to remove any dust from the acrylic. Apply 1 coat of nail polish to seal the nail and make it stronger. For more information from our Cosmetologist co-author, like how to buff your nails to make them shine, read on!
