X
wikiHow is a “wiki,” similar to Wikipedia, which means that many of our articles are co-written by multiple authors. To create this article, volunteer authors worked to edit and improve it over time.
This article has been viewed 60,855 times.
Learn more...
Silver, gold, copper and aluminum leaf allow you to create a gilded or metallic surface on wood and metal. There are several specialty products that must be purchased in order to refinish a piece of furniture with silver leaf. Although it takes practice to apply leaf and burnish it properly, it is possible to become extremely proficient in the process inside of a single refinishing project.
Steps
Part 1
Part 1 of 4:
Purchasing Supplies
-
1Go to an online craft store or brick and mortar store to find all the supplies you will need for your refinishing.
-
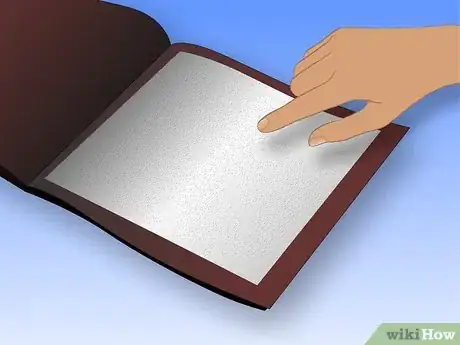
2Purchase a book of silver leaf. You can get books that are 50 pages and those that are 500 pages. A small piece of table or tabletop would need 50 pages, while a large dresser would need a larger book.Advertisement
-
3Opt to purchase aluminum leaf instead of silver leaf if you want to save money. It costs less and has approximately the same effect of a silvery, mirrored surface.
-
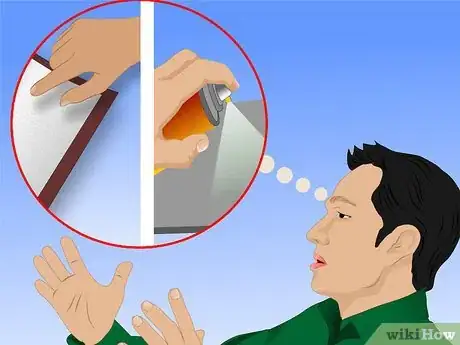
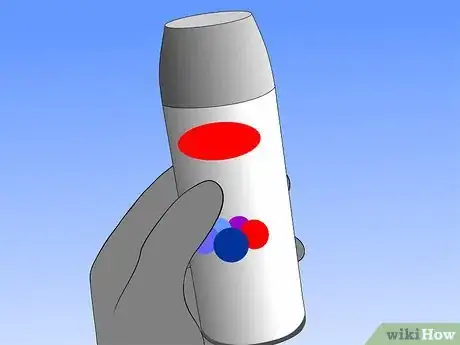
4Decide whether you want to silver leaf the entire piece of furniture or whether you want to paint some of the surfaces with silver spray paint. If there are areas that are hidden, or legs that are difficult to refinish, you can save money by using a silver spray paint, like Rustoleum.
-
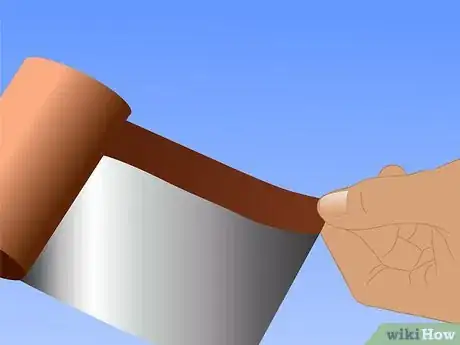
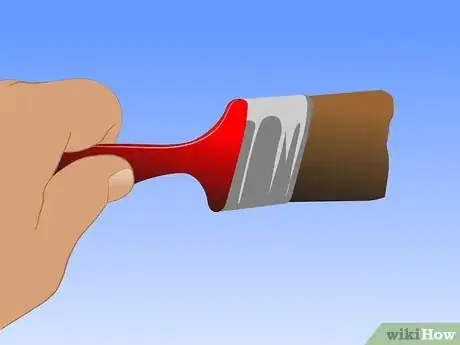
5Buy 3-hour quick set gilding size. This is your adhesive for the silver leaf. You will need regular natural bristle paint brushes to apply it.
-
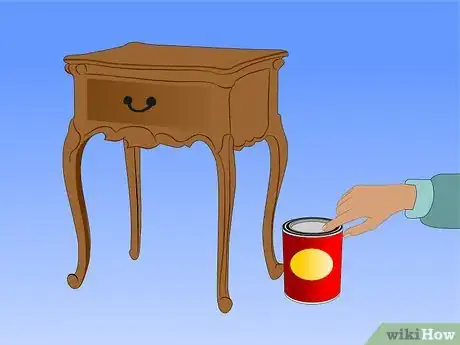
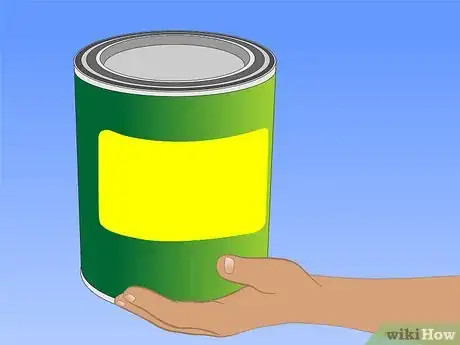
6Purchase a primer or a paint color. If the silver leaf is disturbed, the paint color can show through the surface. If you are going for an antique look, try a brown paint color or a grey primer, so the cracks are subtler.
-
7Buy soft bristled paintbrushes in large sizes in order to burnish the gold leaf.[1]
-
8Get some clear coat sealer. It must be transparent and can be lacquer or polyacrylic based.[2]
Advertisement
Part 2
Part 2 of 4:
Prepping the Furniture
-
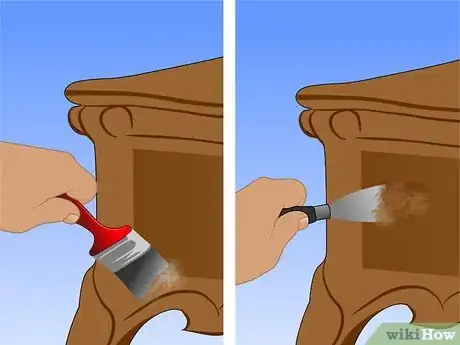
1Strip the existing paint off of the piece of furniture if it is chipping away. Apply a chemical stripper in a well-ventilated area. Spread the stripper onto the surface with a brush, and then scrape it off with a putty knife.
- Always wear protective clothing, such as rubber gloves, a ventilation mask and long-sleeved clothing when you are working with chemical stripper.
-
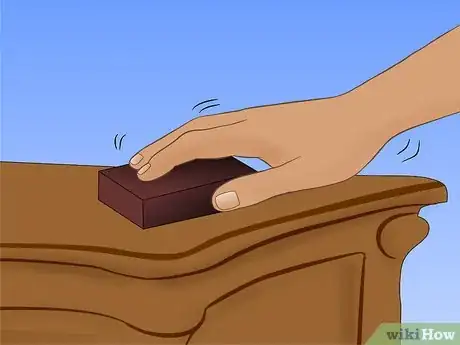
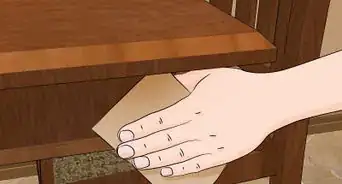
2Sand the surface of the furniture. Start with a medium-grit paper to get rid of dings and scratches. Then, finish with a fine-grit paper to smooth the surface.
-
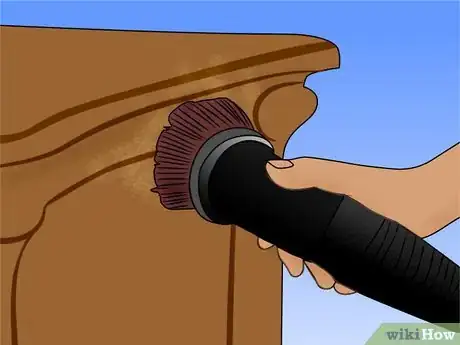
3Brush off the surface with a broom. Then, wipe the surface with a tack cloth. Clean up excess dust from your area with a shop vacuum before you start painting or leafing.
-
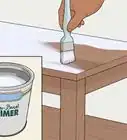
4Paint the surface with a grey primer. If you are painting the surface with brown paint, you may want to start with a layer of primer before you paint the surface with interior paint.[3]
-
5Let the paint cure completely for a day or more before you start leafing. Read the paint or primer instructions indicating how long it takes to cure.
Advertisement
Part 3
Part 3 of 4:
Leafing the Surface
-
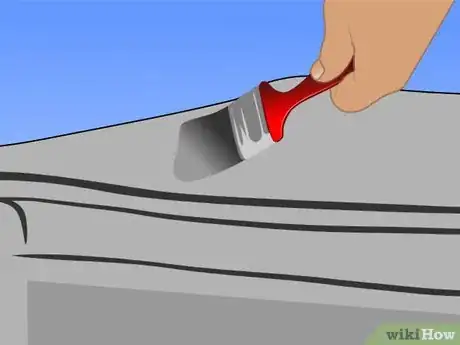
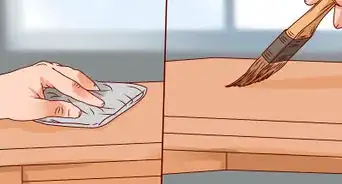
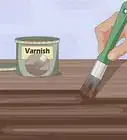
1Paint the top surface of the furniture with three-hour quick set gilding size. Read the package directions to learn how long you will need to wait until it is the right consistency to lay the silver leaf. It must dry slightly to a tacky texture.
- You should start with the large, flat surface since it will be easier to gild. Once you have the process down, you can move on to the sides and more complicated areas.
- Only paint on gilding size to areas that you can leaf within one to one and one half hours. The adhesive won’t work for leafing after it has cured.
- Set a timer to ensure you return to your project just as the surface becomes tacky.
-
2Return when the allotted time is up. Move slowly when working with silver leaf, since it tears easily and can’t be touched with your bare hands.
-
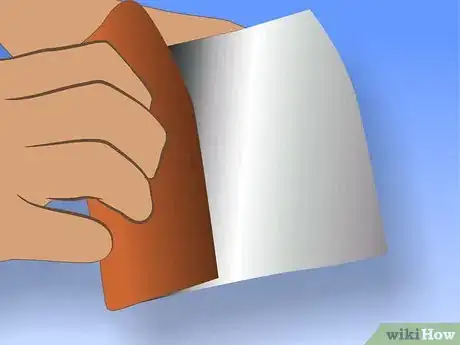
3Hold the book of silver leaf with the spine near your palm. Peel back the tissue paper from the top and turn it under the book, so that you can see the first sheet of leaf underneath.
-
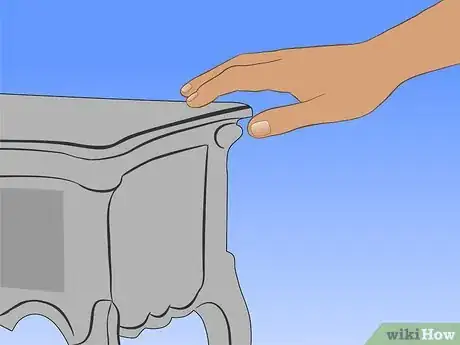
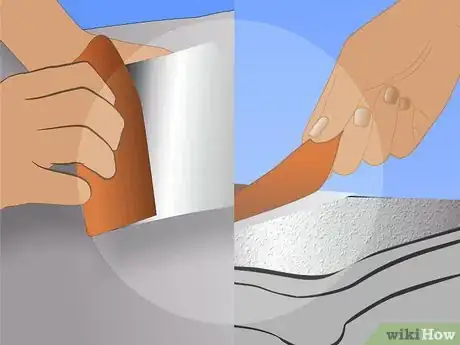
4Position your hand at one corner of the surface you just set with gilding size. Rock your hand back press the leaf onto the dresser very lightly. The leaf will immediately stick to the size, which is why you don’t need to press hard.
-
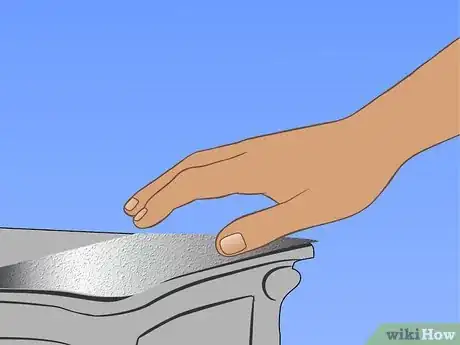
5Pick your hand up and turn to the next sheet of silver leaf. Position your hand to the area next to the leaf you just laid down. Plan to overlap it by at least one-half inch (0.6cm) in the beginning.[4]
- You will remove the overlapping leaf later.
-
6Repeat, tiling silver leaf all over the surface of the piece of furniture within three hours of painting on the size.
-
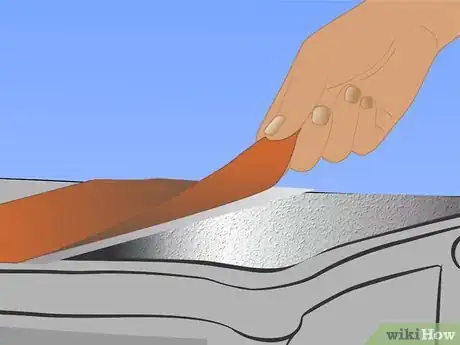
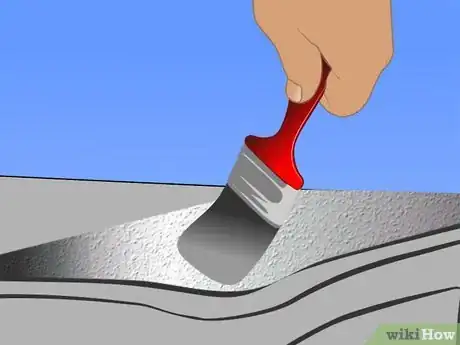
7Take your very soft bristled painters brush and brush lightly along the surface. Be extra gentle at the areas where the leaf overlaps. Burnishing will remove the excess leaf, but using too much pressure can break the corners.
-
8Gather some excess pieces of silver leaf and brush them into places where there are holes in the silver leaf. Continue burnishing until the excess leaf is removed. However, you will still be able to see the seams until you seal it.[5]
- You can also apply Rub N Buff silver color to these areas before you seal it to get rid of bare spots.
-
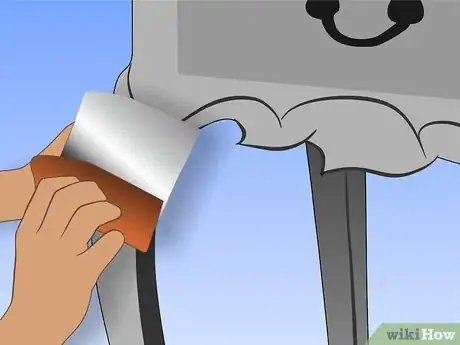
9Repeat on the other sides of the furniture. Take extra care with legs and drawers. It will be harder to apply the leaf to the size around these areas. Burnish the entire piece of furniture before you seal it.
- If you have areas that you want to spray paint silver, do this before you silver leaf the areas that are adjacent, so that the spray paint has time to cure.
Advertisement
Part 4
Part 4 of 4:
Sealing the Surface
-
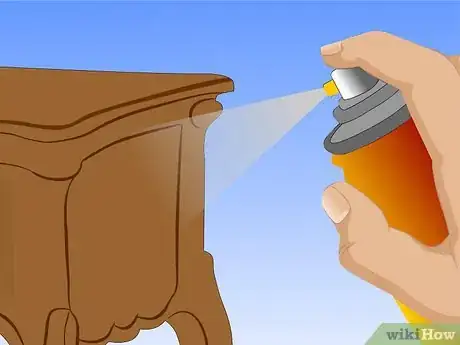
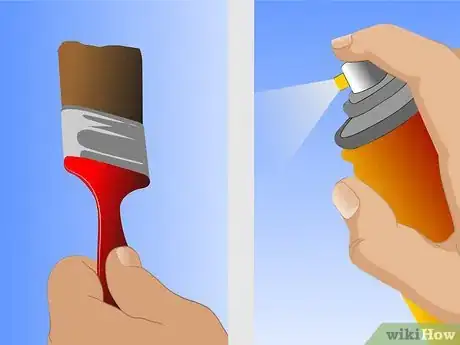
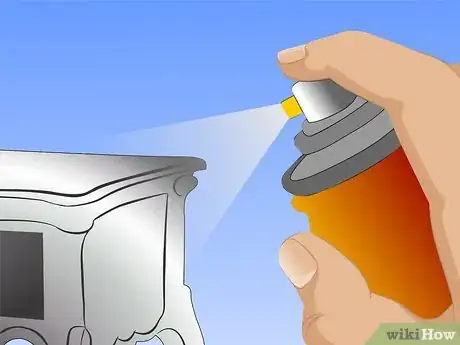
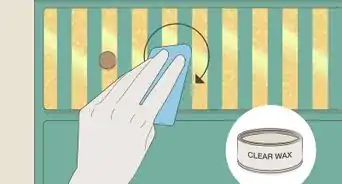
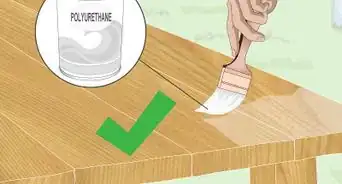
1Choose a spray paint sealer for the easiest application. You can also paint on a clear coat sealer with a soft-bristled brush.[6]
-
2Apply the sealer according to package direction, but using a very gentle stroke. Allow it to dry. Then, apply a second coat.[7]
-
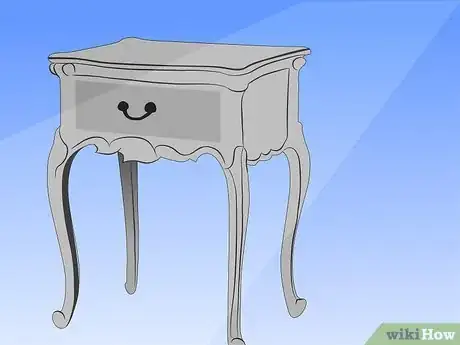
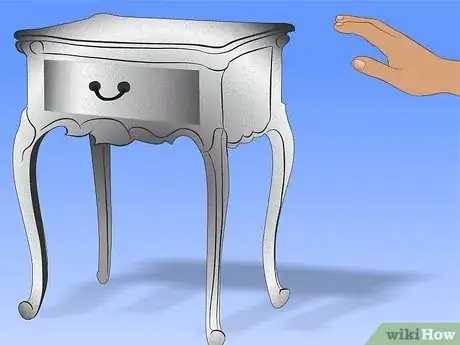
3Wait for the surface to cure completely. Then, reinsert knobs or other hardware into the furniture.
Advertisement
Community Q&A
-
QuestionIf I don't like the look of the first layer of silver leaf; can I add another one on top of it?
 Community AnswerYes, that won't cause any problems.
 -
QuestionCan I silver leaf over a gold-painted finish?
 Cherie SiebertCommunity AnswerSure, but you need to base coat the surface an appropriate color first. Use flat paint so that the leaf adheres well, and make sure that the surface is clean. I prefer to use a very dark teal-grey color, but others may prefer dark grey or even black. For gold leaf, the primer coat is traditionally a dark barn red.
Advertisement
Things You'll Need
- Sandpaper
- Paint/primer
- Silver spray paint
- Paint brushes
- 3-hour quick set gilding size
- Soft brushes
- Aluminum/silver leaf
- Clear coat sealer
- Broom
- Tack cloths
- Shop vacuum
References
- ↑ https://www.hometalk.com/3248815/how-to-silver-leaf-furniture?expand_all_questions=1
- ↑ https://www.hometalk.com/3248815/how-to-silver-leaf-furniture?expand_all_questions=1
- ↑ https://www.youtube.com/watch?v=Ad9HvPtq0D0
- ↑ https://www.youtube.com/watch?v=_m1DeKBZiA0
- ↑ https://www.youtube.com/watch?v=HNf0vdV-3dE
- ↑ https://www.youtube.com/watch?v=_m1DeKBZiA0
- ↑ https://www.youtube.com/watch?v=_m1DeKBZiA0
About This Article
Advertisement

