This article was co-authored by wikiHow staff writer, Amber Crain. Amber Crain has been a member of wikiHow’s writing staff for the last six years. She graduated from the University of Houston where she majored in Classical Studies and minored in Painting. Before coming to wikiHow, she worked in a variety of industries including marketing, education, and music journalism. She's been a radio DJ for 10+ years and currently DJs a biweekly music program on the award-winning internet radio station DKFM. Her work at wikiHow supports her lifelong passion for learning and her belief that knowledge belongs to anyone who desires to seek it.
This article has been viewed 15,185 times.
Learn more...
Spey casting is a type of casting used in fly fishing. Spey casting offers the advantage of allowing the caster to throw their line long distances in a straight line. This is especially useful on wide rivers that offer challenges, like rapids, to traditional short-range fishing. While spey casting may seem like a difficult type of casting to perfect, it is a relatively simple technique. With a little work and some experience, you’ll discover a new and exciting type of fishing.
Steps
Standing and Holding Your Rod
-
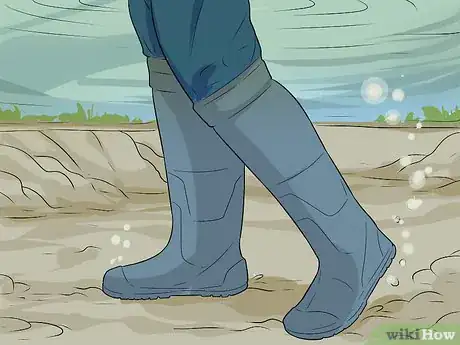
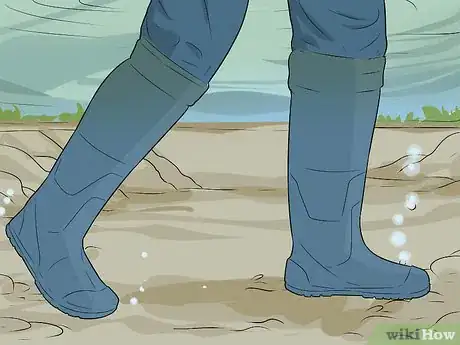
1Find firm ground to stand on. Move your feet around on the riverbed or lakebed beneath you. Shuffle around until you find a piece of ground that is firm and flat. If you’re on unsteady ground or you move when you cast, you could lose balance and lose control of your pole.[1]
-
2Stand as if you’re throwing a baseball. Place the foot on your non-dominant side in front of your other foot, and stand with your feet parallel to each other. Relax your legs and your hips in order to throw a successful cast. Avoid moving your feet when you cast.[2]Advertisement
-
3Place your hands depending on which direction the wind is blowing. If the wind is blowing upstream, put your upstream hand on the top grip. If the wind is blowing downstream, put your downstream hand on the top of grip. This way, you’ll have more control over the poll as you cast and wait for a bite.[3]
-
4Place your hands farther apart for longer casting. Widening the space between your hands will give you more power and control, which can be helpful for longer casts.[4]
-
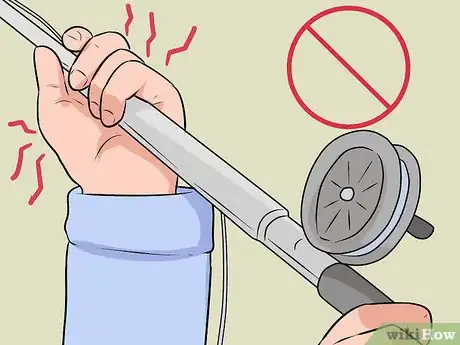
5Avoid holding the rod tightly. If you hold the rod tightly, you won’t be able to react as quickly as you may need to. In addition, holding the rod tightly may tire you out a lot quicker than if you held the rod loosely.[5]
-
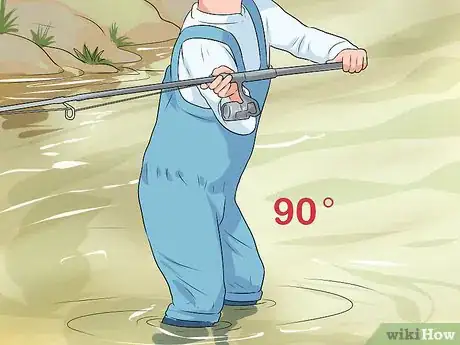
6Rotate your body 90 degrees when you cast. Instead of moving your body completely, gently rotate your knees and hips. This way, you’ll be sure your feet are secure on the ground.[6]
Setting up the Cast with a D Loop
-
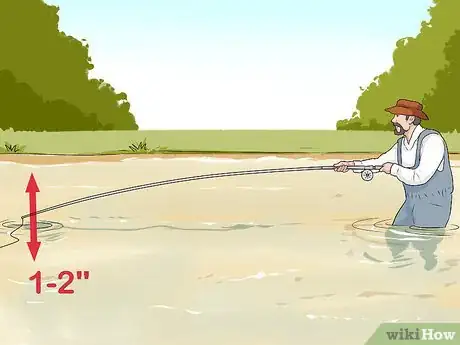
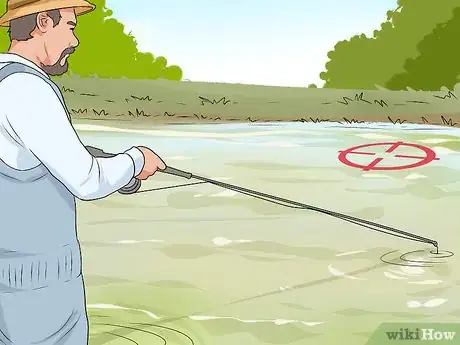
1Hold your rod down so its tip is at the water line. Before casting, the tip of your rod should be just at the water line. It shouldn’t be below the water line or above it more than an 1 or 2 inches (2.5 or 5.1 cm). This way, you’ll be able to build up a lot of momentum when you sweep the rod back and then forward.[7]
-
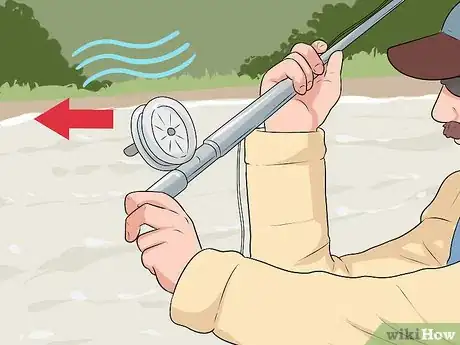
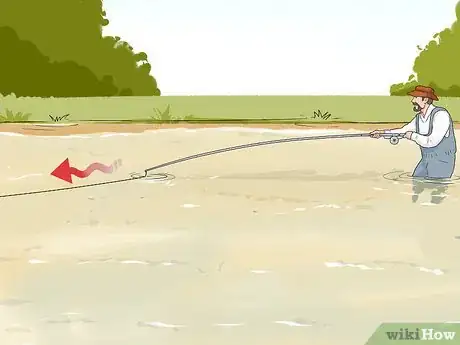
2Drop your line and let it wash downstream 10 to 30 feet (3.0 to 9.1 m). Before casting, you should allow your line to wash downstream. Depending on how comfortable you are at spey casting, you can allow it to wash 10 to 30 feet (3.0 to 9.1 m) or more. In general, it's best to keep this distance short.[8]
- Keep the line taut as it floats down stream.
- Allowing the line to wash downstream sets you up for a backwards cast. This is called "line stick."
-
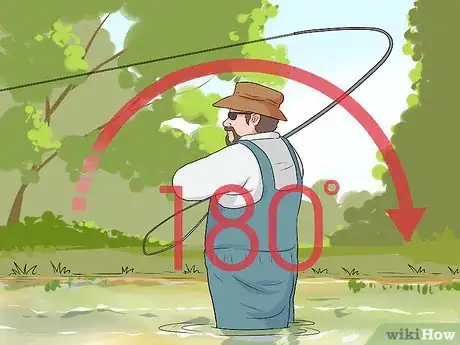
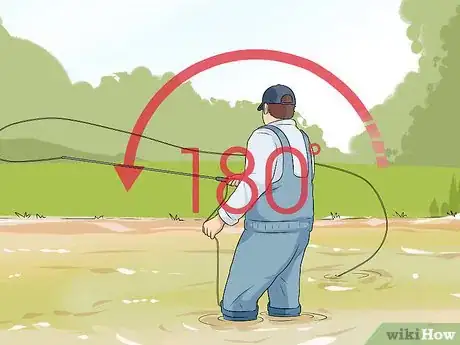
3Find your target out on the water and face it. Your target is where you want your line and bait to end up after you've cast it. For example, say your target is halfway to the opposite bank directly in front of you. When you complete the back cast, the tip of the pole needs to end up 180 degrees behind you, exactly opposite from the target.[9]
- When you pull back on the pole to gain momentum for the forward cast, this is called the "back cast." The back cast sets up the forward cast and it's the first part of one fluid movement.
-
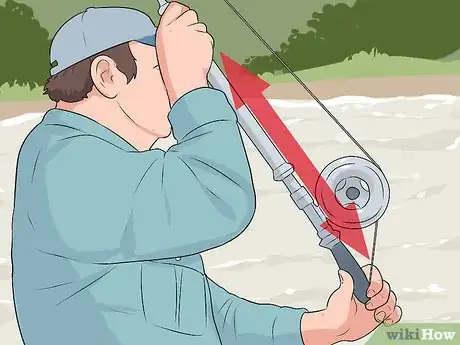
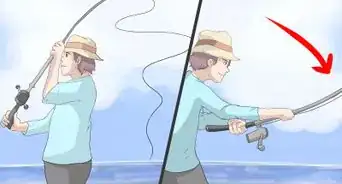
4Sweep the rod backward 180 degrees from your target. Once your line has traveled downstream to the distance you want, quickly sweep the rod backward to begin the back cast. The top of the pole and line will go behind you briefly as you jerk back on it. Your cast backwards should be 180 degrees from where you plan to throw it forward.[10]
-
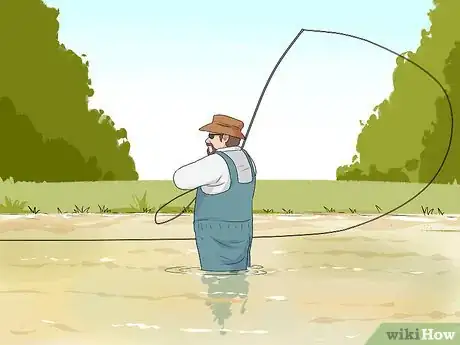
5Cast your rod backward far enough to create a big D loop. The D loop is the loop that the line makes with the rod as it comes out (and curves) from the rod after you cast backwards. The larger your D loop, the easier it will be for you to cast far forward.
- To create a large D loop, throw your line back as far as you can before casting.
- If you have a small or narrow D loop, you’ll have to put more effort into your cast.[11]
Casting Forward to Complete the Cast
-
1Pause after you’ve swept the line backward. The back cast is complete once it reaches the right position behind you, 180 degrees from the target, and the D loop is set up. By pausing, you’ll allow the anchor to move and align to the proper position. If you don’t allow the anchor to move and align with your target, you won’t be able to throw as far as you want.[12]
-
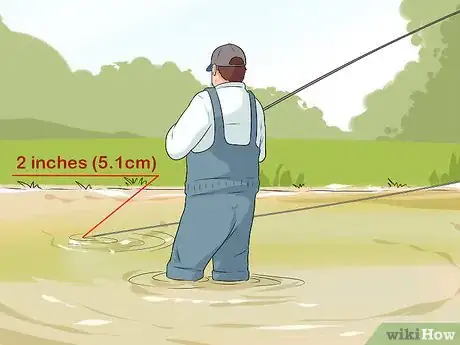
2Allow your line to sink below the water. By starting with a big D loop, you’ll have less line on the surface of the water. To further prevent your line from sinking, make sure you throw your forward cast quickly after bringing your line behind you to make the D loop. The less line you have on the water line, the easier your cast will be. [13]
- Your goal should be to only have 2 inches (5.1 cm) of line at the waterline.
-
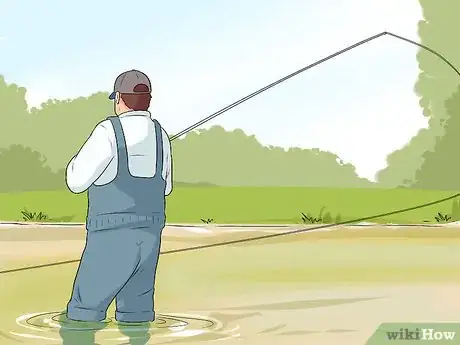
3Cast your line forward at 180 degrees. Casting from your back to your front at 180 degrees will allow you to target a specific spot on the water and to put a lot of energy into your cast. To be able to turn and cast your line 180 degrees, you’ll need to have enough room behind (usually about 20 feet (6.1 m)).[14]
Equipping Yourself and Fishing Safely
-
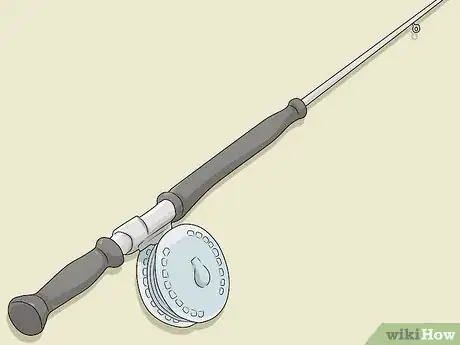
1Use a spey rod. Spey casting rods can be as long as 21 feet (6.4 m). However, most modern rods tend to be between 12 and 15 feet (3.7 and 4.6 m) long. By using a rod specifically designed for spey casting, you’ll be able to cast further and more accurately. If you try to use a regular fishing rod, you may have problems executing and getting the distance you want to achieve.
-
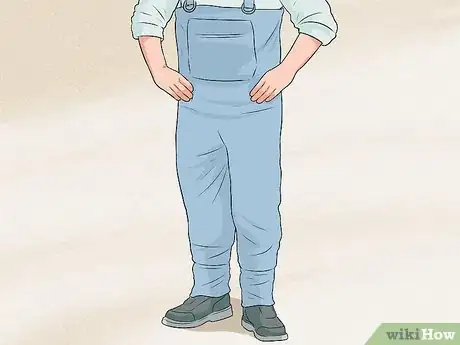
2Wear fishing waders. To protect yourself from getting wet and becoming cold, you’ll need to wear fishing waders. Waders are a rubber pants/boot combo that go up to above your waste and are secured to you by suspenders. Without fishing waders, you’ll get soaked and won’t be able to fish for long.
-
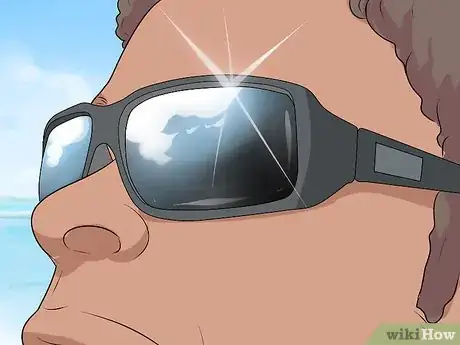
3Use glasses that have side shields. Purchase high quality glasses with UV protection and side shields. These glasses will protect your eyes from the sun and from the possibility that a hook or lure could damage your eyes.[15]
-
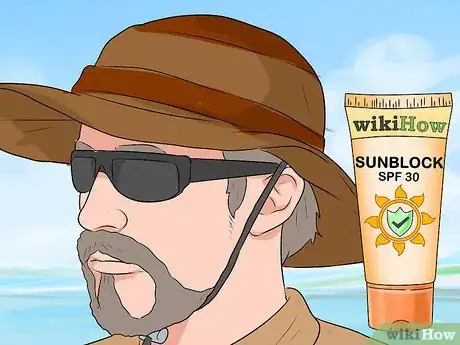
4Wear sunblock and a brimmed hat. Since you’ll be outside a lot when fishing, you should take steps to protect yourself from the sun. The best way to do this is to apply sunscreen with a 30 SPF or higher rating. In addition, wear a brimmed hat that will shade your face from the sun. This will give you a double layer of protection.[16]
Things You’ll Need
- Spey rod/poll
- Spey lures and weights
- Fishing waders
- Sunblock
- A brimmed hat
- Sunglasses with side shields
- Extra fishing line
References
- ↑ http://flyfishingresearch.net/images/Spey_Casting_V30.3_English_Edition.pdf
- ↑ http://www.flyfishingtraditions.com/spey-and-switch-rod-casting-primer-getting-started/
- ↑ http://flyfishingresearch.net/images/Spey_Casting_V30.3_English_Edition.pdf
- ↑ http://flyfishingresearch.net/images/Spey_Casting_V30.3_English_Edition.pdf
- ↑ http://www.flyfishingtraditions.com/spey-and-switch-rod-casting-primer-getting-started/
- ↑ http://flyfishingresearch.net/images/Spey_Casting_V30.3_English_Edition.pdf
- ↑ http://www.flyfishingtraditions.com/spey-and-switch-rod-casting-primer-getting-started/
- ↑ http://www.flyfishingtraditions.com/spey-and-switch-rod-casting-primer-getting-started/
- ↑ http://www.flyfishingtraditions.com/spey-and-switch-rod-casting-primer-getting-started/
- ↑ http://www.flyfishingtraditions.com/spey-and-switch-rod-casting-primer-getting-started/
- ↑ http://flyfishingresearch.net/images/Spey_Casting_V30.3_English_Edition.pdf
- ↑ http://flyfishingresearch.net/images/Spey_Casting_V30.3_English_Edition.pdf
- ↑ http://flyfishingresearch.net/images/Spey_Casting_V30.3_English_Edition.pdf
- ↑ http://flyfishingresearch.net/images/Spey_Casting_V30.3_English_Edition.pdf
- ↑ http://flyfishingresearch.net/images/Spey_Casting_V30.3_English_Edition.pdf
- ↑ http://flyfishingresearch.net/images/Spey_Casting_V30.3_English_Edition.pdf
