wikiHow is a “wiki,” similar to Wikipedia, which means that many of our articles are co-written by multiple authors. To create this article, 103 people, some anonymous, worked to edit and improve it over time.
This article has been viewed 1,042,539 times.
Learn more...
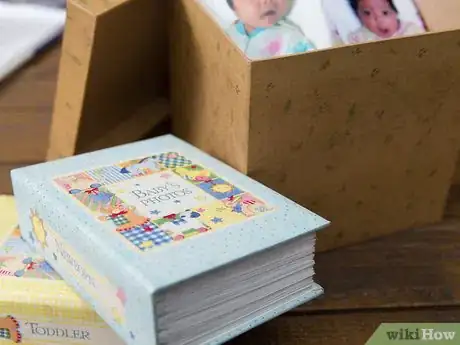
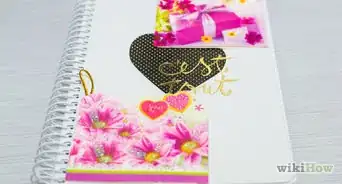
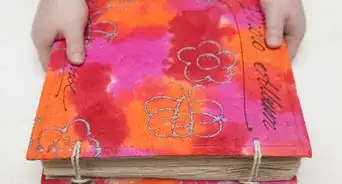
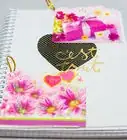
We cherish special moments by snapping pictures and collecting mementos to remember them by. But more often than not those items are either forgotten, left stored on our phones or computers, or stuffed in a drawer or box somewhere. Starting a scrapbook is a creative way to protect and store those keepsakes. Gather your photos and special mementos, and follow these helpful tips to start a scrapbook.
Steps
Prepping for Your Scrapbook
-
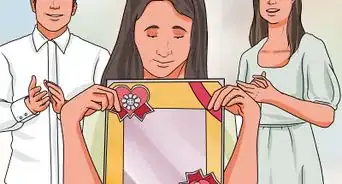
1Identify your reason for creating a scrapbook. Are there stacks of pictures in a drawer that you want to do something with? Does your iPhone currently have over a thousand pictures of your kids? Do you want to commemorate your wedding anniversary by displaying your favorite moments? Or would you simply like to take on a project to satisfy your inner-creative? Figure out why you want to start a scrapbook and what it will allow you to do.
-
2Decide how you want to organize your scrapbook. Once you’ve figured out why you want to start a scrapbook, you’ll need to figure out how best to present your idea. Your scrapbook can focus on a particular theme. It can attempt to tell a story.[1] Or it can simply unfold a set of events in chronological order.
- Let’s say you took your first trip to Europe, and returned with hundreds of photos. You could choose to create a scrapbook that highlights each city you visited. European cities would be your theme.
- Maybe during your trip you got lost and met a group of locals who decided to show you the best places to visit in their city, including inviting you to an intimate gathering. You could craft your scrapbook around that impromptu adventure, which means your scrapbook would tell a story.
- Or maybe you don’t want to leave anything out of your scrapbook about your trip. You could organize and display your photos in chronological order.
Advertisement -
3Determine how you’d like to construct your scrapbook. You can create your scrapbook the old-fashioned way: by hand; or you could create it digitally using computer software. Figure out your preference by asking yourself a few questions:
- Which method would be easiest for you?
- Which method would you most enjoy?
- Do you want to be able to hold your scrapbook in your hand once it’s finished?
- Would you like to give your friends or family members their own copy of your scrapbook?
- Do you want to avoid the mess that comes with making a scrapbook by hand? Or do you enjoy the physical act of making crafts?
-
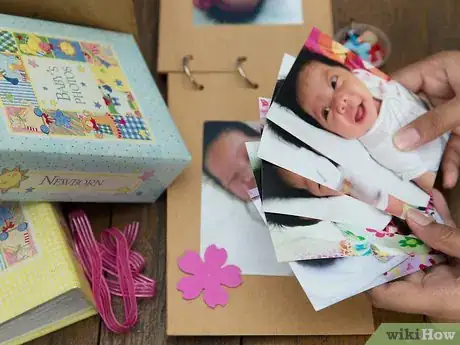
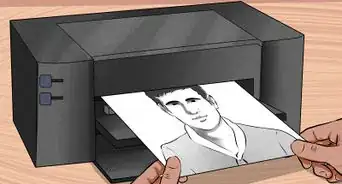
4Gather your pictures and put them in groups. Pull together the pictures you plan to use in your scrapbook. If you’re creating a bound scrapbook, then have your pictures printed if they’re not already. Organize your pictures either by theme, chronological order, or based on the story you’d like to tell. If your photos are on a computer, you can easily organize them by moving them into separate folders. If your photos are on your smart phone, first transfer them to a computer, and then separate them into folders.
Creating a Bound Scrapbook
-
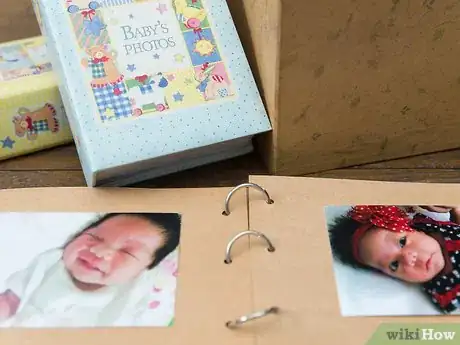
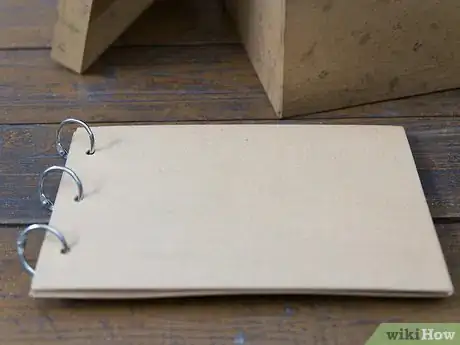
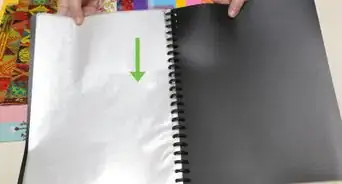
1Choose the size of your scrapbook. When choosing an album for your scrapbook, you have several sizes to choose from.[2] The 12x12 is considered the standard size. Other sizes include the 8.5x11, the 8x8, and several different sizes of mini albums.
- The size you choose depends on the sizes and amount of your pictures, what you hope to accomplish with your scrapbook, and also the scope of the project you feel comfortable taking on.
- If purchasing your album as part of a scrapbooking kit, then the 12x12 size will have more of a variety of materials for you to use.
- If you don’t want to take on a large project and if you prefer to finish your scrapbook quickly, choose an 8x8.
- One of the mini-sized albums is perfect for taking on a small project and capturing snapshots of occasions, like a baby shower.
-
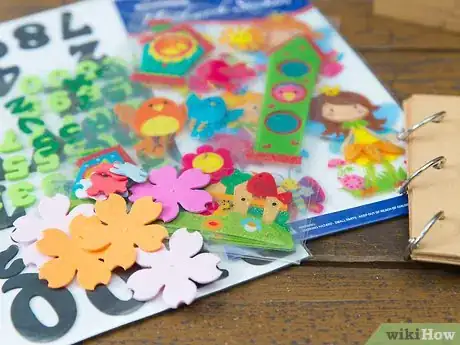
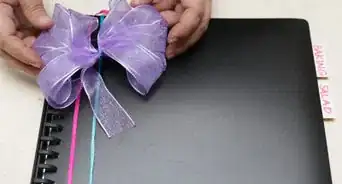
2Gather your design materials. You can purchase your scrapbook as part of a scrapbooking kit. This is especially helpful if this is your first time starting a scrapbook. Most of the design materials will be included in the kit, such as patterned paper, ribbon, stenciled designs, and word art.
- Here’s an overview of the essential materials you’ll need: an album with acid-free and lignin-free pages, page protectors to protect your photos from the oils on your fingertips, photo-safe glue or tape, pigma ink pen in your desired color(s), and scissors.[3]
- In terms of the design materials included in your scrapbooking kit, the color of the paper and the types of designs you choose will depend on what your scrapbook is for. The materials you use to commemorate the birth of your son will likely differ from what you’ll use to celebrate your daughter’s fifth birthday.
-
3Plan your layout. Before getting started, it may be helpful to plan the layout of your scrapbook. Since you already know which photos you’re going to be using and essentially how you want them grouped, you can make a sketch of four to six common layouts you’d like for your scrapbook to include.
- Your layout will show how you’d like your pictures to be placed on the page. Some pages could feature only one photo, some only two or three, while another could have a collage of several photos.
- Take a sheet of paper and draw out the layouts you’d like to use. Include spaces where you may want to add designs and/or hand written or printed messages. If you’re having trouble with this step, physically arranging a layout with some of your pictures at a table may help.
-
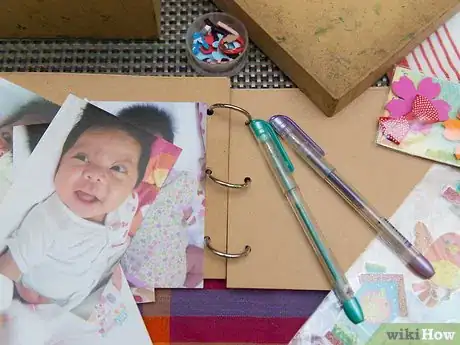
4Start putting your pages together. With your layout ideas in place, you can begin putting your pages together. If your scrapbook doesn’t come with a printed background already included on each page, you will likely have to cut and glue printed paper for each page’s background. Once the background is applied, you can begin laying your pictures in their proper places, using your layouts as a guide.
- Don’t glue them down until you feel confident about their placement. You may need to trim some photos if they aren’t totally fitting on the page.
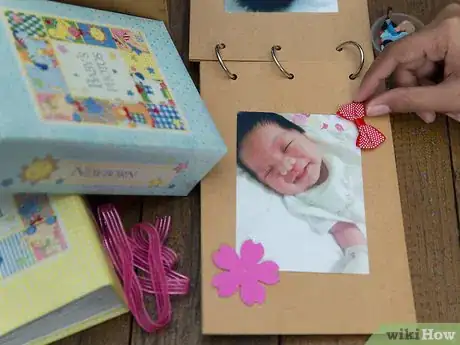
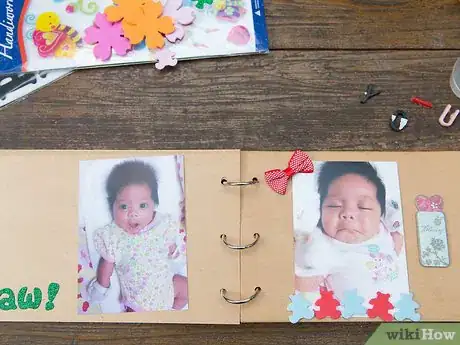
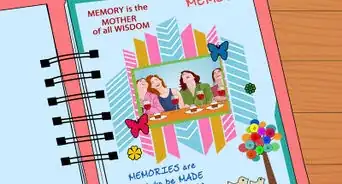
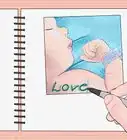
- Once your pictures are set and glued down, you can add your designs, like stickers or images, or special quotes and written messages.
- For a wedding scrapbook, you could include a biblical scripture that was read during your wedding ceremony.
- If you’re creating a scrapbook of all of your kids, include comments identifying the dates and/or locations of some pictures.
- You could include elegant designs, like flowery prints or swirling lines. Prints of stars could occupy free corners of some pages.
-
5Fill each page of your scrapbook until it is complete. Work your way through your scrapbook until all of your pictures have been included and designs added, or until you feel you’re all done.
Creating a Digital Scrapbook
-
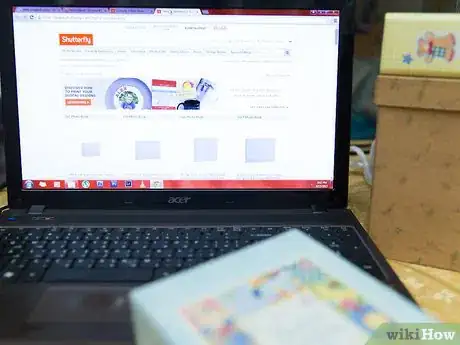
1Figure out what software you’d like to use. If technology is more your forte as opposed to arts and crafts, then starting a scrapbook on the computer may be your best option. Also if you have tons of pictures to go through that are stored to your computer or a smart phone device, then this may be the more simple option for you.
- There are several programs available that will allow you to create a digital scrapbook. You can do a quick search online for those available programs. There may be a fee associated with the program you choose. Because of that, some programs allow you to test out their product before you commit to it. This will help you determine which digital scrapbook program will work best for you.
- Each program likely has different step-by-step methods for carrying out an action. The following instructions can be applied generally to any program.
-
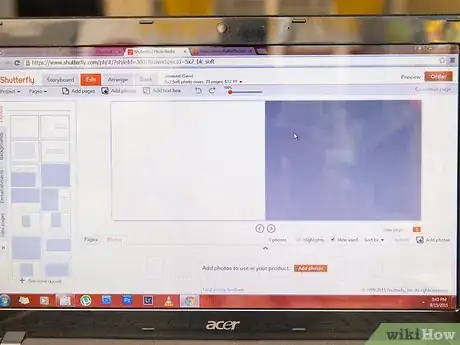
2Start a new scrapbook. Once you’ve picked your program, you can begin to work on your scrapbook. Start the program and then click “New” to start a new scrapbook.[4] The file may be given a generic name, such as “Untitled,” so feel free to give the file a name that references your project, such as “Sam’s First Birthday Scrapbook.”
-
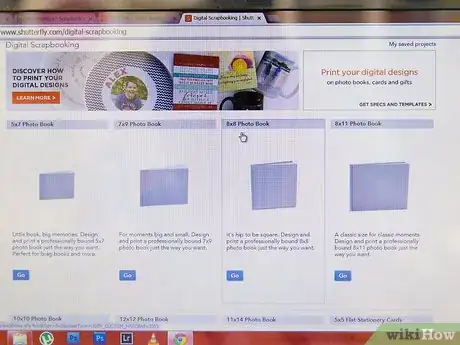
3Determine the size of your scrapbook. Similar to starting a scrapbook that’s bound, you’ll have to determine the size of your digital scrapbook. You can determine the size based on the amount of pictures you plan to use, or by what seems visually appealing to you. You can also follow the sizing of a physical scrapbook and choose standard sizes, such as 12x12, 8.5x11, 8x8, or a miniature size.
-
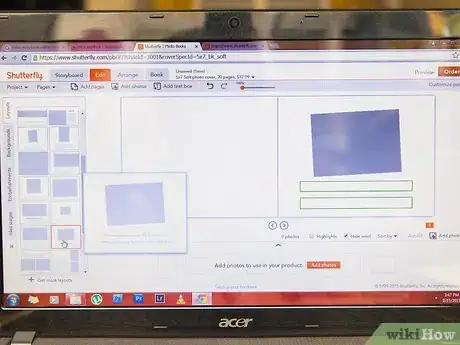
4Create your layout. Before getting started, it’s best to have a general idea of how you’d like to place your pictures in your scrapbook. If you grouped your pictures together in the planning stage, then you should already know which pictures you’d like to include on each page. Now that you’ve determined the size of your scrapbook, take a sheet of paper and sketch out about 4 to 6 different layouts, or rearrange some of your pictures on a blank computer screen to determine what will look best.
-
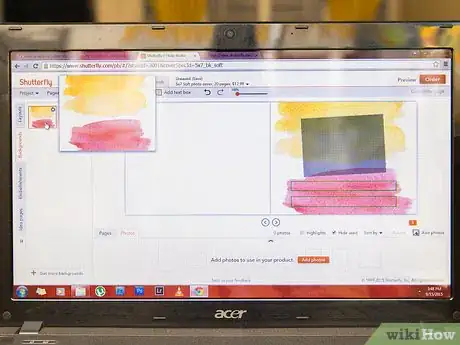
5Set a background for your front cover and your pages. Unlike a physical scrapbook, you aren’t limited by the amount of materials available in your scrapbooking kit or by what you’ve purchased when designing your scrapbook.
- You can set the background for each page by choosing from the program’s available choices. Select your preferred background and either drag it onto your layout, or click “apply.” You can apply a different background to each page or apply the same background to all of your pages.
- You’ll likely have to work through your scrapbook sequentially, starting with the front cover and working through page by page. However, depending on the program you may be able to insert new pages before and after an already existing page, which will allow you to work on your scrapbook out of order.
-
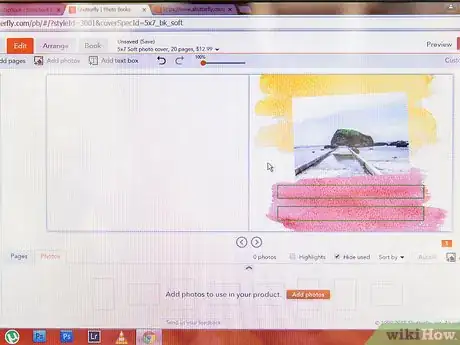
6Import your photos to start putting your pages together. Select and upload your pictures for each page, and then arrange them into your preferred layout design. Click the “file” tab to find the option to upload an image. Depending on the program you’re using, there may be an image icon for you to click to access your images without clicking the “file” tab. Use your mouse to drag the pictures into position. You can also resize your pictures, making them bigger or smaller, if necessary.
-
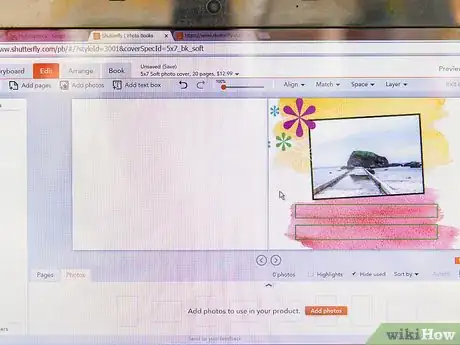
7Design your pages. Once your pictures are set, you can play around with the features of your design software to add designs. You can add frames to your pictures, insert design elements, and word art to create the layout you want.
- If for example you’re making a scrapbook to celebrate your daughter’s first year, you could add images of her favorite animals or toys, you could include a sweet message for her to read when she gets older, or you could include an image of a birthday cake.
- Let’s say you’re memorializing your trip to Africa, include decorative images of an airplane, maps, and special quotes about traveling or a safari.
-
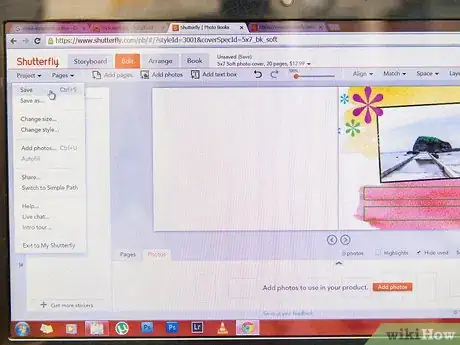
8Save your scrapbook. Once you’re finished designing your scrapbook, save it. You can then either prepare to have it printed, or you could email it to your family and friends.
Community Q&A
-
QuestionHow can I make a scrapbook for an anniversary?
 Community AnswerFirst show the marriage, then developments along the way leading up to their anniversary. If there was a celebration/reception, be sure to include pictures of that, too.
 -
QuestionHow should I create a scrapbook for a band?
 Community AnswerCollect lots of pictures of the band members, concerts etc. and stick them into your scrapbook. You could add the band logo and write some of their lyrics/quotes around the pictures.
 -
QuestionHow do I make my scrapbook more interesting?
 Community AnswerAdd colorful stickers, 3D elements, and angle your pictures different ways. Using colorful designs and bright colors will help too.
Warnings
- Make sure to save your digital scrapbook and your pictures in more than one place just in case your computer crashes or you lose the device they’re saved on.⧼thumbs_response⧽
- Be careful with scissors.⧼thumbs_response⧽
Things You May Need
- Acid-free, lignin-free scrapbooking kit or album
- Patterned paper
- Acid-free glue or tape
- Paper trimmer
- Scissors
- Pigma ink pen in your desired color(s)
- Page protectors
References
- ↑ http://www.everything-about-scrapbooking.com/
- ↑ http://www.abeautifulmess.com/2014/01/scrapbooking-for-beginners-our-family-volume-1-.html
- ↑ http://www.cappersfarmer.com/do-it-yourself-projects/how-to-start-scrapbooking.aspx
- ↑ http://www.designerdigitals.com/digital-scrapbooking.html
- ↑ http://www.craftsy.com/blog/2015/03/scrapbooking-ideas-for-beginners/
About This Article
If you want to start a scrapbook, choose a paper size, and gather all of the pictures and accent items that you want to use, like colored paper, stickers, embellishments, ribbon, and stencils. Then, arrange the items with 1-3 pictures per page, and place stickers and embellishments around the pictures. Add other keepsakes, like ticket stubs, baby bracelets, or newspaper clippings to finish out the pages. Once you've decorated, punch holes in each page and bind them together with rings, or slide them into a pre-made scrapbook. For tips on making a digital scrapbook for your memories, read on!
