This article was co-authored by Mike Garcia. Mike Garcia is a Licensed Landscape Contractor and the Founder of Enviroscape LA, a full-service landscape design and construction firm in Los Angeles, California. With over 30 years of experience, Mike specializes in sustainable landscape practices. Mike holds an Ornamental Horticulture degree, C-27 Landscape Contractor and D-49 Tree Service Contractor licenses, and Permaculture Design, California Naturalist, International Certified Professional Pond Contractor, and Pond Building certifications. He is one of eight Internationally Certified Pond Builders in the world. Enviroscape LA has won landscape and water feature awards from the International Professional Pond Contractors Association (IPPCA), National Association of Pond Professionals (NAPP), and the California Landscape Contractors Association (CLCA). Mike is a past president of the CLCA and currently serves on their local Board of Directors. Enviroscape LA has been featured in PONDS USA Magazine, Pond and Garden Lifestyles Magazine, and the Los Angeles Times. Mike has appeared on Extreme Home Makeover, HGTV's Landscapers Challenge, and A & E's series Fix That Yard.
There are 17 references cited in this article, which can be found at the bottom of the page.
wikiHow marks an article as reader-approved once it receives enough positive feedback. This article received 14 testimonials and 91% of readers who voted found it helpful, earning it our reader-approved status.
This article has been viewed 376,880 times.
A natural disaster or other emergency could cut off water access for weeks. Storing your own supply addresses your most important need in this situation. Although water does not "go bad" in the same way that food does, it can breed harmful bacteria if you do not purify it or store it in safe conditions. The other risk is chemical contamination, either from certain types of plastic containers, or from chemical vapors that pass through the walls of the water containers.
Steps
Preparing Sanitary Containers
-
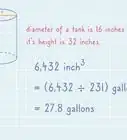
1Decide how much water to store. The average person needs 1 gallon (4 liters) of water each day, half for drinking and half for food preparation and hygiene. Increase this number to 1.5 gallons (5.5 L) per person or more for children, nursing mothers, and sick people, and for anyone in a hot or high-altitude climate. Based on these numbers, try to store a 2 week supply for your household.[1] In case of an emergency evacuation, store a 3 day supply in easily transportable containers.[2]
- For example, 2 healthy adults and 1 child need (1 gallon or 3.8 liters / adult) x (2 adults) + (1.5 gal or 5.7 liters / child) x (1 child) = 3.5 gallons (13.25 liters) per day. A 2 week supply of water for this household is (3.5 gallons or 13.25 liters/ day) x (14 days) = 49 gallons (185.5 liters). A 3 day supply would be (3.5 gallons or 13.25 liters/day) x (3 days) = 10.5 gallons (40 liters).
-
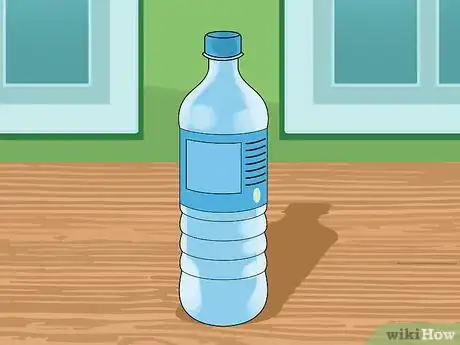
2Consider bottled water.[3] In areas that regulate bottled water, including the U.S. and E.U., sealed bottles of water are already sanitary and will stay good indefinitely. If you go this route, you do not need to worry about selecting appropriate containers or purifying the water.[4]
- Check the label for certification by the IBWA (International Bottled Water Association), NSF (National Sanitation Foundation), or UL (Underwriters Laboratories). These demonstrate the product has met safety and quality standards.[5] This is more important in countries that do not regulate bottled water.
Advertisement -
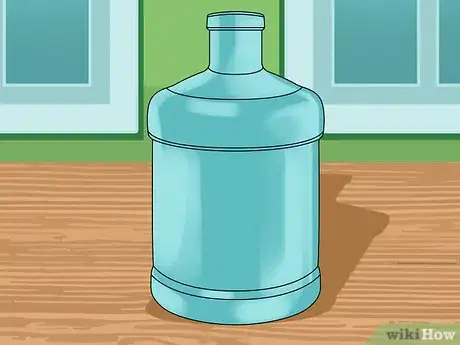
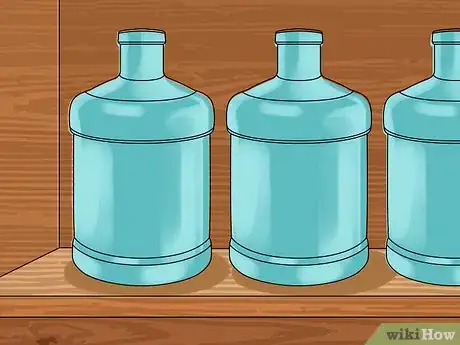
3Select food grade containers. Plastic food or beverage containers marked "HDPE" or with a #2 recycling symbol are excellent options.[6] Plastics #4 (LDPE) and #5 (PP) are also safe, as is stainless steel.[7] Never reuse a container that held anything besides food and drink, and only use brand-new empty containers if they are marked "food grade," "food safe," or with a knife and fork symbol.
- Milk and fruit juice leave residue that is difficult to remove and encourages bacterial growth. Do not reuse containers that held these drinks.[8]
- Glass jars are a last resort, since they can easily break in a disaster.
- Traditional unglazed pottery jars can help keep water cool in warm climates. Use one with a narrow mouth, lid, and tap if possible to encourage sanitary handling.[9]
-
4Avoid containers made from hazardous plastics. Look for the resin identification code on plastic containers, which typically consists of a number printed next to the recycling symbol. Avoid containers marked “3” (for polyvinyl chloride, or PVC), “6” (for polystyrene, or PS), and “7” (for polycarbonate). These materials can be hazardous to your health.
-
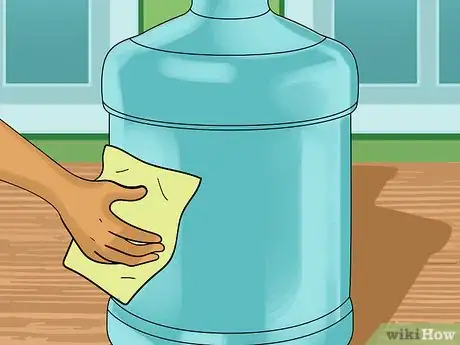
5Clean the containers thoroughly. Wash them with soap and hot water, then rinse. If a container previously held food or drink, disinfect it with one of the following methods:
- Fill with water and mix in 1 tsp (5 mL) liquid household bleach for every quart (approximately 1 liter) of water. Swish to touch all surfaces, then rinse well.[10]
- For stainless steel or heat-safe glass, submerge in boiling water for 10 minutes, plus 1 minute for each 1,000 ft (300 m) of elevation above an altitude of 1,000 ft (300 m).[11] This is the best method for steel, since chlorine bleach can corrode the metal.[12]
-
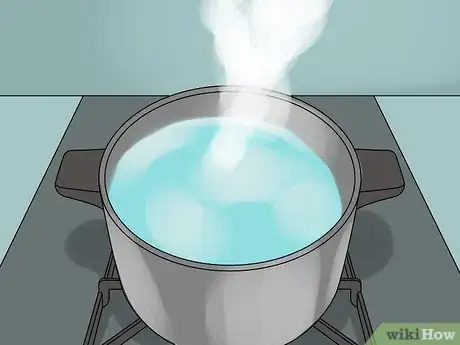
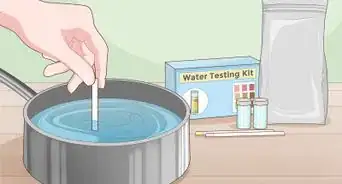
6Disinfect water from unsafe sources. If your tap water is not safe to drink or if you get your water from a well, disinfect it right before storage. The best way to do this is to bring the water to a rolling boil for 1 minute, or 3 minutes at elevations above 5,000 ft (1,000 m).[13]
- If you cannot boil the water, or do not want to lose water by boiling it, bleach is the next best option:[14]
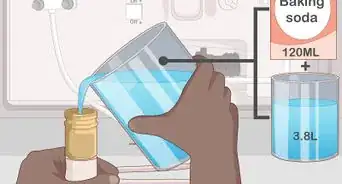
- Mix in ½ tsp (2.5 mL) of unscented, additive-free bleach for every 5 gallons (19 liters) of water. Double the amount of bleach if the water is cloudy or discolored.
- Let the water sit for half an hour.
- If you cannot smell a faint chlorine scent, repeat treatment and let sit another 15 minutes.
- In an emergency, you can also disinfect small amounts of water with water purification tablets. However, use these sparingly, as excessive use can impair thyroid function.[15]
-
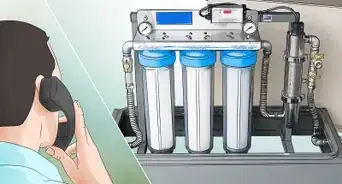
7Filter out contaminants. Boiling or chlorine will kill microorganisms, but they will not remove lead or heavy metals. If your water is contaminated by runoff from farms, mines, or factories, pour it through an activated carbon filter and a reverse osmosis (RO) filter.[16]
- You can make your own filter out of common materials. While not as effective as a commercial filter, it will remove sediment and some toxins.
Storing the Water
-
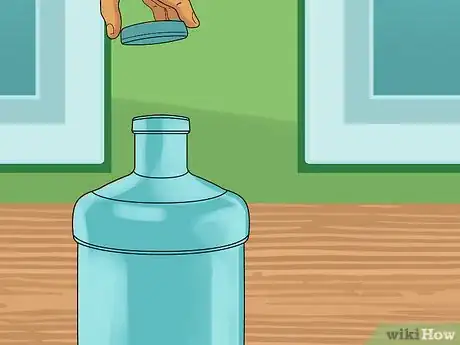
1Seal the container tightly. Take care not to touch the inside of the cap with your fingers, to avoid contamination.[17]
-
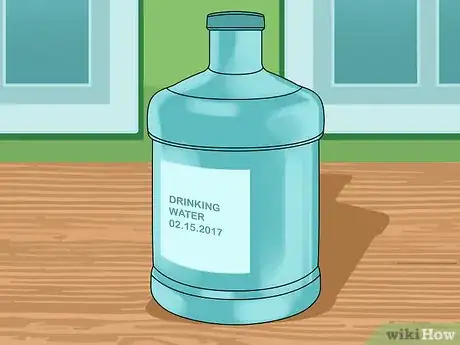
2Label the container. Write "drinking water" on the side, along with the date you bottled it or purchased it.
-
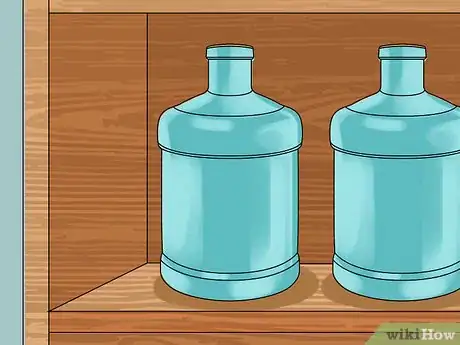
3Store in a cool, dark place. Light and heat can damage containers, especially plastic ones. Sunlight can also cause algae or mold to grow in clear containers, even sealed, store-bought bottles.[18]
- Do not store plastic containers near chemical products, especially gasoline, kerosene, and pesticides. Vapors can pass through some plastic containers and contaminate the water.[19]
- Store a 3 day supply in small containers near an exit, in case of an emergency evacuation.
-
4Check on the supply every 6 months. If stored properly, unopened, store-bought bottled water should stay good indefinitely, even if the bottle has an expiration date.[20] If you bottled the water yourself, replace it every 6 months.[21] Replace plastic containers when the plastic becomes cloudy, discolored, scratched, or scuffed.[22]
- You can drink or use the old supply of water before replacing it.
-
5Open 1 container at a time. If you need to use your emergency supply, store open water containers in a refrigerator or cold location. Use an open container within 3 to 5 days in the refrigerator, 1 to 2 days in a cold room, or a few hours in a warm room.[23] After that, purify the remaining water again by boiling it or adding chlorine.
- Drinking directly from the container or touching the rim with dirty hands increases the risk of contamination.
Expert Q&A
-
QuestionAfter you boil water, do you need to let it cool before filling up the container?
 Anthony "TC" WilliamsAnthony "TC" Williams is a Professional Landscaper in Idaho. He is the President and Founder of Aqua Conservation Landscape & Irrigation, an Idaho Registered Landscape Business Entity. With over 21 years of landscaping experience, TC has worked on projects such as the Idaho Botanical Garden in Boise, Idaho. He is a Idaho Registered Contractor and a previously Licensed Irrigator in the State of Texas.
Experienced Landscaper Yes. This is especially important if you are pouring it into a plastic or soft sided container.
 -
QuestionHow much bleach should I use for a 50 gallon (190 liter) drum?
 Anthony "TC" WilliamsAnthony "TC" Williams is a Professional Landscaper in Idaho. He is the President and Founder of Aqua Conservation Landscape & Irrigation, an Idaho Registered Landscape Business Entity. With over 21 years of landscaping experience, TC has worked on projects such as the Idaho Botanical Garden in Boise, Idaho. He is a Idaho Registered Contractor and a previously Licensed Irrigator in the State of Texas.
Experienced Landscaper For storage, add 1/2 teaspoon (2.5 ml) of unscented household bleach to 5 gallons (19 liters) of water. A 50 gallon (190 liter) container would require 5 teaspoons (25 ml). Double the amount of teaspoons or milliliters if water is cloudy.
 -
QuestionDo you fill the containers to the top or leave some space in them?
 Community AnswerFill it up to the top. The less air inside the bottle the better.
Warnings
- If you notice a leak or hole in the containers after having stored the water, do not drink from the container.⧼thumbs_response⧽
- Do not use scented or color-safe bleach to purify water, or bleach with added cleaners, or bleach with a greater than 6.0% concentration. Bleach gradually becomes less effective if the bottle has been opened, so use a new container for best results.[27]⧼thumbs_response⧽
- Iodine tablets and other non-chlorine water treatments are not recommended, since they kill fewer microorganisms than chlorine.[28]⧼thumbs_response⧽
Things You'll Need
- Food grade containers (see article)
- Unscented liquid chlorine bleach or a way to boil the water
- Cool, dark storage location
References
- ↑ http://www.redcross.org/images/MEDIA_CustomProductCatalog/m4440181_Food_and_Water-English.revised_7-09.pdf
- ↑ https://www.fema.gov/pdf/library/f&web.pdf
- ↑ Mike Garcia. Licensed Landscape Contractor. Expert Interview. 20 November 2020.
- ↑ http://extension.psu.edu/natural-resources/water/drinking-water/water-testing/pollutants/bottled-water
- ↑ https://www.epa.gov/sites/production/files/2015-11/documents/2005_09_14_faq_fs_healthseries_bottledwater.pdf
- ↑ http://www-tc.pbs.org/strangedays/pdf/StrangeDaysSmartPlasticsGuide.pdf
- ↑ http://www.superfoodsrx.com/healthyliving/reusing-plastic-is-not-safe/
- ↑ https://www.ready.gov/water
- ↑ http://web.mit.edu/watsan/Docs/Student%20Theses/Kenya/Suzanne%20Young-Thesis.pdf
- ↑ https://www.fema.gov/pdf/library/f&web.pdf
- ↑ http://nchfp.uga.edu/how/can_01/sterile_jars.html
- ↑ http://www.nationalterroralert.com/safewater/
- ↑ https://www.epa.gov/ground-water-and-drinking-water/emergency-disinfection-drinking-water
- ↑ http://edis.ifas.ufl.edu/ss439
- ↑ https://www.ncbi.nlm.nih.gov/pubmed/8108021
- ↑ http://edis.ifas.ufl.edu/ss439
- ↑ https://www.fema.gov/pdf/library/f&web.pdf
- ↑ https://bottledwater.org/bottled-water-storage/
- ↑ http://edis.ifas.ufl.edu/ss439
- ↑ https://bottledwater.org/bottled-water-storage/
- ↑ https://www.fema.gov/pdf/library/f&web.pdf
- ↑ http://www.superfoodsrx.com/healthyliving/reusing-plastic-is-not-safe/
- ↑ http://www.eatbydate.com/drinks/how-long-does-water-last-shelf-life-expiration-date/
- ↑ Mike Garcia. Licensed Landscape Contractor. Expert Interview. 20 November 2020.
- ↑ http://edis.ifas.ufl.edu/ss439
- ↑ http://www.fda.gov/ForConsumers/ConsumerUpdates/ucm203620.htm
- ↑ https://www.fema.gov/pdf/library/f&web.pdf
- ↑ https://www.fema.gov/pdf/library/f&web.pdf
About This Article
To store water long term, start by getting plastic or stainless steel food or beverage containers and cleaning them thoroughly. If the containers are new, wash them out with soap and hot water. For old containers, sanitize them with a solution of 1 teaspoon of household bleach for every quart of water. When your containers have been washed and rinsed, fill them with drinkable water and seal them tightly. Then, label the containers by writing "drinking water" on the side, along with the date, and store them someplace cool and dark. For information from our Landscaping reviewer on how to figure out how much water you should store for an emergency, scroll down!




-Step-28-Version-3.webp)



-Step-28-Version-3.webp)

