This article was co-authored by Trent Potter. Trent Potter is a Shoe Care and Repair Specialist and the Founder and Co-Owner of Southern Polished and Potter & Sons, a sandal-making business and shoe repair business. With over nine years of experience, he specializes in hand-crafted sandals, shoe cleaning and polishing, and sole and heel repair. Trent holds a BA in Political Science from The University of Tennessee-Knoxville. Trent’s work with Southern Polished has been featured in Nashville Lifestyles, Okra Magazine: Real Southern Culture, Today in Nashville, and Good Grit Magazine. Trent also has a YouTube channel alongside his brother, Heath, called Trenton & Heath, which has over 250K subscribers.
There are 9 references cited in this article, which can be found at the bottom of the page.
This article has been viewed 45,083 times.
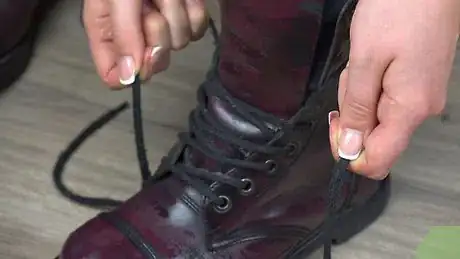
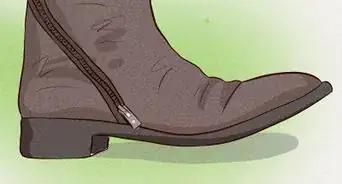
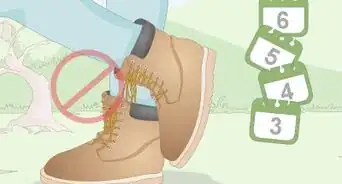
Instead of breaking in steel toe boots by wearing them and getting painful blisters in the process, you might want to stretch them out before you wear them. Luckily, there are some easy techniques that you can use to stretch your boots up to a half size larger. Try using a broomstick for a quick and inexpensive way to stretch your boots. If you have more time, you might want to try freezing your boots with bags of water in the toes or heating the boots with a blow dryer if they’re made from leather. You can also use a 2-way shoe stretcher to widen and lengthen your steel toe boots.
Steps
Using a Broomstick
-
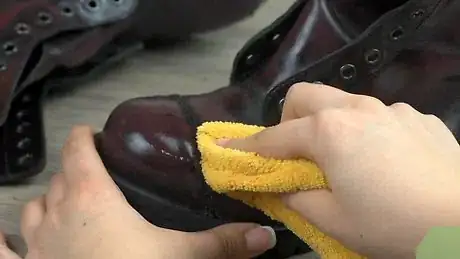
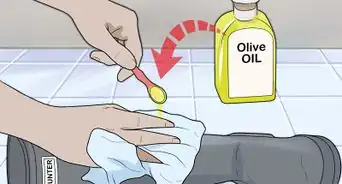
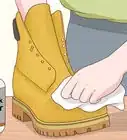
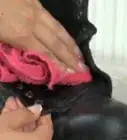
1Apply leather conditioner if the boots are made from leather. Pour 1 US tbsp (15 mL) of leather conditioner onto a clean, dry rag. Then, begin rubbing the leather conditioner all over the outside of the boots. Use circular motions to cover the entire boot.
- This is optional, but it’s helpful if the boots are made from leather. Leather conditioner can help to soften and protect the leather and may also make it easier to stretch the boots.[1]
-
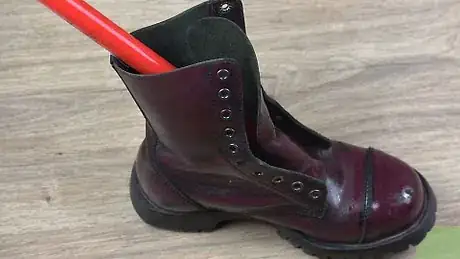
2Insert the end of a broomstick through the opening in the boot. Remove the stick from a broom by turning the broom attachment counterclockwise. Hold the stick about 1/3 of the way from the top while the bottom of the stick rests on the ground. Then, insert the top of the stick through the opening in your boot.[2]
- A mop or shovel handle will also work for this. If using a shovel or mop, you won’t need to remove the attachment. It’s only necessary to do this with a broom since broom bristles are not very sturdy when you press them against the ground.
- Do this outside while standing on grass or inside on a carpeted area. This will make it less likely that the broomstick will slip.
Warning: Avoid doing this on slippery surfaces or surfaces that might be damaged by the broomstick pressing against them, such as linoleum, hardwood, and laminate flooring.
Advertisement -
3Press downwards on the boot to stretch it. Push hard enough on the boot so that you can see the end of the outline of the broomstick’s tip poking through the material all around the inside of the boot. Hold the broom in each position for 10-20 seconds at a time. Although the broom handle cannot poke through the steel toe, it can stretch the areas around it. Make sure to focus on any areas of the boot that feel tight when you wear them.
- Switch to the other boot after you finish stretching the first one.
- It may take several minutes to stretch each of the boots all over.
-
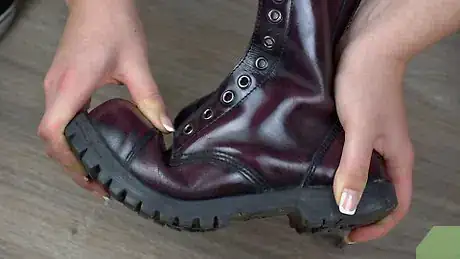
4Bend the sole as you stretch the boot material to break in the boots even more. Bend the toe and heel of the boots back and forth to stretch them. Hold the sole in the stretched position for 10-20 seconds at a time. This will help to make the soles of the boot more flexible and comfortable.
- Repeat this for each of the boots.
-
5Repeat 2-3 times to stretch out the boot more if needed. Try on the steel toe boots after you finish stretching them to see if they feel more comfortable. If there are still some tight areas, repeat the process to stretch them out more.[3]
Freezing the Boots
-
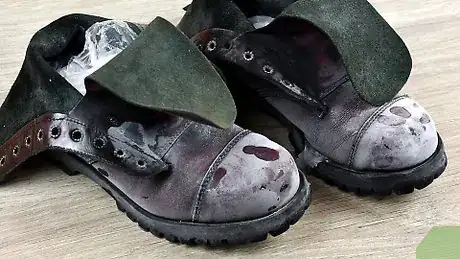
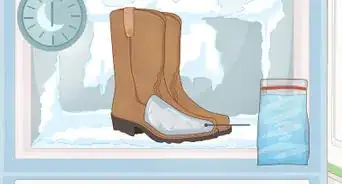
1Fill 2 plastic quart-sized bags with water and seal them. Pour enough water into each of the bags to fill them up halfway or more to fill in the toe sections of the boots. Push the air out and then seal the bags. Hold them upside down over a sink for a few seconds to ensure that there are no leaks.[4]
- If possible, opt for freezer-safe bags. These will be less likely to leak.
- You can use gallon-sized bags if you don’t have quart-sized bags. Adjust the water level so that it will fill out the toes of the boots.
-
2Push the bags down into the boots so they are filling the toes. Use your hand to gently push the bags into the toes of the boots. Then, tap the toes against a hard surface a few times to get the bags all the way down into them. This will help to ensure that the boots stretch in the toe area as the water freezes and expands.[5]
-
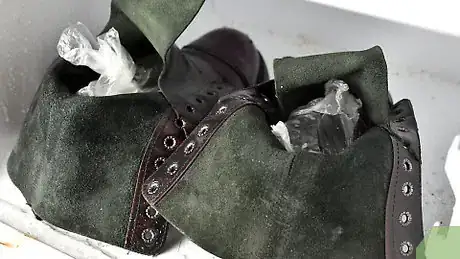
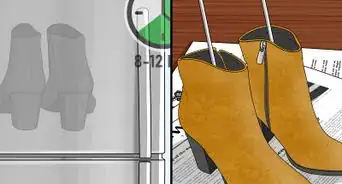
3Place the boots in your freezer overnight with the heels propped up. Place a book or piece of wood under each of the heels. This will help keep the water filled bag in the toes of the boots. It will take a few hours for the water to freeze, but it’s best to give the boots 8 hours to be sure.[6]
- If the boots are dirty, place them into a plastic grocery bag before putting them in your freezer. This will help to prevent any dirt or debris from getting on your frozen foods.
Tip: You could also place the boots outside when the temperature will fall below 32 °F (0 °C). This is cold enough for the water to freeze and you won’t need to take up freezer space to do it.
-
4Take the boots out of the freezer and thaw them for 20 minutes. Place the boots on a towel or rug on the floor to thaw. Make sure that you do this indoors or someplace where the temperature is warm. Place the boots near a radiator or heating vent to speed the process even more.[7]
- Don’t wait for the ice to thaw completely. The ice only needs to thaw enough to easily remove the bags from the toes of the boots.
-
5Remove the bags and repeat the process to stretch the boots more. Take the ice filled bags out of the boots when they have thawed enough to get them out. Then, try on the boots to see how they fit. If the boots still feel snug, you can repeat the process. Each time you do this the boots will stretch a little more.[8]
- If the boots are still quite snug, you may need to repeat the process 2-3 more times to achieve the desired size.
- This method works well for most types of boots, like rubber boots, leather boots, etc.
Heating Leather Boots
-
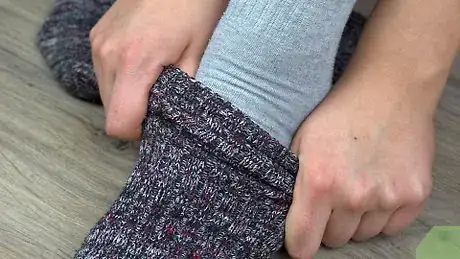
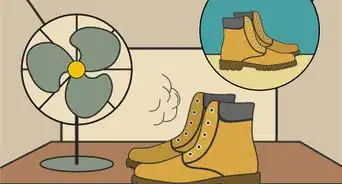
1Put on 2 pairs of thick socks and then put on your boots. The heat from the dryer will penetrate the leather, which can burn your feet. To protect them, put on 2 pairs of thick socks. This will also help to stretch the leather as you warm it up with the blow dryer.[9]
- A single pair of very thick wool socks may also be enough to protect your feet from the heat and break in the leather.[10]
Warning: Do not use this method on non-leather boots. The heat from a blow dryer may damage synthetic materials, such as vinyl and pleather.
-
2Hover your blow dryer over the tight areas of the boots for 30 seconds. Turn the dryer to medium heat, or use the low setting if your dryer doesn’t have a medium setting. Then, hold the nozzle of the dryer about 3 in (7.6 cm) from the leather. Hover it over any tight spots on the boots for 30 seconds, and then move the heat to a new area.[11]
- Repeat this until the boots feel comfortable.
- Walk around in your boots to help break them in faster.[12]
-
3Apply a leather conditioner to the boots after you’re finished. Heat may cause the leather to become dry, so make sure to follow up the heat treatment by applying leather conditioner to the outside of the boots. Apply roughly 1 US tbsp (15 mL) of leather conditioner to a clean, dry rag. Then, rub the leather conditioner all over the outside of the boot using circular motions. Repeat this for the second boot.[13]
- Keep in mind that this is optional, but it is recommended to protect the leather and the conditioner may also help to soften the leather and allow it to stretch even more.
Using a 2-Way Shoe Stretcher
-
1Apply leather conditioner if the boots are made from leather. Pour about 1 US tbsp (15 mL) of leather conditioner onto a clean, dry rag. Then, begin rubbing the leather conditioner all over the outside of the boot. Use circular motions to cover the entire boot, and then repeat this for the other one.
- If your boots are leather, this is helpful. Leather conditioner softens and protects leather and it may also make it easier to stretch the boots.
-
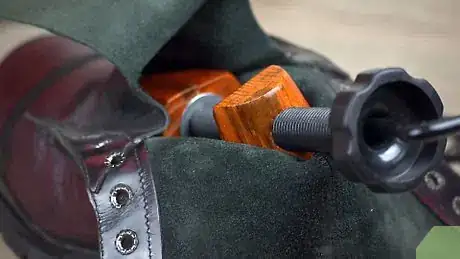
2Turn the widening and lengthening handles counter-clockwise. Make sure that you get a 2-way stretcher to ensure that it will widen the boots. Otherwise it may only stretch them lengthwise. This will make the stretcher smaller. Keep turning the handles until the stretcher is small enough to easily fit into the boot.[14]
Tip: You could also insert bunion plugs into the holes in the stretcher at this time if you suffer from bunions. Not all stretchers include them, but if yours does it can be a helpful way to stretch the boots in targeted areas.
-
3Insert the stretcher into the boots and adjust the length and width. Turn the lengthening wheel until the stretcher is snug in the boot, and do the same for the other stretcher in the other boot. Then, adjust the width in the same way. Once the stretchers are snug in the boots, turn the lengthening and the widening wheels on each stretcher 3 more times. This will help to ensure that the boot is getting a good stretch.[15]
- Even if you don’t need the boot to be longer, lengthening it along with widening it will help to create even more width.
-
4Leave the stretcher in place for 24 hours or longer. Don’t try to remove the stretcher right away even if it appears to be the desired size. A shoe stretcher exerts a lot of pressure on your boot, but removing the stretcher too soon can cause the material to snap right back to its original size.[16]
- The longer you can wait to remove the stretcher, the better the chances are that the material will not snap back to its original size.
-
5Try on the boots to see if they fit better. If the boots are still too tight, repeat the process to stretch them even more. You may need to repeat the process 2-3 more times to get the desired size if the boots are very tight.[17]
Things You’ll Need
Using a Broomstick
- Broomstick
- Leather conditioner (optional)
- Rag (Optional)
Freezing the Boots
- 2 resealable plastic quart-sized bags
- A book or piece wood
- Towel or rug
Heating Leather Boots
- 2 pairs of thick socks
- Blow dryer
- Leather conditioner (optional)
- Rag (Optional)
Using a Shoe Stretcher
- 2-way shoe stretcher
- Leather conditioner (optional)
- Rag (Optional)
References
- ↑ Trent Potter. Shoe Care & Repair Specialist. Expert Interview. 22 April 2021.
- ↑ https://www.youtube.com/watch?v=LEeGjG04nx0&feature=youtu.be&t=70
- ↑ https://www.youtube.com/watch?v=LEeGjG04nx0&feature=youtu.be&t=110
- ↑ https://www.youtube.com/watch?v=5mcqj5iUplo&feature=youtu.be&t=20
- ↑ https://www.youtube.com/watch?v=5mcqj5iUplo&feature=youtu.be&t=50
- ↑ https://www.youtube.com/watch?v=5mcqj5iUplo&feature=youtu.be&t=60
- ↑ https://www.self.com/story/how-to-stretch-shoes-that-are-too-small
- ↑ https://www.self.com/story/how-to-stretch-shoes-that-are-too-small
- ↑ https://www.self.com/story/how-to-stretch-shoes-that-are-too-small
- ↑ Trent Potter. Shoe Care & Repair Specialist. Expert Interview. 22 April 2021.
- ↑ https://www.self.com/story/how-to-stretch-shoes-that-are-too-small
- ↑ Trent Potter. Shoe Care & Repair Specialist. Expert Interview. 22 April 2021.
- ↑ https://www.self.com/story/how-to-stretch-shoes-that-are-too-small
- ↑ https://www.youtube.com/watch?v=hMgj4XVHpY4&feature=youtu.be&t=15
- ↑ https://www.youtube.com/watch?v=hMgj4XVHpY4&feature=youtu.be&t=40
- ↑ https://www.self.com/story/how-to-stretch-shoes-that-are-too-small
- ↑ https://www.self.com/story/how-to-stretch-shoes-that-are-too-small
About This Article
To stretch steel toe boots, first fill 2 freezer bags with water. Make sure they're sealed, then slide one bag into each boot. Squeeze the bags all the way toward the toes of your boots, then put your boots in the freezer overnight. The bags of water will freeze and expand, stretching out your boots in the process. In the morning, let your boots thaw for 20 minutes, then take the bags out and see if your boots fit better. Another thing you can try is heating your boots to stretch them out. Just put on a few pairs of thick socks, slip on your boots, and point a blow dryer at any tight areas for 30 seconds to loosen them. To learn how to stretch steel toe boots with a broom, read on!
