This article was co-authored by Nick Arrojo. Nick Arrojo is a Master Hair Stylist and the Owner and Founder of Arrojo NYC, an independent hairdressing brand. With over 35 years of experience, he specializes in cutting and styling hair using precision-based hairdressing and educating hair professionals through Arrojo Education. Nick has become a well-known icon in the hair industry with his internationally recognized razor-cutting technique, work with fashion designers, and seven years as TLC’s ‘What Not to Wear’ hairdressing host.
There are 7 references cited in this article, which can be found at the bottom of the page.
This article has been viewed 317,901 times.
A fauxhawk is a haircut that is shorter on the sides and longer on the top. It is similar to a pixie and a quiff. The most popular way to style it is into a mohawk. On the other hand, a fauxhawk can also refer to any hair style that mimics a mohawk; this is typically done on longer styles and requires you to pull and pin your hair back.
Steps
Styling a Fauxhawk on Short Hair
-
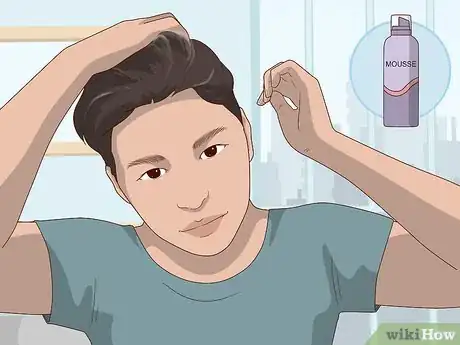
1Apply a palmful of mousse to damp hair. Get your hair wet first—it can be straight after a shower or with water from a spray bottle. Pat it dry with a towel so that it is no longer soaking wet. Next, use your fingers to apply some mousse to your hair.
- Choose a mousse that will give your hair some volume. This will help create that much-needed lift.
-
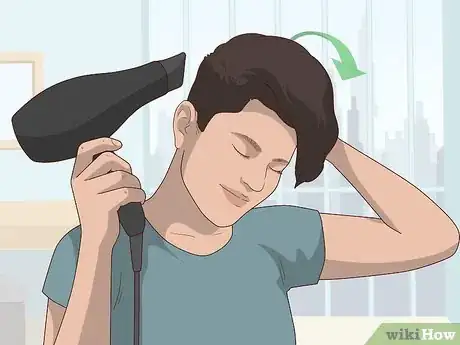
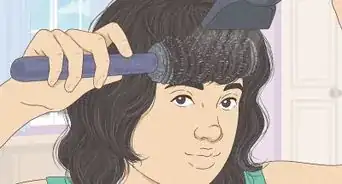
2Blow dry your hair while combing it forwards and up. Brush the hair on top of your head forwards while blow drying it. Next, brush your hair across the top of your head, towards the left side of your head, and blow dry it some more. After that, brush it towards the right and continue blow drying it. Keep doing this until your hair is dry.[1]
- At the end of this, the hair on the top of your head should be sticking upwards. It won't resemble a full mohawk just yet, but that's because you're not quite done styling it.
- If the hair on the back and sides of your head is long enough to brush into style, blow dry it downwards.
Advertisement -
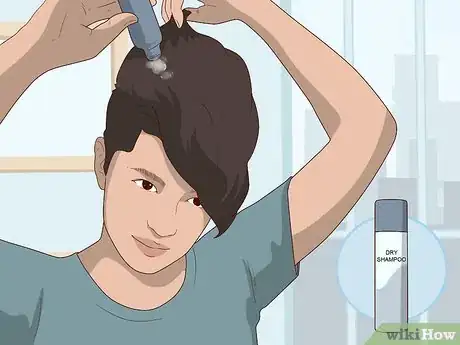
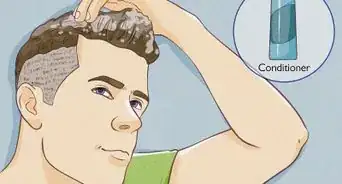
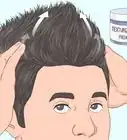
3Distribute dry shampoo or volumizing mousse through your roots. Use your fingers to distribute the product through your hair, then gently comb your fingers upwards. Focus on your roots; if you put too much product on the ends of your hair, you’ll weigh it down instead and lose the ‘hawk.[2]
- You are only applying to product to the hair on the top of your head, not the back or sides.
-
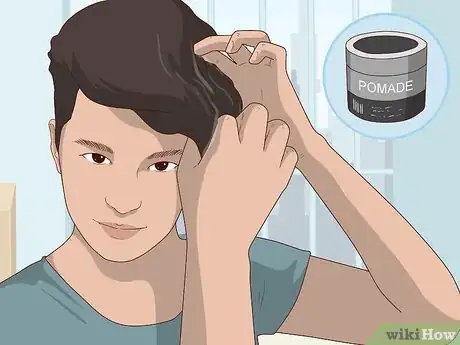
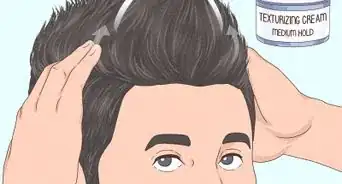
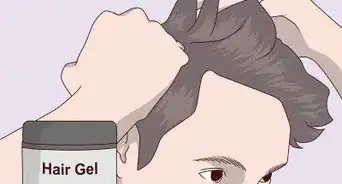
4Sculpt your fauxhawk into shape with some pomade or wax. Use your fingers to scoop out a small amount of pomade or wax. Rub the product between your palms until it disappears and your hands feel sticky. Press your hands together to either side of the fauxhawk, sandwiching it between your palms. Run your hands upwards to help shape your fauxhawk.[3]
- This will pull your fauxhawk up into a tapering wedge shape.
- You can also style your fauxhawk with hair gel, which will hold your hair in place all day.[4]
-
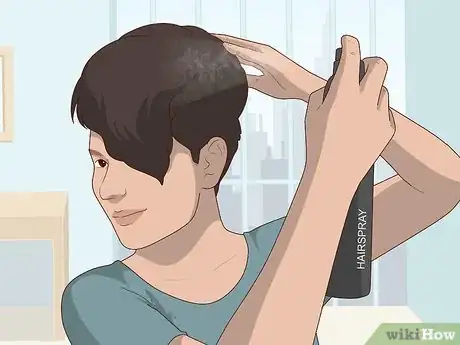
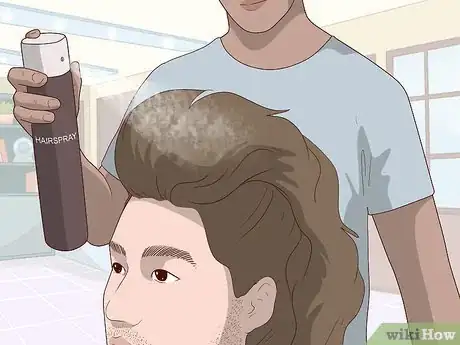
5Set your style with hairspray, if desired. At this point, your hair is done. The products that you used in your hair earlier should be enough to keep it in place. If you'd like something a little stronger, however, lightly mist your fauxhawk with hairspray.[5]
- A light-hold hairspray is all you really need. Focus on the top and sides of your fauxhawk.
Creating a Fauxhawk on Long Hair
-
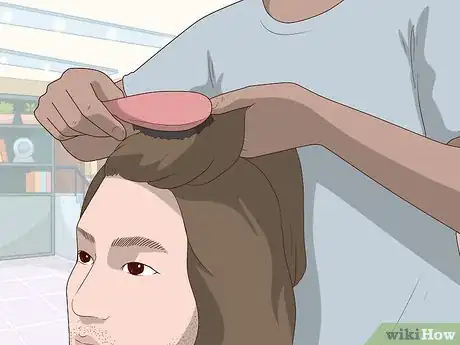
1Brush out your hair. You can do this style on clean or dirty hair. If you just washed your hair, blow dry it, then apply some dry shampoo to it in order to give it some texture.
-
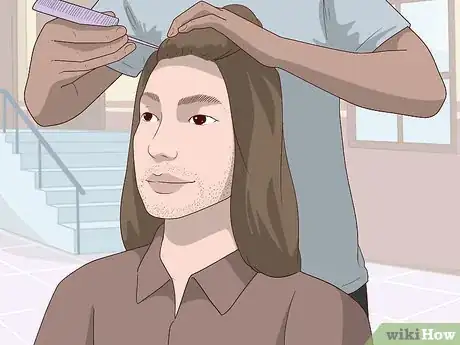
2Section off the front part of your hair and clip it out of the way. Use the handle of a rat-tail comb to create a section that spans the width of your forehead. It should be about 2 to 3 inches (5.1 to 7.6 cm) thick, or the distance between your front hairline and the front of your ears. Twist the section into a bun or secure it with a clip.[6]
-
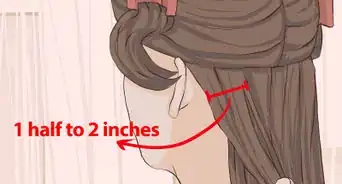
3Gather a thin section of hair from your temple and pull it back. Make the section about 1 to 2 inches (2.5 to 5.1 cm) wide. For a fancier touch, give the strand an upward twist.[7]
- Pull the section firmly enough so that it is nice and smooth. If you need to, mist your hair with water to help keep the flyaways down.
-
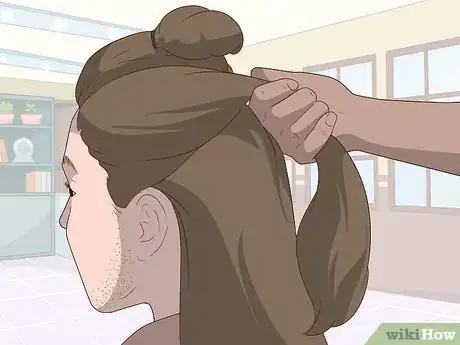
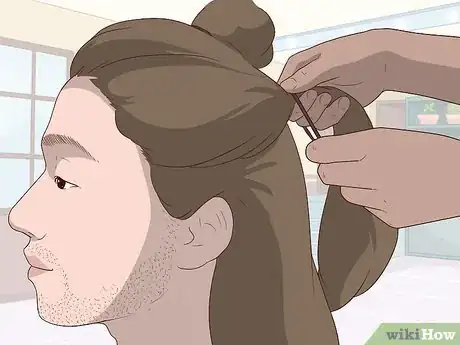
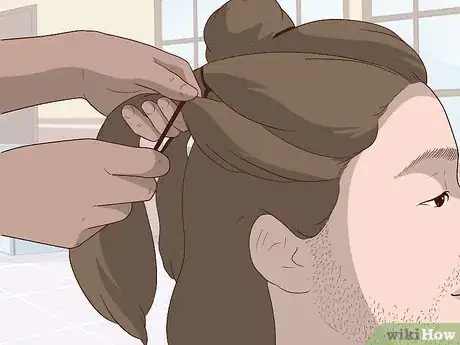
4Pin the section at the back of your crown. This is just like pulling your hair back for a half-up ponytail. Pull the strand towards the back of your crown, just before the side of your head starts to curve into the back of your head. Secure the strand with a bobby pin.[8]
- If you have thick hair, you may need to use 2 bobby pins instead. Cross them so that they form an X.
- Use bobby pins that match your hair color, if possible.
-
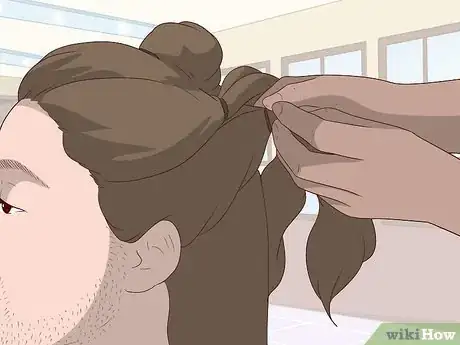
5Repeat the process along your hairline. Go back to where you grabbed the first section of hair. Grab another 1 to 2 in (2.5 to 5.1 cm) section of hair from your hairline, and pull it towards the back of your head. Pin it just below the first section of hair. Keep doing this until you reach your nape.[9]
- If you are twisting your hair, make sure that you are twisting it upwards for each strand.
- The last strand should be pinned right on the edge of your nape.
-
6Repeat the process for the right side of your head. Gather 1 to 2 in (2.5 to 5.1 cm) sections of hair, pull them towards the back of your head, and secure them with bobby pins. You will have a gap between the left and right sides of your head. This gap will be filled with un-pinned hair, which is what creates the fauxhawk.[10]
- Keep the fauxhawk consistent. Its starting width should span your forehead, then it should taper down to the span of your nape.
-
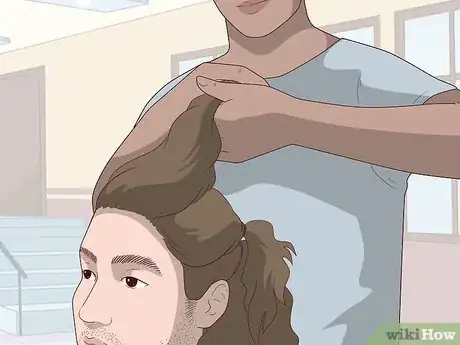
7Undo the section at the front of your head and pull it back. Your hair should drape back over the fauxhawk. If you want to, however, you can insert bobby pins to the left and right sides so that it doesn’t cover your temples.[11]
- If you have straight hair, consider teasing it at the roots for extra volume.
-
8Set your style with hairspray. For a fancier style, use a curling iron to add some waves to your hair first. Once you are happy with your style, mist it with hairspray, focusing on the sides of your head.[12]
- If you are using a curling iron, be sure to apply some heat protectant first.
- The bobby pins should not be visible. If you need to, manipulate your hair so that it covers them. Mist your hair with more hairspray to keep it in place.
Doing a Fauxhawk on Natural Hair
-
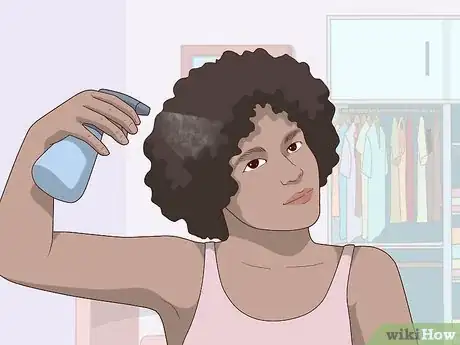
1Dampen your hair. This style is not a protective style, so it can be done on washed or unwashed hair. Your hair should be mostly dry—a light misting of water is all you need.[13]
- This style is meant for natural (African American) hair, but you may be able to do it if you have short, curly (Caucasian) hair as well.
-
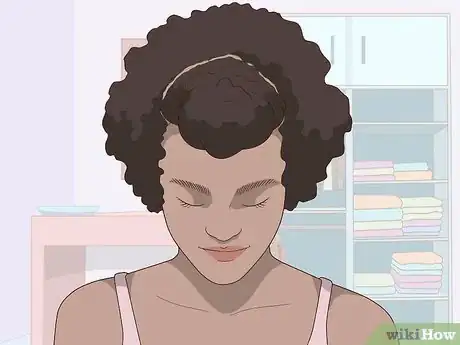
2Gather a section of hair from your front hairline and clip it aside. The section should span the width of your forehead and be about 3 inches (7.6 cm) thick. You want the section to start at your hairline and finish just in front of your ears. Twist the section out of the way.[14]
- You can twist the section into a rope braid or bun, as long as it is out of the way.
-
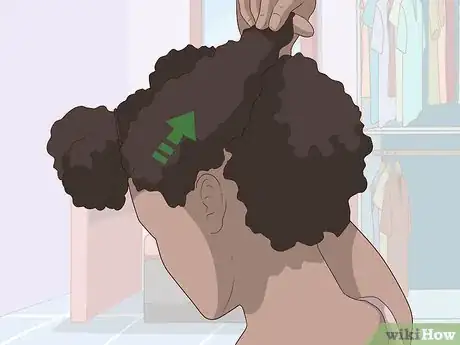
3Pull the hair at your temple towards the back of your crown. Choose a side on your head to start with, then gather the hair that's in front of your ear. Pull it towards the back of your crown.[15]
- Try to pull your hair back as tightly as you can, like making a ponytail. You want the stands to be smooth.
- If you want to, apply some hair butter or shea butter to the section before you pull it back.
-
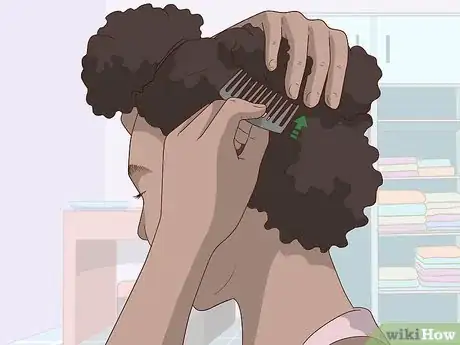
4Slide a comb down through the hair to secure it. Pull the ends of the hair section across the top of your head so that it is as sleek as possible. Next, slide a comb through the hair section, right where the top of your head starts to curve into the sides.[16]
- Let go of the ends of your hair when you are done.
- Use combs that match your hair color as closely as possible.
-
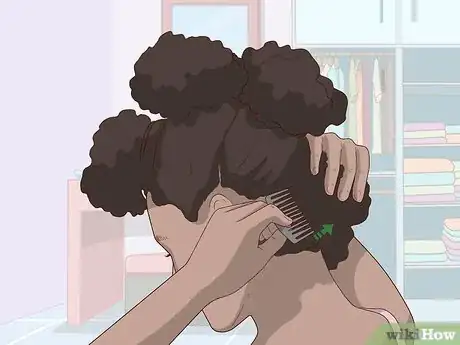
5Repeat the process 2 to 3 more times until you reach your nape. Make each section as equal in size as possible. When you reach the hair at your nape, place the comb right at the edge of the nape.[17]
-
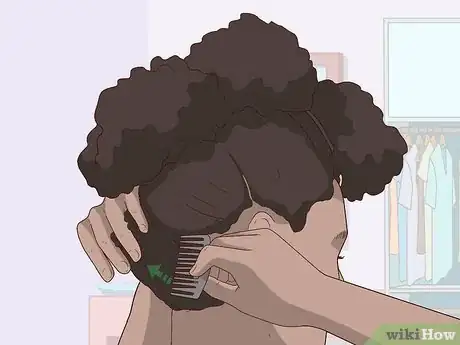
6Repeat the process for the other side of your head. Make sure that you leave a gap between the 2 rows of combs that's about the same width as your forehead.[18]
-
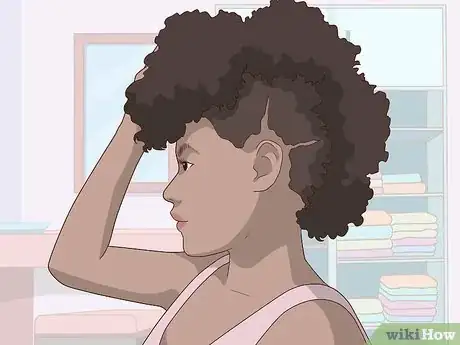
7Undo the rope braid or bun, then fluff it out. You can fluff out the rest of your hair too. There is no need to set your style with hairspray.[19]
- This is not a protective style, so be sure to take it out at the end of the day.
Community Q&A
-
QuestionHow often should I wash my hair?
 Community AnswerIt depends how dry or oily your hair is. The drier it is, the less you should wash it.
 -
QuestionIs this easier to do with a comb?
 Community AnswerYes, if your hair isn't tangled. You can also use a brush. Depends on your hair type.
 -
QuestionHow do I style a fauxhawk with short hair?
 Community AnswerThis style requires a little length. If you've followed the steps and it won't work, let your hair grow a little before you try again.
Things You'll Need
Styling a Fauxhawk on Short Hair
- Brush
- Hairdryer
- Mousse
- Wax or pomade
- Hairspray
Creating a Fauxhawk on Long Hair
- Bobby pins
- Hairspray
- Hair clips
Doing a Fauxhawk on Natural Hair
- Hair combs
- Hair clips
- Hair butter
References
- ↑ https://www.youtube.com/watch?v=mtEfx-PJ2UI&feature=youtu.be&t=1m40s
- ↑ https://www.youtube.com/watch?v=mtEfx-PJ2UI&feature=youtu.be&t=4m30s
- ↑ https://www.youtube.com/watch?v=mtEfx-PJ2UI&feature=youtu.be&t=5m25s
- ↑ Nick Arrojo. Master Hair Stylist. Expert Interview. 9 September 2021.
- ↑ https://www.youtube.com/watch?v=mtEfx-PJ2UI&feature=youtu.be&t=7m10s
- ↑ https://www.allthingshair.com/en-us/hairstyles-haircuts/braids/womens-fauxhawk/
- ↑ https://www.allthingshair.com/en-us/hairstyles-haircuts/braids/womens-fauxhawk/
- ↑ https://www.allthingshair.com/en-us/hairstyles-haircuts/braids/womens-fauxhawk/
- ↑ https://www.allthingshair.com/en-us/hairstyles-haircuts/braids/womens-fauxhawk/
- ↑ https://www.allthingshair.com/en-us/hairstyles-haircuts/braids/womens-fauxhawk/
- ↑ https://www.allthingshair.com/en-us/hairstyles-haircuts/braids/womens-fauxhawk/
- ↑ https://www.allthingshair.com/en-us/hairstyles-haircuts/braids/womens-fauxhawk/
- ↑ https://camillestyles.com/beauty-and-style/-tutorials/how-to-rock-a-faux-hawk/
- ↑ https://camillestyles.com/beauty-and-style/-tutorials/how-to-rock-a-faux-hawk/
- ↑ https://camillestyles.com/beauty-and-style/-tutorials/how-to-rock-a-faux-hawk/
- ↑ https://camillestyles.com/beauty-and-style/-tutorials/how-to-rock-a-faux-hawk/
- ↑ https://camillestyles.com/beauty-and-style/-tutorials/how-to-rock-a-faux-hawk/
- ↑ https://camillestyles.com/beauty-and-style/-tutorials/how-to-rock-a-faux-hawk/
- ↑ https://camillestyles.com/beauty-and-style/-tutorials/how-to-rock-a-faux-hawk/

-Step-11-Version-5.webp)





-Step-11-Version-5.webp)


