This article was co-authored by Andres Matheu. Andres Matheu is the Owner of Hömm Certified Painting Systems, an Interior and Exterior Residential painting business based in the Washington, DC Metro area. Andres specializes in interior and exterior residential painting, color consultations, cabinet refinishing, wallpaper removal, and epoxy flooring among other services. An EPA Lead-safe Certified Firm, Hömm Certified Painting Systems has been awarded the Best of Houzz 2019 Service, Angie's List Super Service Award 2019, and Northern Virginia Magazine's 2018 Best Home Experts (painters) award.
This article has been viewed 140,501 times.
Painting a room as part of a decorating project is a great way to bring new life to a room, personalize a space, and make a home feel more welcoming. Taping the room is a time-consuming part of a painting project, but it’s important for protecting surfaces and ensuring sharp lines and straight edges. Tape can be used sparingly and only applied to horizontal surfaces like floor trim, or it can be used generously to cover ceilings, window and door frames, handles, and other areas that could potentially be spattered with paint.
Steps
Taping off the Room
-
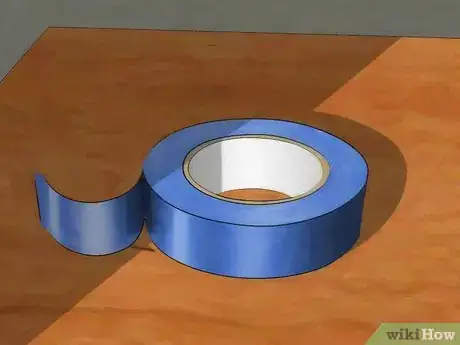
1Choose the right tape. There are different types of painter’s tape that are designed to stick to specific surfaces, and you want to pick a tape that’s appropriate for your use.
- For instance, there are specific painting tapes designed for drywall, wood, metal, or wallpaper.
- Painter's Mate Green painter’s tape, Scotch blue painter’s tape, and FrogTape are multi-surface tapes that are all popular choices for most home renovation needs.
-
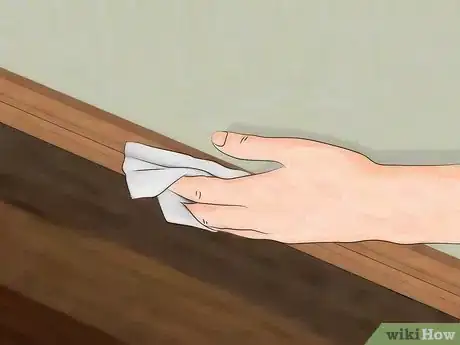
2Wipe down the areas you wish to tape. To ensure the tape sticks properly, take a damp cloth and wipe away dirt and dust from the surfaces where you'll be applying tape. Otherwise, the tape will stick to the dust particles instead of the surface and will peel off before you even begin painting.
- Allow the area to air dry completely before applying tape.
Advertisement -
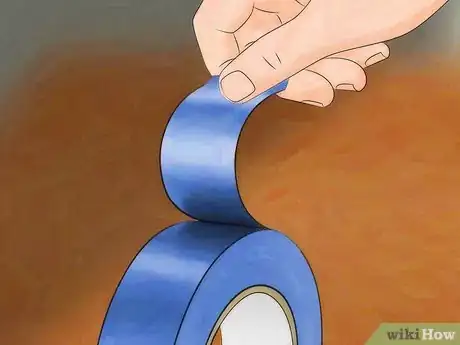
3Use short strips of tape. Tape actually stretches, so if you try to use strips that are too long, you will stretch the tape, and this will lead to paint bleeding onto the surfaces you're trying to protect.
- When you're applying painter’s tape, apply it in foot-long strips. Be sure to slightly overlap each section of tape so that paint can't get through.[1]
-
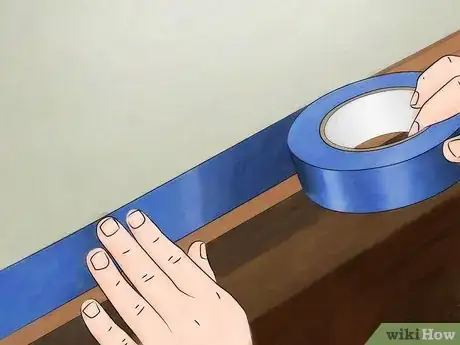
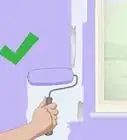
4Tape the areas you want to protect. What you need to protect will depend on what you're painting. For instance, if you're painting walls, you may want to mask (tape) the ceiling, floor trim, window and door frames, or tile (in a bathroom). To paint a ceiling, you'll want to mask sections of the adjoining walls. Other things that may require protection include electrical boxes, door handles, cabinets, furniture and fixtures.
- In general, you'll want to apply tape around all of the trim, baseboards, door frames, window casings, and crown moldings.[2]
- When you're applying tape, apply it flush with and as close as possible to the surface you'll be painting. For instance, to protect a ceiling from wall paint, apply the tape to the ceiling where the ceiling and wall meet, getting the tape as close to the wall as possible without masking the wall itself.[3]
- If you're painting multiple surfaces, always make sure fresh paint is fully cured before you apply tape to the surface. While paint may dry in a few hours, it takes several days to cure.
-
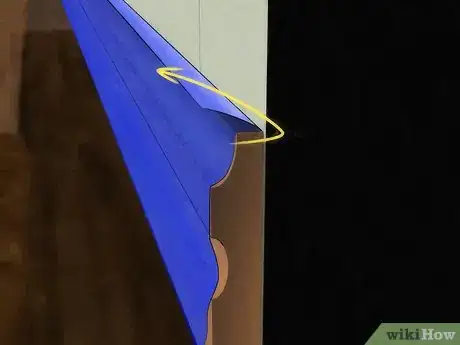
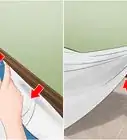
5Make an eave with tape to protect horizontal surfaces. When you're masking horizontal surfaces like floor trim, don’t fold excess tape down onto the trim. Instead, apply the tape edge to the trim as close to the wall as possible, and then leave the excess tape sticking out like a roof overhang so that it will catch any paint splatter.
-
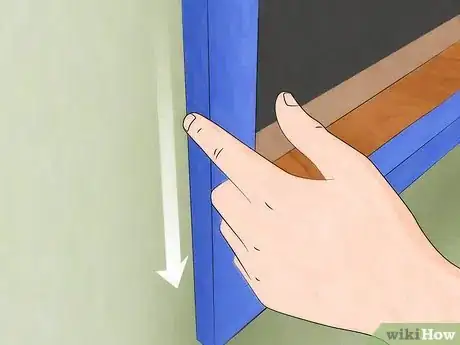
6Seal the tape to the surface. Press down as you apply the tape to ensure it’s properly sealed to the surface (you may want to double check that the seal is good). This will bond the tape to the surface, stop paint from bleeding, and prevent the tape from peeling off prematurely.
- Instead of your finger you can also use a putty knife flat against the surface to seal the tape in place, just be careful not to tear the tape.
-
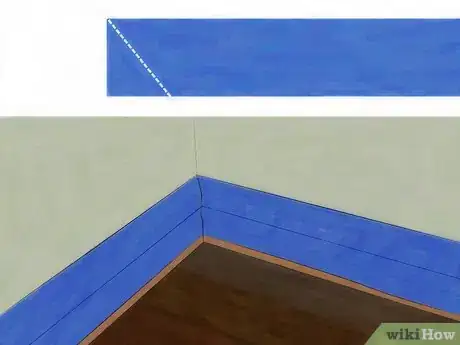
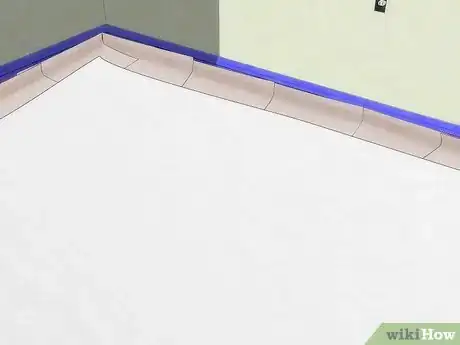
7Miter tape in corners. At internal angles, such as where floor trim meets in corners, cut the edge of the tape on a 45-degree angle at each corner, so that the angle created on the top of the tape is an acute angle.[4]
- Mitering the tape like this will allow the edges to come together in corners without overlapping onto the wall.
- Make sure you leave enough tape to overlap the tape edges, so that no trim is exposed underneath.
- You can also do this in the corners of ceilings.
-
8Cover exposed surfaces with paper. This may be necessary if there are additional surfaces that you want to protect from paint spatter, such as the surface of an electrical panel, for instance, which may be exposed in the middle of the wall you want to paint or over the baseboard trim.
- To start, tape up the edges of the panel first, and press the tape down flat.
- Cover the remainder of the panel with newspaper or masking paper. Tape all the edges of the paper to keep it in place and prevent paint from getting in.[5]
- Paper or plastic with pre-attached tape is also available.
Getting the Room Ready
-
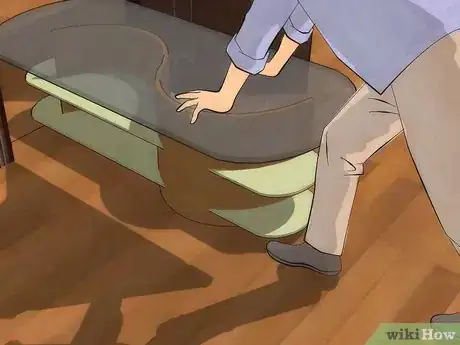
1Remove furniture from the room. To prevent paint from spilling or splattering where you don’t want it, remove any furniture and other items from the room before you begin painting.[6]
- If there are items that are too large or awkward to be removed, arrange them in the center of the room and cover them with a sheet, tarp, plastic cover, or drop cloth to protect them.
-
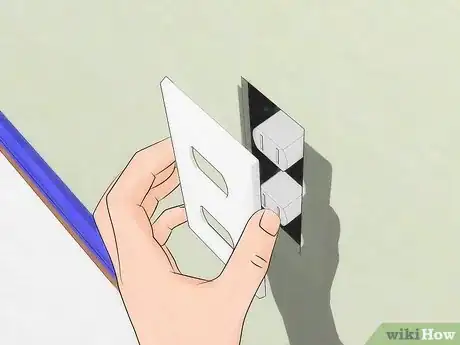
2Remove covers and plates from the walls. Electrical outlet covers, light switch plates, vents, and other items that are affixed to the wall should also be removed before painting, as you don’t want to have to worry about splatter or having to paint around them.
- Most vent, light, and plug covers are fastened with one or two screws, and can be removed with a screwdriver. Put a small piece of tape over the outlet and switch or paint could spatter here.
- Tape the screws to the back of each fixture to avoid losing them or mixing them up.
-
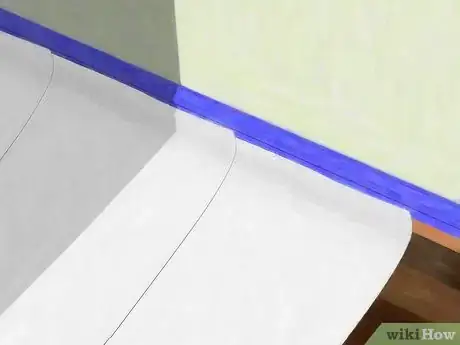
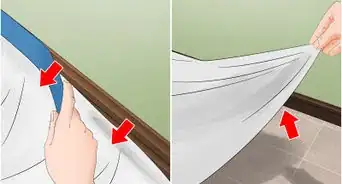
3Protect the floor. Unless you are redoing your floor after painting, cover the floor with a drop cloth, tarp, or plastic painter’s sheet before you begin. Pay special attention to the areas closest to the walls you will be painting.
- Canvas tarp is preferred because plastic on flooring can sometimes become slippery.
- Lay the sheet down as flat as possible and pull it taut so that it doesn’t become a tripping hazard. Use masking tape or painter’s tape to secure the sheet in place.
-
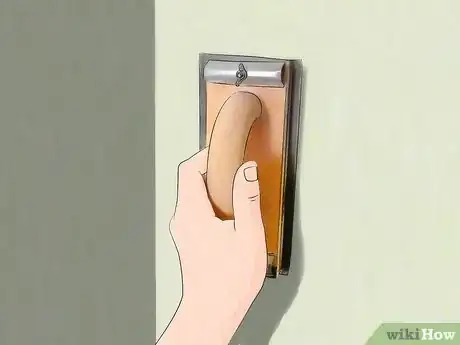
4Sand and clean the walls. This is important because you want to give the paint a fresh surface to stick to. Using 150-grit sandpaper, sand the areas you will be painting. Then, fill a small bucket with warm water and use it to dampen a course-grit sanding sponge. Go over the walls with the sponge, adding water as necessary.[7]
- When you have sanded the walls, get a fresh bucket of water and a clean sponge to wipe the walls down and remove dirt and dust. Add a bit of dish soap to the water if the walls are dirty.
- Allow the walls to dry, and when everything is dry, vacuum up any leftover dust and dirt from the walls and baseboards.
- When sanding, it’s a good idea to wear a protective mask and safety glasses to prevent dust from getting into your mouth, nose, and eyes.
Removing the Tape
-
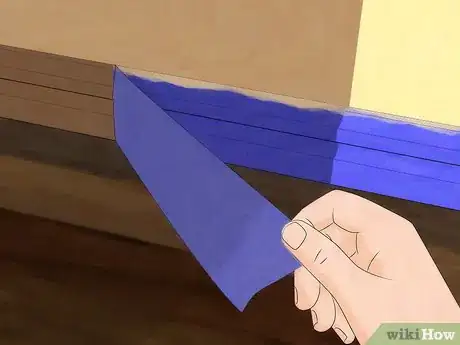
1Remove the tape when you're finished painting. To prevent the tape from sticking, leaving residue, or chipping the paint, remove the tape as soon as you're finished painting. If you wait for the paint to dry first, you risk the paint drying to the tape and peeling off with it, though if you applied the paint tightly enough to begin with this should not be a problem.
- Peel the tape off slowly, and pull it at a 135-degree angle toward yourself.
-
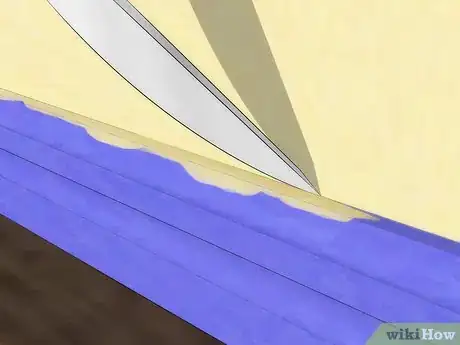
2Score the edges where paint has dried. If any paint has dried to the tape, use a utility knife, putty knife, or other blade to score the area where the tape and paint meet. Be careful not to score too deeply, or you could cut the wall.
- When you're scoring, hold the blade at a 45-degree angle.[8]
-
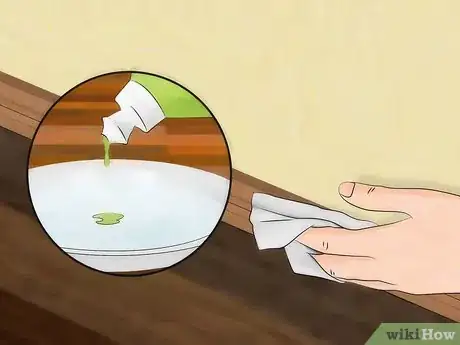
3Remove tape residue. Sometimes tape (usually a general purpose masking tape) can leave behind a sticky residue, even if you pull it off right after painting. When this happens, you can remove the residue with soap and water.
- Fill a small bowl with warm water and several drops of dish soap. Dip a lint-free cloth into the soapy water and rub at the tape residue with the cloth.
- Rinse the cloth, wring it out, and wipe the area with clean water.
- If you need something stronger than soap and water, consider using a citrus-based cleanser on the residue. Apply a small amount to the affected area and let it sit for a few minutes before wiping it away with a clean, damp cloth. Or dab a little Goof Off remover or a similar product.
Expert Q&A
Did you know you can get expert answers for this article?
Unlock expert answers by supporting wikiHow
-
QuestionHow do you tape before painting?
 Andres MatheuAndres Matheu is the Owner of Hömm Certified Painting Systems, an Interior and Exterior Residential painting business based in the Washington, DC Metro area. Andres specializes in interior and exterior residential painting, color consultations, cabinet refinishing, wallpaper removal, and epoxy flooring among other services. An EPA Lead-safe Certified Firm, Hömm Certified Painting Systems has been awarded the Best of Houzz 2019 Service, Angie's List Super Service Award 2019, and Northern Virginia Magazine's 2018 Best Home Experts (painters) award.
Commercial Painter
-
QuestionHow do you mix paint for painting?
 Community AnswerTo open the lid on the paint can, use a slotted screwdriver to pry the lid off the can. With a paint stir stick, chopsticks, or a long wood or metal stirring implement, gently stir the paint around inside the can to fully mix all the color. As you remove the stir stick, wipe excess paint off on the inside rim of the paint can.
References
- ↑ https://www.youtube.com/watch?v=P7rxJQxiv-c
- ↑ Andres Matheu. Commercial Painter. Expert Interview. 28 July 2020.
- ↑ https://www.youtube.com/watch?v=P7rxJQxiv-c
- ↑ https://www.youtube.com/watch?v=P7rxJQxiv-c
- ↑ https://www.youtube.com/watch?v=P7rxJQxiv-c
- ↑ http://www.wagnerspraytech.com/press-room/project-prep-your-room-to-paint-with-a-sprayer/
- ↑ http://www.thisoldhouse.com/toh/how-to/step/0,,20159698_20366137,00.html
- ↑ http://www.thisoldhouse.com/toh/article/0,,1566019-4,00.html
About This Article
To tape off a room for painting, start by wiping down the areas you want to tape with a damp cloth to ensure the tape will stick to the surface. Next, place painter’s tape on the areas you want to protect, such as the ceiling, floor trim, and window frames. Then, apply the tape in foot-long strips, as close as possible to the surface you’re painting, and press down to seal it to the surface. After you’ve finished painting, remove the tape as soon as you’re done to prevent it from sticking to or chipping the paint. For more tips from our General Contracting reviewer, like how to protect floors from paint, read on!
