This article was co-authored by wikiHow Staff. Our trained team of editors and researchers validate articles for accuracy and comprehensiveness. wikiHow's Content Management Team carefully monitors the work from our editorial staff to ensure that each article is backed by trusted research and meets our high quality standards.
There are 9 references cited in this article, which can be found at the bottom of the page.
This article has been viewed 30,079 times.
Learn more...
Whether it’s PVC pipe or steel plumbing pipe, tying pipe down to a roof rack is an easy way to transport it. It’s really important that you tie pipe down safely and securely before you start driving. Luckily, tying pipe to a roof rack is easy to do with the right gear. Make sure you follow the proper safety precautions and use ratchet straps for the strongest and most secure hold.
Steps
Taking Safety Measures
-
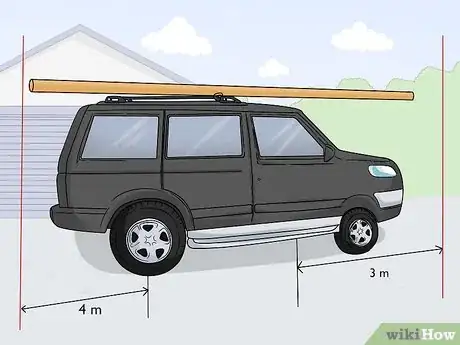
1Make sure the pipe doesn’t extend past the maximum overhang. Overhang refers to the amount of space that the pipe could extend past the front or the rear of the vehicle. The pipe can’t extend past 3 metres (9.8 ft) from the front edge of the driver’s seat or past 4 metres (13 ft) from the rear axle of the vehicle. Whenever you tie down your pipe, make sure it doesn’t exceed the maximum overhang for safety.[1]
- If your pipe extends too far over your windshield, it could obstruct your view while you’re driving.
- It’s also illegal in many locations to exceed the maximum overhang.
-
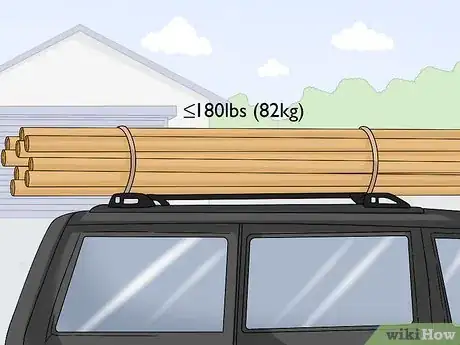
2Avoid strapping more than 180 pounds (82 kg) to your roof rack. Check the weight of the pipe that you’re planning to strap to your roof rack. Make sure it doesn’t exceed the weight capacity or you could damage your roof or roof rack.[2]
- Check your vehicle’s manual for how much you can safely carry on your roof rack.
Warning: If your pipes exceed 180 pounds (82 kg), use a trailer or multiple vehicles with roof racks to transport them so you don’t risk them falling off when you’re driving.
Advertisement -
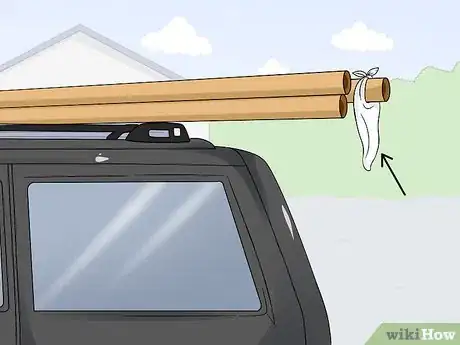
3Tie a flag to the end of the pipe if it overhangs the rear of your vehicle. Take a brightly colored flag such as a red bandana or a blue T-shirt and use string to tie it to the very end of your pipe if it hangs over the rear of your vehicle. Make sure it’s tied securely and is easily visible so any vehicles traveling behind you can see it and won’t get too close to the pipe.[3]
- In many locations, you’re required by law to tie a visible flag to items that are tied to your vehicle’s roof and overhang the rear.
Attaching a Single Pipe to a Roof Rack
-
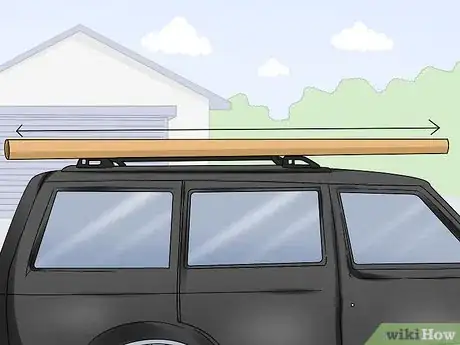
1Lay the pipe vertically against the side runner of the rack. Place the pipe so it runs from front to back on the roof rack so there’s less wind resistance. Lay it vertically so it’s flush against the side rail of the roof rack.[4]
-
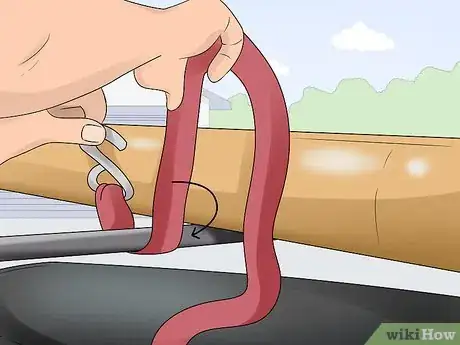
2Hook a ratchet strap to the side runner near the rear of the pipe. Ratchet straps are thin, long straps made out of sturdy polyester fabric with a hook and a crank ratchet that will secure the pipes much more than a cord or knot. Near the end of the pipe, towards the rear of the vehicle, connect the hook of a ratchet strap to the side rail where a crossbar connects to it. Make sure it’s secure and won’t slide off of the rail.[5]
- Make sure the straps and the ratchets are in good condition and don’t have any rust or fraying.
- You can find ratchet straps at home improvement stores, department stores, or by ordering them online.
-
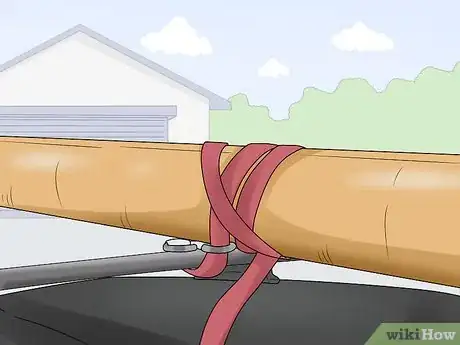
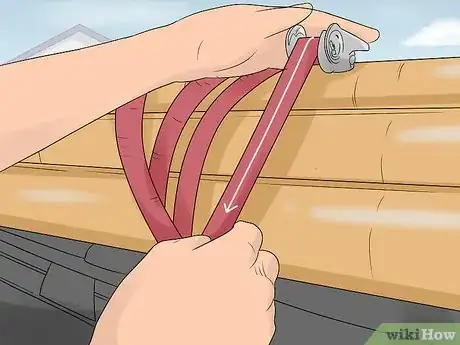
3Wrap the strap around the pipe so it’s held against the side runner. Loop the fabric material of the strap over the pipe several times. Continue wrapping it around the pipe until there’s only about 2 inches (5.1 cm) or so of slack left so the cord is tight.[6]
Tip: Keep tension on the strap as you wrap it so the hook doesn’t fall off of the side runner.
-
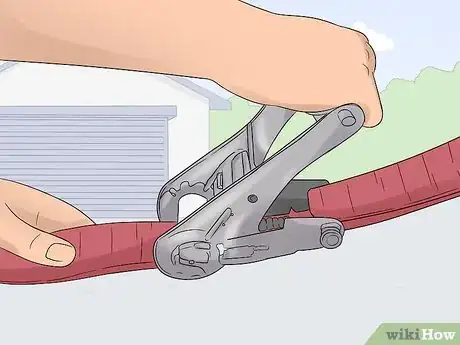
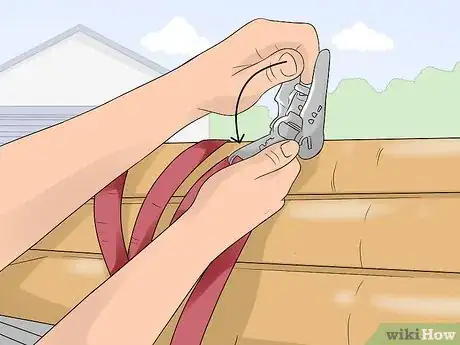
4Insert the end of the strap into the ratchet and crank it open and closed. Keeping the strap held taut, slide the end of it into the ratchet and pull the material through. When you can’t pull anymore through, squeeze the handle of the ratchet open and closed to tighten the strap even further. Continue cranking it until the pipe is held securely against the side rail.[7]
- Be careful not to overtighten the strap or you could bend or crack the pipe. Check to make sure the pipe isn’t bending beneath the strap.
-
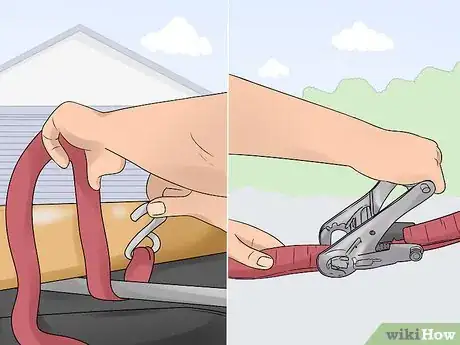
5Connect another ratchet strap to the side runner near the front of the pipe. Take another ratchet strap and connect 1 hook to where a crossbar connects to the side runner, near the top of the pipe toward the front of the vehicle. Wrap the strap around the pipe several times until there’s a small amount of slack left. Slide the end of the strap into the ratchet and crank it open and closed until the pipe is securely fastened to the side rail.
- Give the pipe a good shake to make sure it’s securely attached.[8]
Strapping Multiple Pipes to a Roof Rack
-
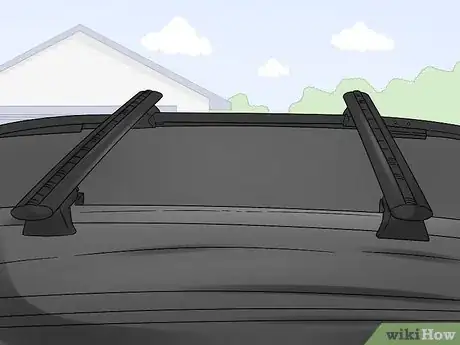
1Adjust the roof bars so they evenly support the pipes if you can. If the roof bars of your rack are adjustable, adjust them so the pipes are centered on them and supported evenly. Space them apart so that both the front and rear of the pipes overhang the bars evenly. If the pipes are less than 2–3 feet (0.61–0.91 m) long, move the bars so they’re spaced out about 1 foot (0.30 m) apart. [9]
- If you can’t adjust your roof bars, make sure your pipes don’t exceed the maximum overhang when they’re attached to the rack.
-
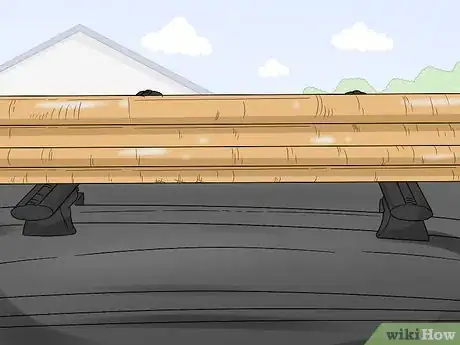
2Stack the pipes vertically across the roof rack. Lay the pipes from the front to the back of the vehicle so they’re more aerodynamic when you’re driving. Center the pipes so they rest on top of the rack evenly. Stack them on top of each other neatly so they won’t slide around.[10]
- Keep the pipes in line with each other so they’re attached evenly.
-
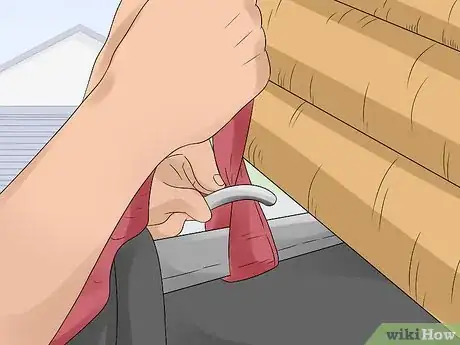
3Loop the hooks around the crossbars of the rack to secure them. Create an anchor point for your ratchet straps by looping the hook end around the corner of a crossbar on your roof rack. Run the strap through the hook and pull it tight so it’s secure.[11]
- Use the front and rear corners of the roof rack for your anchor points.
-
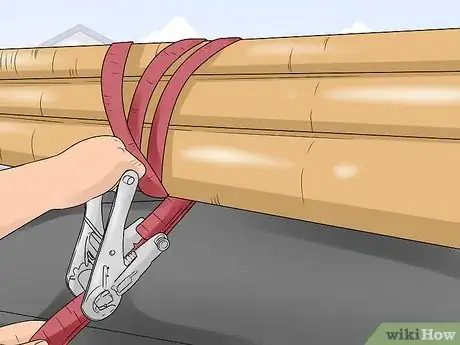
4Wrap the straps over the stacked pipes and insert the end into the ratchet. Run 1 strap around the pipes toward the rear of the vehicle, then slide the end of it into the ratchet connected to the strap. Then, wrap the other strap around the stack of pipes toward the front of the vehicle and thread the end into the ratchet.[12]
-
5Pull the straps until there’s about 2–3 inches (5.1–7.6 cm) of slack. Remove the slack in the straps by pulling on the ends so they’re threaded through the ratchets. Continue pulling them until each strap has a small amount of slack left in them so they can be fed into the ratchet handle.[13]
- Don’t try to pull them as tight as you can so you can give the ratchet a chance to catch the strap.
-
6Crank the ratchets open and closed to secure the pipes. Use your hands to open and close the handles of the ratchets. As you crank them, the ratchets will tighten the straps little by little, making them tighter. Continue cranking the ratchets until the pipes are held tight against the roof rack and don’t move at all.[14]
- Make sure both straps are tight so the pipes are held firmly and evenly against the roof rack.
- Check the pipes to make sure they aren’t bending beneath the straps so you don’t overtighten them.
Warnings
- Never exceed the maximum overhang of the front or rear of your vehicle when you’re transporting pipe so both you and other drivers on the road are safe.⧼thumbs_response⧽
References
- ↑ https://www.drivingtests.co.nz/resources/carrying-loads-on-a-car-motorbike-or-trailer/
- ↑ https://youtu.be/msVtCOUbUi0?t=41
- ↑ https://youtu.be/msVtCOUbUi0?t=96
- ↑ https://www.outsideonline.com/2342291/how-roof-rack-anything
- ↑ https://jalopnik.com/how-to-tie-things-to-your-cars-roof-rack-5922435
- ↑ https://youtu.be/LG42IKrcsZs?t=108
- ↑ https://youtu.be/LG42IKrcsZs?t=141
- ↑ https://www.outsideonline.com/2342291/how-roof-rack-anything
- ↑ https://youtu.be/msVtCOUbUi0?t=72
