This article was co-authored by wikiHow staff writer, Jack Lloyd. Jack Lloyd is a Technology Writer and Editor for wikiHow. He has over two years of experience writing and editing technology-related articles. He is technology enthusiast and an English teacher.
This article has been viewed 31,932 times.
Learn more...
This wikiHow teaches you how to copy photos from one iPhone onto another iPhone. The easiest way to do this is by using iCloud Photo Library, but if you don't have enough iCloud storage for all of your photos, you can use iTunes to back up the photos from one iPhone and then restore them onto the other iPhone. If you only want to transfer a few photos, you can also use your iPhone's AirDrop feature to transfer photos to another iPhone that's within a few feet.
Steps
Using iCloud
-
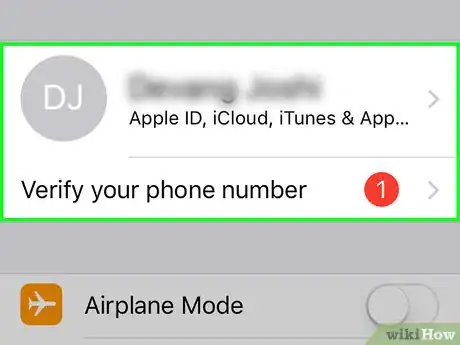
1Make sure both iPhones are using the same Apple ID. You can sign into your Apple ID by doing the following:[1]
- Open Settings.
- Tap Sign in to your iPhone.
- Enter your Apple ID and password.
-
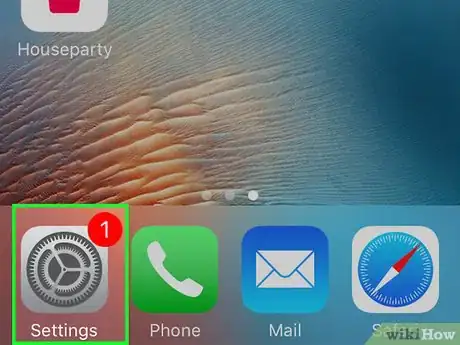
2Open your iPhone's Settings. On the iPhone from which you want to transfer your photos, tap the Settings app icon, which resembles a set of gears on a grey box.Advertisement
-
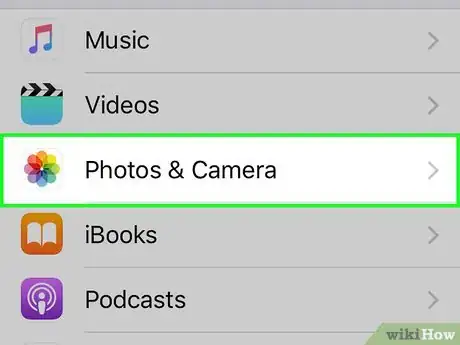
3Scroll down and tap Photos. It's near the middle of the Settings page.
-
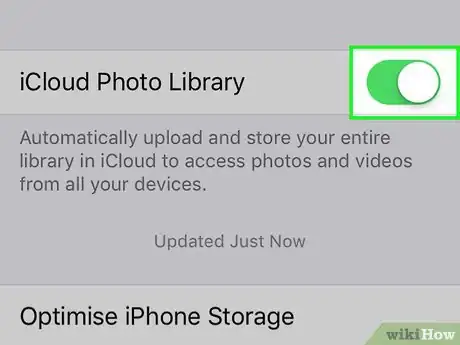
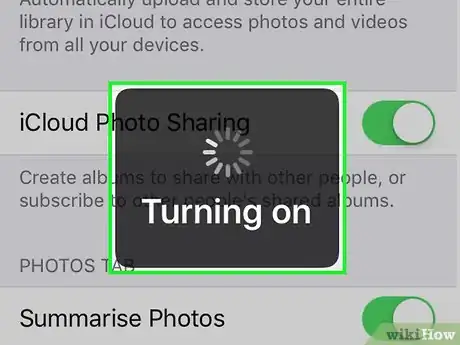
4Tap the white "iCloud Photo Library" switch . The switch will turn green , signifying that your photos are being uploaded to iCloud.
- If you receive a warning that you don't have enough iCloud space to store your photos, you can either buy more storage or use iTunes to transfer your photos.
-
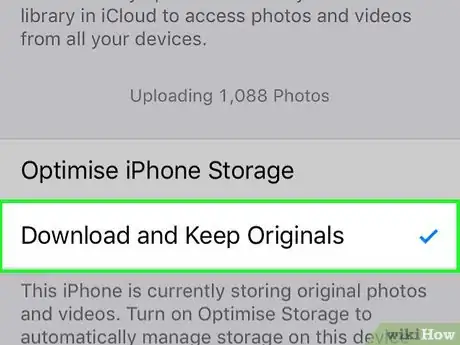
5Wait for your iPhone's photos to finish uploading to iCloud. This can take several hours to complete if you have a large photo library.
-
6
-
7
Using iTunes
-
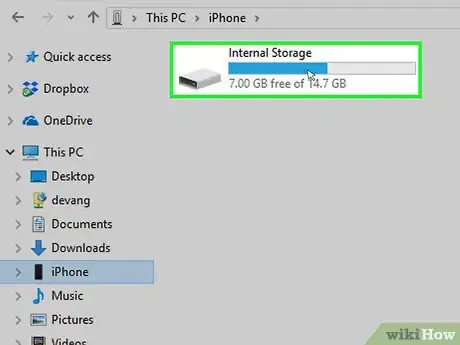
1Plug your iPhone into your computer. Attach the USB end of the cable to your computer, then attach the other end of the cable to your iPhone's charging port.
-
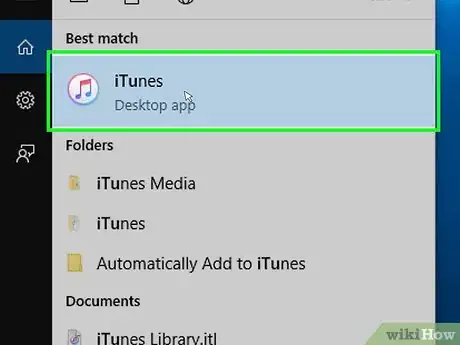
2Open iTunes. Click or double-click the iTunes app icon, which resembles a multicolored musical note on a white background.
-
3Click the iPhone icon. This iPhone-shaped icon is in the upper-left side of the iTunes window. Clicking it opens your iPhone's page.
-
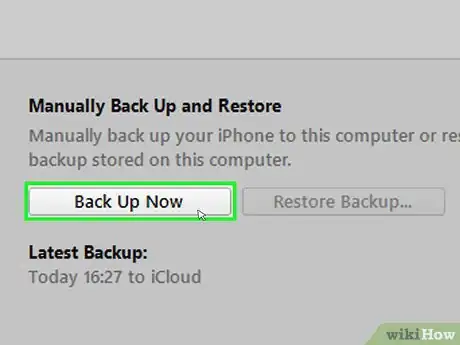
4Click Back Up Now. It's on the right side of the window. Your iPhone will begin backing up to iTunes.
- If prompted, click Transfer Purchases as well before you proceed.
-
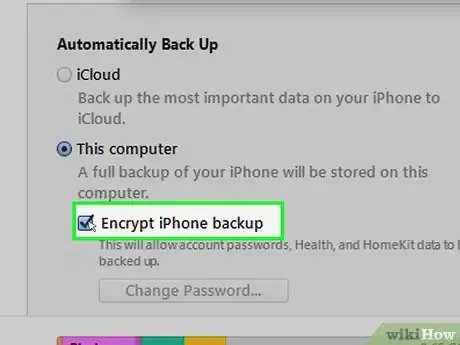
5Allow your iPhone to back up. This can take anywhere from a few minutes to around half an hour. Once the progress bar at the top of the iTunes window disappears, you can continue.
-
6Disconnect your iPhone from your computer. Unplug your iPhone from the cable to do so. Since you'll be plugging the iPhone to which you want to transfer your photos into the computer, you can leave the cable plugged in.
-
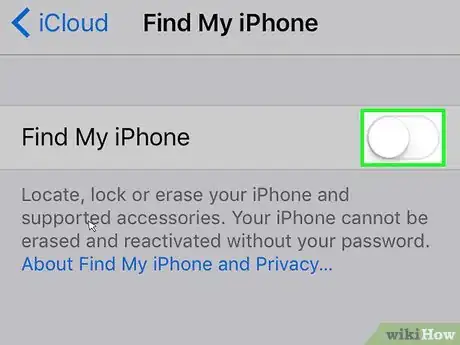
7Turn off Find My iPhone on the other iPhone. This is a necessary step before you can restore a backup to the iPhone.[2]
- Skip this step if Find My iPhone is already disabled.
-
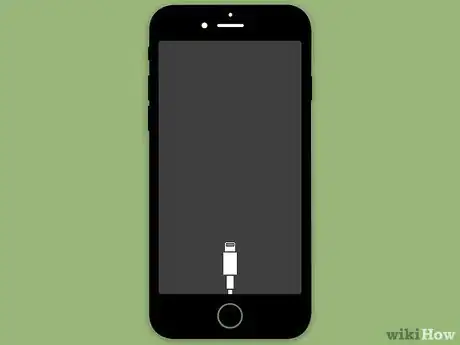
8Plug your other iPhone into the computer. This should be the iPhone onto which you want to copy your other iPhone's photos.
-
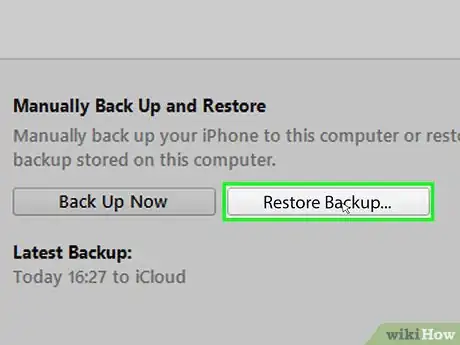
9Restore your iTunes backup. To do so:
- Tap Trust on your iPhone if prompted.
- Click the iPhone logo.
- Click Restore Backup....
- Select the most recent backup from the drop-down menu.
- Click Restore.
-
10
Using AirDrop
-
1
-
2
-
3Tap Albums. It's a tab in the bottom-right corner of the screen.
-
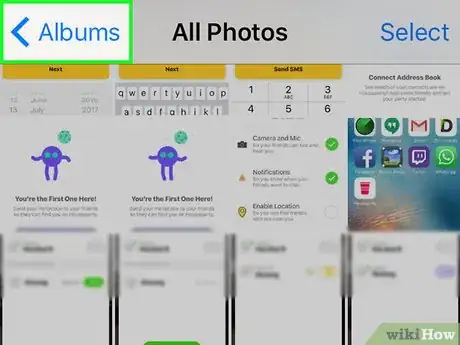
4Tap All Photos. This option should be in the top-left corner of the Albums page.
- If you don't have iCloud Photo Library enabled, this option will be entitled Camera Roll instead.
-
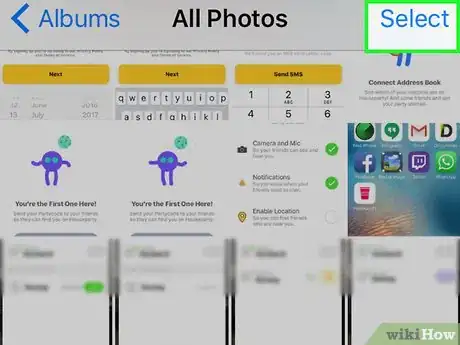
5Tap Select. It's in the top-right corner of the screen.
-
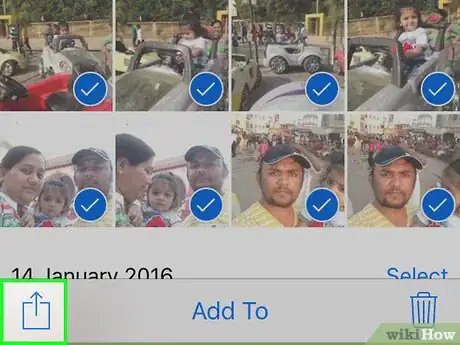
6Select photos. Tap each photo you want to share.
-
7
-
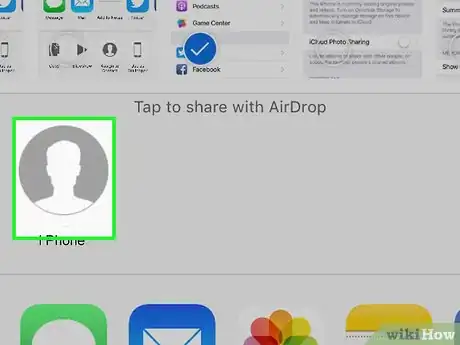
8Tap the name of the other iPhone. You should see the other phone's name appear in a circle that's in the middle of the pop-up menu.
- It can take a few seconds for the other phone's name to appear here.
-
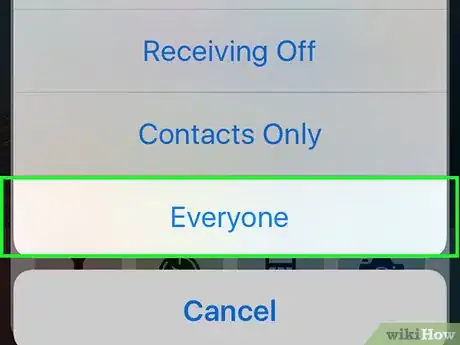
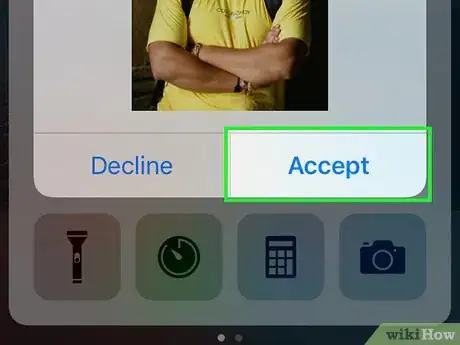
9Tap Accept when prompted on the receiving iPhone. Doing so will allow the photo to transfer into the Photos app.
Warnings
- AirDrop won't work over significant distances.⧼thumbs_response⧽
