X
This article was co-authored by wikiHow Staff. Our trained team of editors and researchers validate articles for accuracy and comprehensiveness. wikiHow's Content Management Team carefully monitors the work from our editorial staff to ensure that each article is backed by trusted research and meets our high quality standards.
There are 10 references cited in this article, which can be found at the bottom of the page.
This article has been viewed 109,565 times.
Learn more...
Transferring your movies from your digital video camera or camcorder to your computer is easy and will allow you to edit the videos with software already installed on most computers.
Steps
Part 1
Part 1 of 3:
Finding the Ports on Your Devices
-
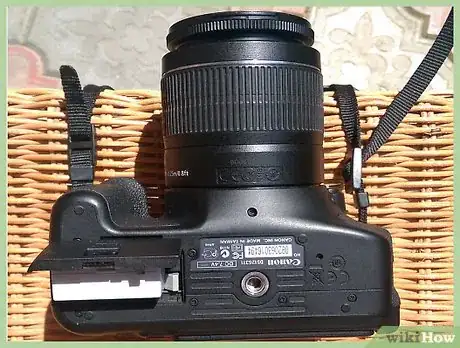
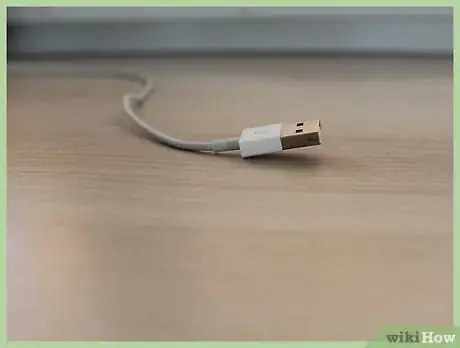
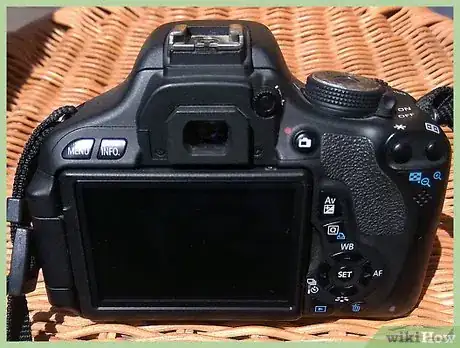
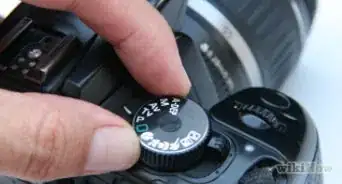
1Check the digital camcorder or camera for its ports. These ports allow you to transfer data from the camcorder to the computer. Look at your two ports, and buy a cable that connects them.
- If you have an SD slot on your computer, and your camera a uses an SD card, that is the simplest possible compatibility option. Most camcorders have ports for a FireWire and a USB 2.0. A FireWire, which was developed by Apple, is usually the best choice because it will transfer your video more quickly to the computer.[1]
- If you don’t have those ports, you will need to buy what is called a FireWire expansion card at a local computer store or a FireWire adapter for a Mac. They are not very expensive. But don't get too hung up on the names; the bottom line: You need to check the camera port, and computer port, and then find or buy a cord which has those specific ends or pin sets.
- If you have a USB cable instead, you can also use that cable to transfer movies/videos to your computer. The same is true whether you are transferring the movies to a PC or a MAC and for various types of camcorders.
-
2Use a removable disk. You could store your videos in a memory card that you insert into your camera or camcorder. Memory cards are small square disks that store your videos.
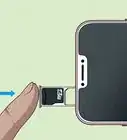
- To transfer these videos to your computer, simply insert the memory card in the slot on your computer. Some older computers don't have slots for SD memory cards, but you can buy an external card reader that attaches into the USB port of your computer.[2]
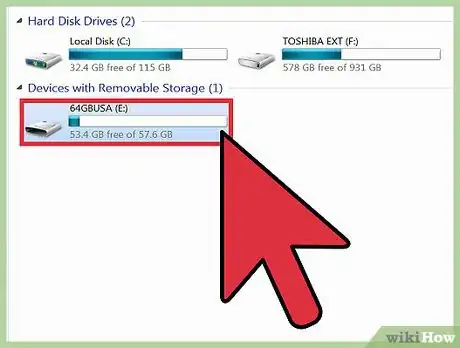
- Go to your computer's settings, usually My Computer, and look for devices and drives. You should see the SD memory card pop up once you insert it.
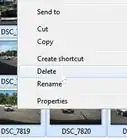
- Click on the icon for the card, and you should see your videos (and photos) pop up on the computer. It's that simple. Move them to any file folder you want.
Advertisement -
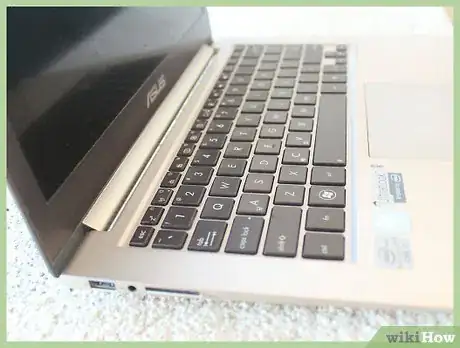
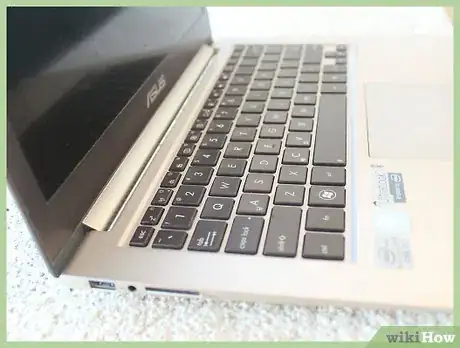
3Check your PC's ports and compatibility. You should figure out whether your computer has the ports needed to transfer movies from a camera.
- Check and see whether the device has a port for a FireWire and/or USB cable as well as a SD memory slot. The SD memory card slot is a thinner slot the width of a small memory card. It's usually located on the front or side of your computer.
- To determine whether you have a FireWire port, click on Control Panel, and then Network Connections (or Network & Internet Connections). Look for an icon labeled 1394 Connection. A FireWire port is a narrower slit, whereas a USB port is thicker and resembles a square with a smaller square on top.[3]
- To determine whether there is a USB port, click on the start menu of your computer, select "Control Panel." Then choose "Performance and Maintenance" and "See basic information about your computer." You will be in a System Properties Window. Locate the "Hardware" tab at the screen's top, and click on it, and then "Device Manager." Locate "Universal Serial Bus controllers" on the list and click on the plus sign to open it. If you have a USB port, you should see the word "enhanced" as one of the titles.
-
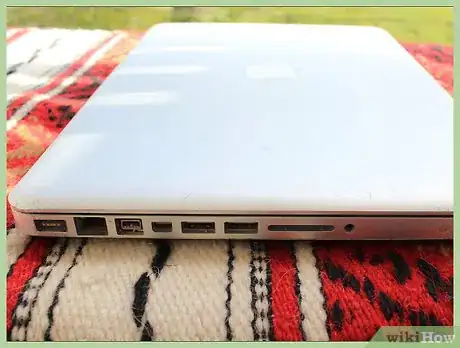
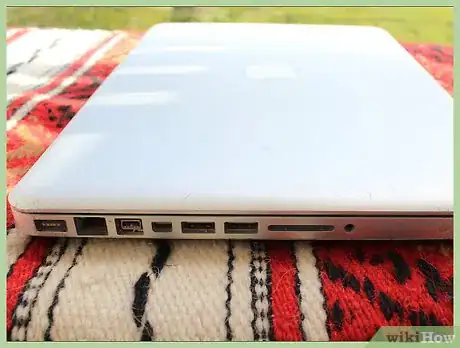
4Check for ports on a Mac. Be aware that Mac recently phased the FireWire ports out of its computers in favor of something called the Thunderbolt.[4]
- You can buy Thunderbolt to FireWire adapters pretty cheaply, though. The Macs use USB 3.0 connectors.
- The Thunderbolt technology allows for faster transfer speeds. You can often find the Thunderbolt ports on the back of the computer.[5]
- For example, on the back of the Mac pro, you will find six Thunderbolt ports, along with two USB 3.0 ports.
Advertisement
Part 2
Part 2 of 3:
Connecting Your Camera
-
1Connect the cable. You will connect one end of the cable into the camera or other device, and the other end will go into the corresponding port on the PC or Mac (again, note, that you would need a FireWire adapter for many Macs). You need a cable that connects the two ports.
- A FireWire is also known as an IEEE 1394 cable.[6] A USB 2.0 connection can perform the same transfer with most devices. Most new PCS already have a FireWire port, where you plug in the cable or a USB 2.0 connection.
- There are two types of FireWire connectors. They are called 4 pin and 6 pin. The FireWire port on the PC generally has 6 pins. The digital camcorder’s FireWire port (sometimes called DV out or i.Link) usually has 4 pins. So you generally need a FireWire cable with 4 pins for the camcorder or camera end, and 6 pins for the computer end.
-
2Plug in the FireWire or USB cable to the PC. Plug one end of the cable into the camera. Plug the other end into the port in the PC or Mac..
- This will connect your camcorder or camera to your computer. You will be able to make movies on the computer using free tools built into Windows or the Mac, such as Movie maker and iMovie.
- Connect the 4-pin end of the cable into the camcorder and the other end into the IEEE1395 4-pin or 6-pin FireWire port on your computer.
- If you don’t have a FireWire port, buy a FireWire CardBus Adapter to plug into the computer first.[7]
-
3Connect your camcorder or camera to your MAC. Use the cable that came with the device or buy a USB cable or FireWire adapter. You can also try connecting the Thunderbolt cable to your video camcorder or camera, but you may need the adapter.
- If you are using a camcorder, set it to PC Connect mode. Your device might have a different name. This may happen automatically if your camcorder is connected to the computer and you switch it to playback mode.[8]
- You could simply remove the memory card from your device, and insert it into the card slot on your Mac (you can also try doing this with a PC.)
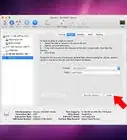
- Click on the import button in the toolbar. In the camera's section of the import window, select your camcorder or camera or other device. Sometimes you will see photos side by side with video clips.
-
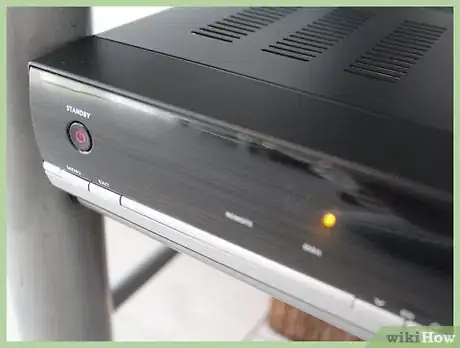
4Turn the camera on. Your computer should automatically recognize your camcorder or camera device. Connect your camera to your computer, and turn it on.
- If your camera came with software, the computer will recognize the camera. In most cases, it will be able to read it.
- Windows is going to automatically install the necessary drivers. You will be prompted to import video using Windows Import Video. This comes free with Windows. Simply select import, and the videos will be loaded onto your computer.
- Windows Import Video will rewind your MiniDV cassette and begin importing your video. It will play your video while importing it, and turn it into an .AVI file.
Advertisement
Part 3
Part 3 of 3:
Transferring Your Video
-
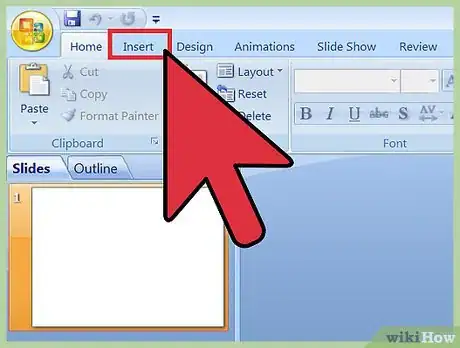
1Install video editing software if necessary. On your computer, you will need to open or install video editing software if you want to alter the video.
- Most computers have video editing software already installed. You will use this software to complete the video transfer process.
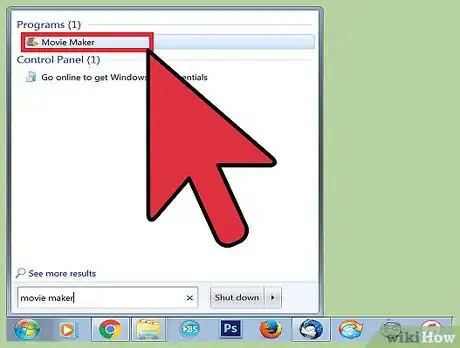
- For example, Windows has basic video editing software already installed. It’s called Windows Movie Maker. If you have a Mac, you won’t be able to use Windows Movie Maker. Instead, Macs have the iMovie video editing program installed in them.
- You will be able to use Windows Movie Maker or iMovie to edit the video. You could purchase more professional video editing software if you wanted to but it will not be necessary for most edits.
-
2Import your video files. Editing software can usually direct you to the correct spot to import videos from a connected device. Open your OS's native software and find the Import function to begin.
-
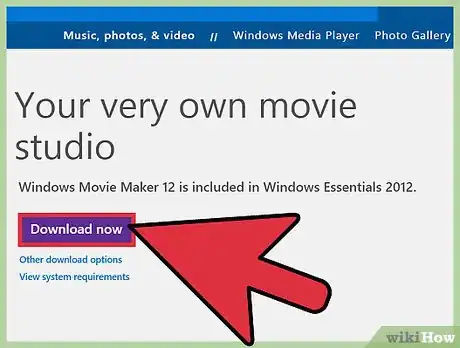
3Download Movie Maker. Windows typically comes with Movie Maker already installed but if not you can download it online for free.[9] [10]
- The videos will be in either MOV or .AVI format. You can simply drag the files into a folder in your computer.
- The program will give you an option to import video. Give it a name. Either import the entire video, which will rewind it, and import it all into the file, or you could choose parts of the video to import.
- For example, you could import 30 minutes at a time. The screen allows you to select the amount of minutes you want it to stop importing after. You can rewind or forward. Then click import.[11]
-
4Review organize and select imported videos. Click review, organize and group items to import. Click next.
- Click import all new items now if you want to do so at once. Type a name for the videos, and click import. Handle photos the same way. All of the photos and videos will be imported.
- Select groups of videos to import. If you want to select several videos to import but not others, you can check the box next to the groups of videos you want to import. Do not check the boxes next to the videos you do not.
- You can view all of the videos in a group of videos, by clicking view all items next to the group. Go to photo gallery. Select the check box in the upper left corner for each video you want to use in your movie. On the create tab, in the share group, click movie. This will add selected videos to the storyboard in Movie Maker.
-
5Import video from a videotape in a DV camera. In Movie Maker, for instance, you will want to connect your digital video (DV) camera to the PC using a FireWire or IEEE 1394 cable.
- Switch your digital video camera to Playback/VCR mode. Click the Movie Maker button, and then click import from device. If the photos and videos will be imported into photo gallery message appears, click OK.
- In the import photos and videos window, select the DC camera and then click import. On the import video page, click more options.
- Select a file name. If the videotape contains several different scenes, you can import each scene as a different file by choosing the Import videos as multiple files (unavailable for HD video) check box.
- On the import video page, type a name of the video you want to import, and then click import the entire video to import it all or choose parts of the video to import.
Advertisement
Community Q&A
-
QuestionWhat if my computer doesn't detect my device?
 Community AnswerWhen you do turn on the camcorder, Windows should automatically detect it. If nothing happens it’s possible your DV port on the camcorder or computer is not working or that you will need a new cable. If it’s still not working, try connecting it to a different PC. If it’s still not detected, it’s probably a problematic DV port in the camera.
 -
QuestionWhy can't I view the videos on my PC, (they are all blacked out) but they can be viewed with the SD card installed ?
 Community AnswerYou have to delete system32 first. You can play them with the SD card inserted because the SD card doesn't have a system32 folder.
 -
QuestionI cannot find the video file on the removable disk, why?
 Community AnswerIt might be too large to see on your computer. Try transferring it using a USB cable or FireWire.
Advertisement
References
- ↑ http://www.cablestogo.com/learning/connector-guides/firewire
- ↑ http://www.ebay.com/gds/How-to-Transfer-Data-From-a-Memory-Card-to-a-Computer-/10000000177629575/g.html
- ↑ http://macperformanceguide.com/blog/2012/20121027_1-OWCMercuryElitePro-4TB-USB3.html
- ↑ http://www.infoworld.com/article/2615813/laptop-computers/how-to-cope-with-the-end-of-firewire.html
- ↑ http://www.macworld.com/article/2083257/what-you-need-to-know-about-thunderbolt-2.html
- ↑ http://www.deskshare.com/resources/articles/vem_connectingdigitalcamera_windowsPC.aspx
- ↑ http://rickysays.com/transfer-video-from-your-camcorder-to-your-computer
- ↑ https://support.apple.com/kb/PH12710
- ↑ http://windows.microsoft.com/en-us/windows/get-movie-maker-download
About This Article
Advertisement
