This article was co-authored by wikiHow staff writer, Hunter Rising. Hunter Rising is a wikiHow Staff Writer based in Los Angeles. He has more than three years of experience writing for and working with wikiHow. Hunter holds a BFA in Entertainment Design from the University of Wisconsin - Stout and a Minor in English Writing.
There are 7 references cited in this article, which can be found at the bottom of the page.
This article has been viewed 13,935 times.
Learn more...
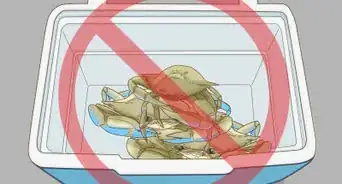
Crabs are delicious shellfish that have tender meat, but it can start spoiling soon after the crabs die. Luckily, all types of crab can briefly live outside of water, so you can easily transport them in a foam cooler to have fresh meat. Make sure you only travel with healthy crabs and tie their claws so they don’t fight one another. Use a foam cooler with air holes cut in the sides so the crabs can still get oxygen to survive. Once you reach your destination, cook the crabs as soon as possible or transfer them to a saltwater tank!
Steps
Sorting and Tying the Crabs
-
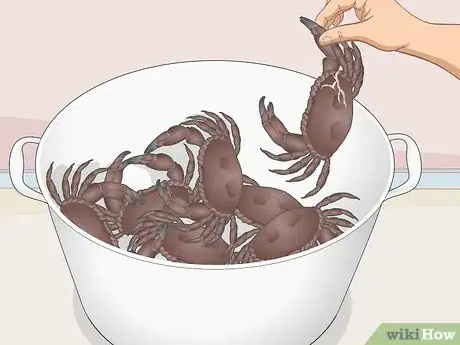
1Sort out any crabs that have damaged or soft shells. Inspect the crabs’ bodies and look for any pieces of shell that are cracked or broken. Lightly push on the top of their shells to make sure there aren’t any areas that feel soft to the touch. If you find crabs that have broken or soft shells, either put them back in the water or throw them away.[1]
- Crabs with damaged or soft shells usually do not survive transport since they are weaker than the other crabs.
- Don’t transport crabs that are already dead since they can contaminate the other crabs they’re packed with.
-
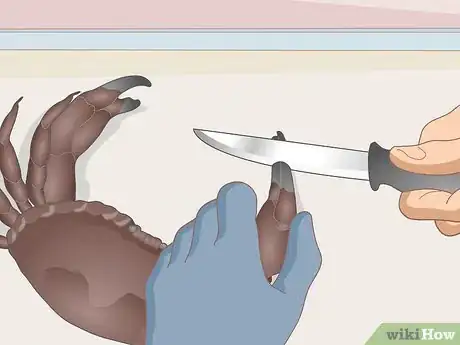
2Cut between the crabs’ claws with a sharp knife to prevent pinching. Wrap your nondominant hand around the base of the crab’s claw and hold it tightly so it doesn’t move around. Put the blade of a sharp knife between the pincers and make a 1⁄2 in (1.3 cm) cut straight down toward the middle of the claw. Repeat the process on the other claw so the crab can’t use its claws as effectively.
- This is normally done for brown crabs, but it works with any species.
- Wear rubber gloves while you’re cutting between the crabs’ claws since they may try to pinch you.
Tip: If you have trouble getting the blade between the pincers, use a wedge-shaped piece of metal, also known as a nicking bar, to pry and hold them open.[2]
Advertisement -
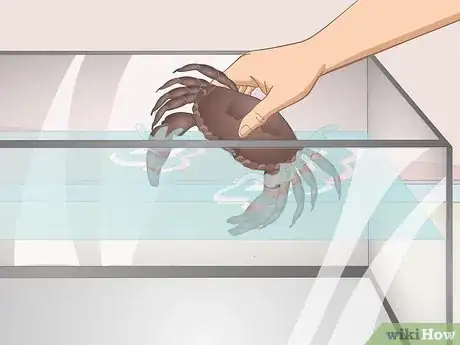
3Rinse the crabs with salt water so they don’t bleed out. Cutting between the crabs’ claws can cause them to bleed, but cold water creates a clot and keeps them alive. Put the crabs directly in a tank or livewell with cold salt water and leave them there until you notice the bleeding stops. Leave the crab in the water until you’re ready to tie and pack it so it’s more likely to survive the trip.
- If a crab doesn’t stop bleeding, then you won’t be able to transport it safely.
- You can also fill a bottle with salt water and pour it over the claws if you aren’t able to fully submerge them.
-
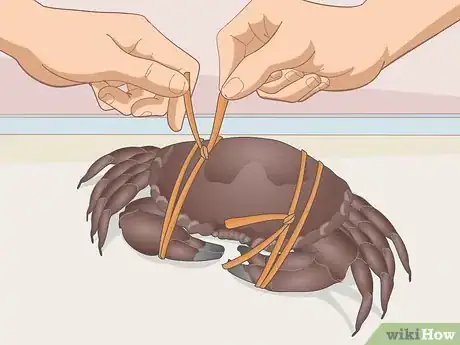
4Tie the claws against the crabs’ bodies to keep them from moving around. Use a piece of twine that’s about 2–3 feet (0.61–0.91 m) long and wrap it around where the claws meet the bottom of the crab’s body. Guide the twine between the pincers on each claw, and pull tightly so the claws press against the front of the crab’s body and don’t move around. Loop the ends of the twine around the backmost legs on each side of the crab’s body and tie an overhand knot. Repeat the process for the rest of the crabs.[3]
- You don’t need to tie the crabs if you don’t want to, but they will be easier to pack in the cooler.
Packing the Cooler
-
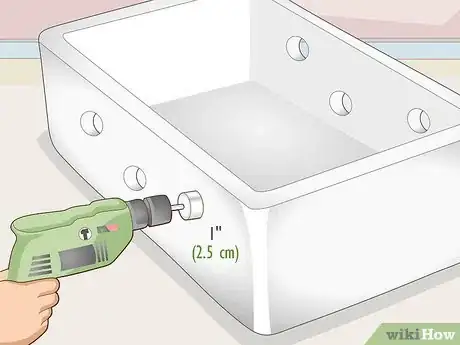
1Make 3–4 holes that are 1 in (2.5 cm) on the sides of a foam cooler. Get a foam cooler that’s large enough to hold all of your crabs, which will depend on the species and sizes you have. Draw 3–4 dots on each side of the cooler so they’re evenly spaced apart. Use a drill to make holes going through the foam so air can flow through the cooler. Increase the size of the holes with a file or rasp until they’re about 1 inch (2.5 cm) in diameter.[4]
- You can buy foam coolers at many outdoor supply or hardware stores.
- Avoid using coolers with hard bodies since they won’t allow air to travel through them.
- You may also use a wooden box or wicker basket if you don’t want to drill holes in a cooler.
-
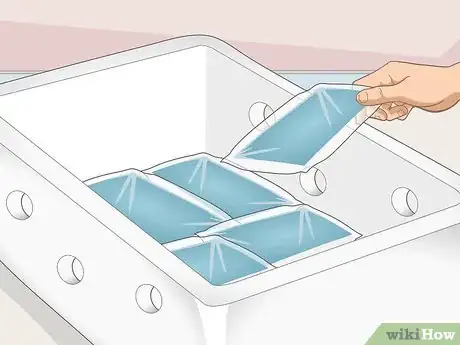
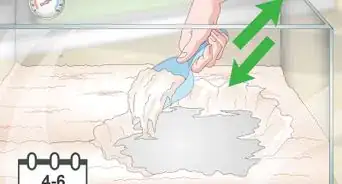
2Line the bottom of the cooler with gel freezer packs. Use standard freezer packs or cooling blocks that you would normally use for lunchboxes or cold storage. Make sure the bottom of the cooler is completely lined with the packs so the temperatures stay consistent through the duration of the trip.[5]
- You can also make your own freezer packs by filling plastic bags with wet sawdust and freezing them.
- Wrap the gel packs foil or plastic wrap if you don’t want them getting dirty from the crabs.
Warning: Avoid using ice since it will melt and harm the crabs if they’re submerged.
-
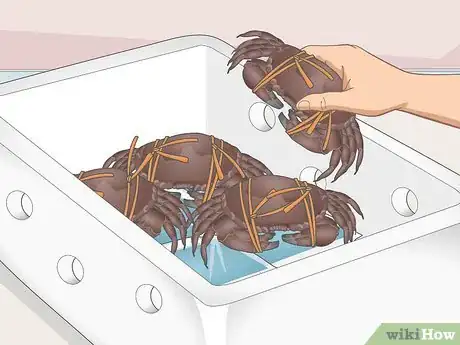
3Lay the crabs with their backs face-up inside the cooler. Gently set the first crab in the cooler so it’s pressed against one of the inside walls. Hold the crab in place so it doesn’t try to walk around while you put the next crab in the cooler. Carefully move the second crab so it’s right next to the first one so they aren’t able to move around. Continue putting the crabs in a single layer on the bottom of the cooler until you can’t fit any more.[6]
- Don’t try to force the crabs close together since you could stress them and cause them to die.
-
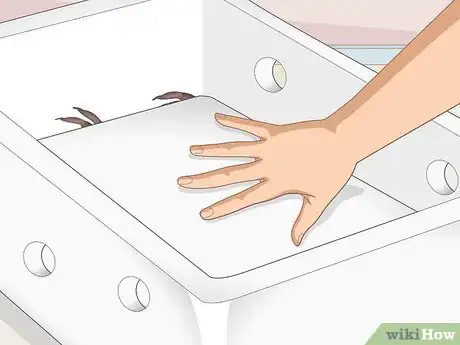
4Put a piece of Styrofoam between each layer of crabs to keep them separated. Use a piece of Styrofoam that’s about 1⁄2 inch (1.3 cm) thick and 1 inch (2.5 cm) shorter than the cooler on each side. Set the piece of Styrofoam directly on the first layer of crabs before starting a new layer. Alternate layers of crabs and Styrofoam until you fill the cooler.[7]
- Don’t stack the crabs directly on one another since they could damage the shells.
- Make sure there’s space between the ends of the Styrofoam and the walls of the cooler so air can flow between the layers.
-
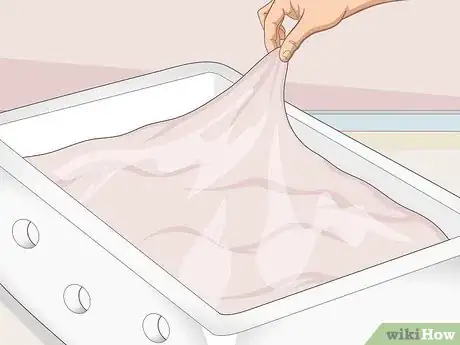
5Cover the cooler with burlap damp with salt water to keep the crabs moist. Wet a large piece of burlap in saltwater and wring it out completely so it isn’t dripping wet. Lay the burlap over the entire cooler to help trap moisture inside so the crabs don’t dry out during transport. Put the cooler’s lid on top of the burlap so it stays in place without falling off.[8]
Storing the Crabs
-
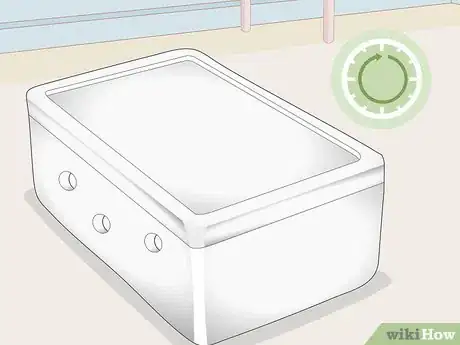
1Leave the crabs in the cooler for up to 24 hours. Since crabs have gills inside their bodies, they will stay moist longer even if the shell’s feel dry to the touch. Try to move the crabs as quickly as possible to reduce the chances of them dying or spoiling. After about 1 day in the cooler, the crabs will start drying out and die if left unattended.[9]
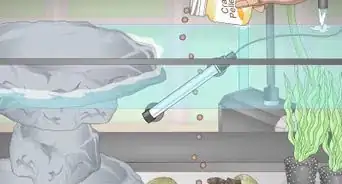
Variation: If you need to transport the crabs for more than 24 hours, fill a tank with salt water and install an aerator to keep the water oxygenated during travel. The crabs will survive as long as you keep them in clean water and feed them. Never leave the crabs in standing water since they will use up the oxygen quickly and die.
-
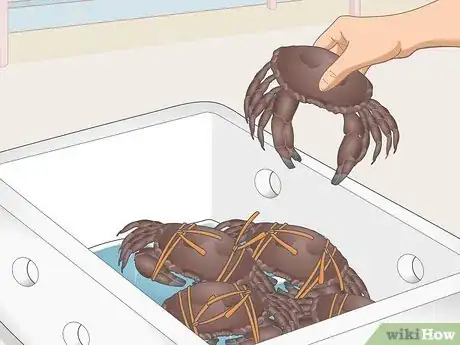
2Remove any crabs that have died or gotten damaged during transport. Open the cooler and carefully remove the crabs one at a time. Look for crabs that have lost limbs, look limp, or give off a foul odor and throw them away as soon as possible. Don’t leave any crabs that have died in the container since they could affect the other crabs.[10]
- Never cook crabs if you don’t know when they died since they’re more likely to cause food poisoning.
-
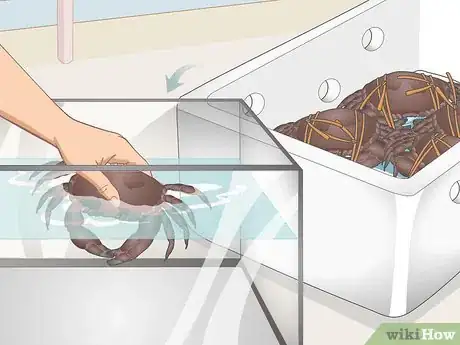
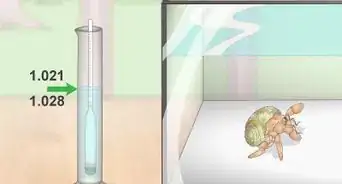
3Transfer the crabs to an aerated saltwater tank if you want to keep them alive. If you don’t plan on cooking the crabs right away, fill a large tank that’s safe for crabs with saltwater that has 30–35% salinity.[11] Install an aerator on the tank so there’s oxygen in the water for the crabs. Slowly dip the crabs in the water so they can adjust to the temperature before letting them go in the tank. Maintain the tank at 40–50 °F (4–10 °C) so the crabs can live comfortably until you’re ready to use them.[12]
- You will need to feed the crabs frozen shrimp or seaweed from a pet supply store in order for them to survive.
Warnings
Things You’ll Need
- Knife
- Twine
- Foam cooler
- Drill
- Rasp or file
- 1⁄4 inch (0.64 cm) thick Styrofoam pieces
- Burlap
- Salt water tank with aerator
References
- ↑ https://www.seafish.org/media/Publications/Handling_transport_crabs_and_lobster.pdf
- ↑ https://www.seafish.org/media/Publications/Handling_transport_crabs_and_lobster.pdf
- ↑ http://www.fishingmonthly.com.au/Articles/Display/20382-How-to-Tying-a-mud-crab
- ↑ https://www.seafish.org/media/Publications/Handling_transport_crabs_and_lobster.pdf
- ↑ https://www.seagrantfish.lsu.edu/resources/factsheets/handlingcatch.htm
- ↑ https://www.seafish.org/media/Publications/Handling_transport_crabs_and_lobster.pdf
- ↑ https://youtu.be/FuFhv-f_ot0?t=101
- ↑ https://www.seagrantfish.lsu.edu/resources/factsheets/handlingcatch.htm
- ↑ https://www.ncbi.nlm.nih.gov/pubmed/17189768
- ↑ https://www.seagrantfish.lsu.edu/resources/factsheets/handlingcatch.htm
- ↑ https://www.seafish.org/media/Publications/Handling_transport_crabs_and_lobster.pdf
- ↑ https://californiaoutdoors.wordpress.com/2011/06/16/dungeness-crabs-how-dead-is-too-dead/
- ↑ https://californiaoutdoors.wordpress.com/2011/06/16/dungeness-crabs-how-dead-is-too-dead/
- ↑ https://www.seagrantfish.lsu.edu/resources/factsheets/handlingcatch.htm
