This article was co-authored by JoAnna Minneci and by wikiHow staff writer, Madeleine Flamiano. JoAnna Minneci is a Professional Chef based in the Nashville, Tennessee area. With more than 18 years of experience, Chef JoAnna specializes in teaching others how to cook through private cooking lessons, team-building events, and wellness and nutrition classes. She has also appeared in numerous television shows on networks such as Bravo and Food Network. Chef JoAnna received Culinary Arts training from the Art Institute of California at Los Angeles. She is also certified in sanitation, nutrition, kitchen management, and cost control.
There are 26 references cited in this article, which can be found at the bottom of the page.
This article has been viewed 2,655 times.
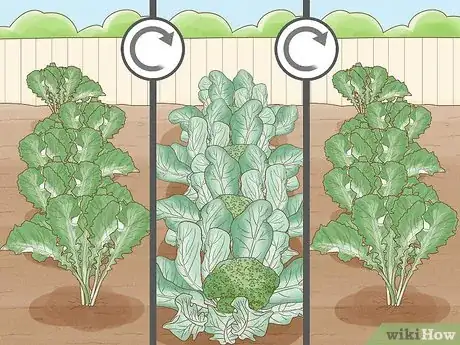
Turnip greens, the leafy tops of turnips, are eye-catching and edible—but what does it mean when they turn purple? In this article, we'll explain why that happens and tell you what to feed your turnips to keep their leaves green. We'll also share ways to treat turnip greens that have turned purple and prevent discoloration in future crops. Read on to keep your crop in good health so you can enjoy a harvest of luscious turnip greens.
Steps
Why do turnip greens turn purple?
-
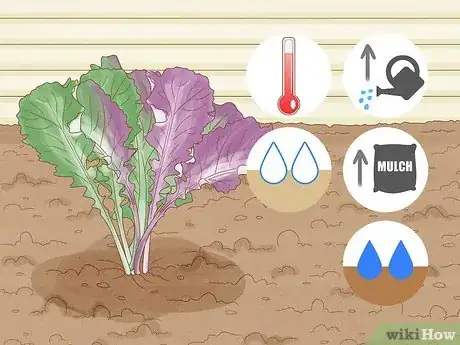
1Damaged roots can cause turnip greens to turn purple. Extremely warm weather can make the turnip’s soil too dry, while excessive moisture or too much mulch will make the turnips' soil too wet. Soil that’s too dry or too wet will put stress on turnips' roots and injure them.[1] The roots won’t be able to absorb oxygen easily, so turnip greens will start to develop purplish spots, which are signs of an oxygen deficiency.[2]
-
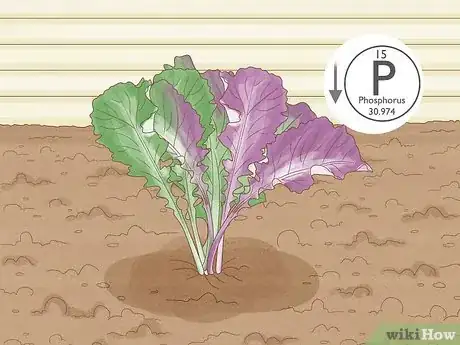
2Turnip greens turn purple when they don't get enough phosphorus.[3] Phosphorus is an important nutrient for many crops—when plants, like turnips, don’t get enough of it from their soil, they’ll have a phosphorus deficiency and their roots won't grow normally.[4] Healthy roots are essential for delivering oxygen to plants, like turnips.[5] When the roots of turnips are underdeveloped, their leafy tops, or "turnip greens," will become purple because they haven't received enough oxygen and have dried out.
Preventing Turnip Greens from Turning Purple
-
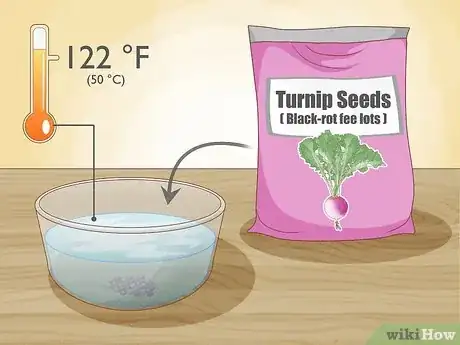
1Start with clean seeds to limit bacterial infections. Find high-quality seeds from a seed company that is certified as disease-free. Look for seed varieties that have been tested and that are proven to not contain the black rot bacterium. Ask for seeds that come from certified black-rot fee lots.[16]
- As an extra precaution, sanitize your seeds by soaking them in water that’s 122 °F (50 °C) Wait 20 minutes before taking them out and planting them.[17]
-
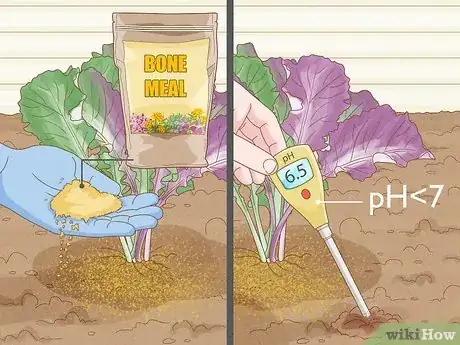
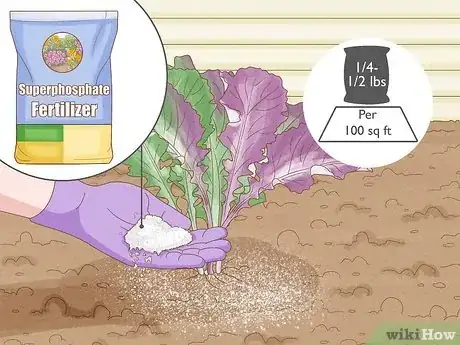
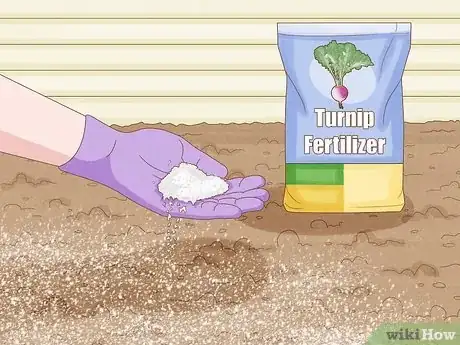
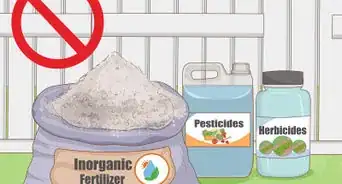
2Feed turnips fertilizer with plenty of phosphorus to keep them green. Before you plant your turnips, scatter 2–3 pounds (0.91–1.36 kg) of a complete garden fertilizer high in phosphorus, like one that has a ratio of 10-20-10, per 100 sq. ft.[18] After you've planted your turnips and they're 4–5 inches (10–13 cm) tall, use a fertilizer with a nutrient ratio of 1-3-0 or 2-3-1 and apply 1/2 cup (64 grams) of it every 10 feet (3.0 m).[19] Use a phosphorus-rich blend, like Neptune's Harvest Organic Fish/Seaweed Blend Fertilizer.
- Phosphorus and potassium help your turnips develop healthy roots. That way, turnip greens will get all the nutrients they need and won’t become discolored.
-
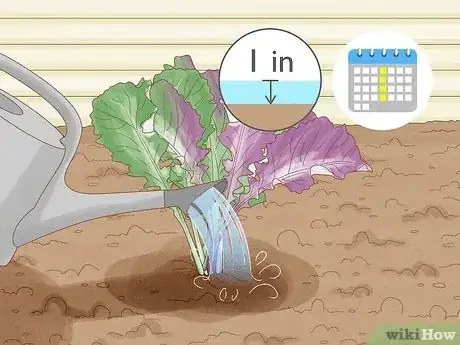
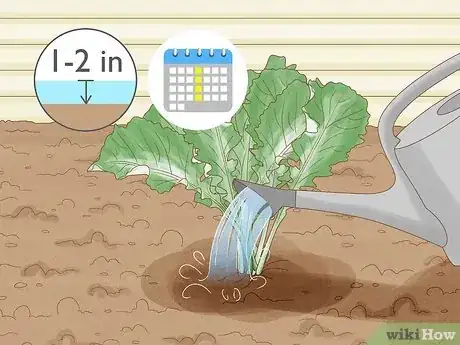
3Keep turnips away from excessive moisture to avoid bacteria. While you should water them regularly, avoid overhead irrigation so your seedlings don't become too damp and develop harmful bacteria or a plant disease that will discolor turnip greens. Instead, use a watering can to apply 1–2 inches (2.5–5.1 cm) of water to the topsoil. Water your turnips on a weekly basis.[20]
- If possible, use drip irrigation to provide your turnips just enough moisture without overwatering them and preventing their growth.[21]
- It's okay to water your turnips more than once a week if the weather's hot and the soil is very dry.
-
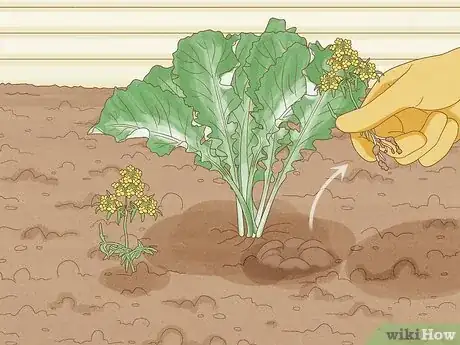
4Purge wild cruciferous weeds so bacteria won’t contaminate turnips. Since harmful bacteria and plant diseases are common in cruciferous weeds like wild radish and wild mustards, uproot and dispose of any that grow near your turnips. Throw them in a yard waste bin so their contaminants can't spread and infect turnip greens.[22]
- Avoid growing crucifer crops, like cabbage, kale, or cauliflower, near your turnips. That way, these crucifer crops won't attract cruciferous weeds.[23]
-
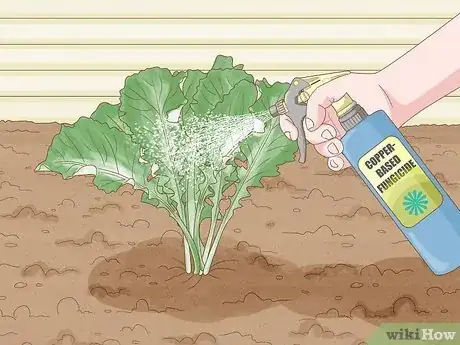
5Spray fungicides on turnips susceptible to infection. Use a copper-based fungicide. If your turnips are growing in cold or humid environments that can damage their roots and lead to discoloration, spritz protective fungicide on the turnips as soon as they sprout leaves. Apply the fungicide on a weekly basis.[24]
- Sulfur sprays or copper-based fungicides are highly effective at preventing the spread of fungal spores. They'll also stop the growth of plant diseases, like white leaf spots.[25]
-
6Use crop rotation so bacteria doesn’t grow in the turnips’ soil. When you plant a new batch of turnips, avoid planting them in the soil where you've recently grown similar plants. Instead, plant turnip seeds in soil that's been used for crops that aren't susceptible to the types of bacteria or diseases that discolor turnips.[26]
- Plants that are related to turnips are broccoli, bok choy, Brussels sprouts, cabbage, cauliflower, collards, kale, kohlrabi, and mustard.
References
- ↑ https://ask2.extension.org/kb/faq.php?id=300995
- ↑ https://crops.extension.iastate.edu/files/article/nutrientdeficiency.pdf
- ↑ http://www.ipni.net/publication/bettercrops.nsf/0/81854F3AB30E027985257F68005208A0/$FILE/BC%202016-1%20p12.pdf
- ↑ https://pubmed.ncbi.nlm.nih.gov/23267006/
- ↑ https://www.ucl.ac.uk/culture-online/ask-expert/your-questions-answered/how-do-plants-produce-oxygen
- ↑ https://extension.umn.edu/vegetables/growing-turnips-and-rutabagas#watering-794810
- ↑ https://extension.colostate.edu/topic-areas/agriculture/phosphorus-fertilizers-for-organic-farming-systems-0-569/
- ↑ https://growfully.com/add-phosphorus-to-soil/
- ↑ https://cmg.extension.colostate.edu/Gardennotes/234.pdf
- ↑ https://www.soils.org/news/science-news/soil-phosphorus-availability-and-lime-more-just-ph/
- ↑ http://extension.msstate.edu/content/fertilizing
- ↑ https://bookstore.ksre.ksu.edu/pubs/s51.pdf
- ↑ https://www.canr.msu.edu/news/bunny_honey_using_rabbit_manure_as_a_fertilizer
- ↑ https://www.compostingcouncil.org/page/PlantGrowthBenefits
- ↑ https://www.bbc.com/future/article/20190114-compost-or-phosphorus-fertiliser-in-africa-agriculture
- ↑ https://extension.okstate.edu/fact-sheets/diseases-of-leafy-crucifer-vegetables.html
- ↑ https://hort.extension.wisc.edu/articles/hot-water-seed-treatment-for-disease-management/
- ↑ https://extension.uga.edu/publications/detail.html?number=B1181&title=Commercial%20Production%20and%20Management%20of%20Cabbage%20and%20Leafy%20Greens
- ↑ https://agrilifeextension.tamu.edu/browse/featured-solutions/gardening-landscaping/turnip-and-mustard-greens/
- ↑ https://extension.usu.edu/yardandgarden/research/rutabagas-and-turnips-in-the-garden
- ↑ http://ipm.ucanr.edu/home-and-landscape/turnip/cultural-tips/
- ↑ https://njaes.rutgers.edu/pubs/commercial-veg-rec/radishes-rutabagas-turnips.pdf
- ↑ https://content.ces.ncsu.edu/downy-mildew-on-brassica-crops
- ↑ https://site.extension.uga.edu/worthag/files/2020/03/Fungicide-Spray-Guide-for-Vegetables-2020.pdf
- ↑ https://www.extension.purdue.edu/extmedia/bp/bp-69-w.pdf
- ↑ https://extension.umn.edu/vegetables/growing-turnips-and-rutabagas#diseases-794813
