wikiHow is a “wiki,” similar to Wikipedia, which means that many of our articles are co-written by multiple authors. To create this article, volunteer authors worked to edit and improve it over time.
wikiHow marks an article as reader-approved once it receives enough positive feedback. In this case, 92% of readers who voted found the article helpful, earning it our reader-approved status.
This article has been viewed 47,747 times.
Learn more...
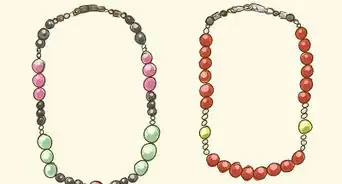
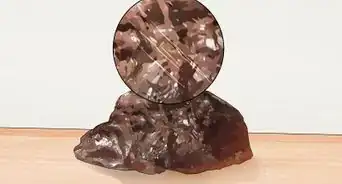
Stone tumbling is, in many cases, the first step to creating nice jewelry and other items from rough stones. The stone tumbling process works slowly over time, mimicking what the wear and tear process that may happen to a stone, say, at the bottom of a river bed. The result is a smooth, neatly surfaced stone. Jewelry makers and others can tumble stones at home using a mechanized stone tumbling device, transforming stone from dull, rough and boring specimens to attractive “precious stones” with luxuriant color and sheen.
Steps
-
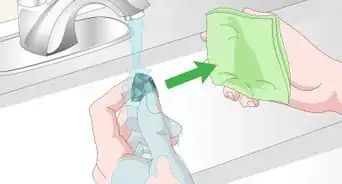
1Wash off stones, and brush off debris. Cleaner stones mean less upkeep during the tumbling process.
-
2Assemble a batch of stones with similar properties. Stones should be of roughly the same material hardness, and, for optimal results, the same basic size (though for convenience, multiple sizes can be tumbled at once).Advertisement
-
3Add stones to the tumbler, along with some grit, a specialty item sold at geology stores, and some cushioning material such as plastic pellets or beads to prevent stones from being chipped or broken during sustained impact. Experts recommend filling the tumbler up to about 50% to 60% of volume for most loads. Start with a coarser grit, and progress to a finer grit as necessary.
-
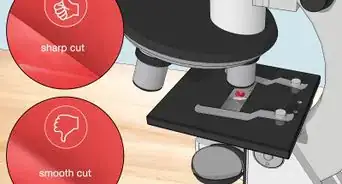
4Start the tumbler, and check for appropriate function. Wait several minutes. Listen to the tumbler to check for any aggressive sounds that would indicate malfunction. A steady, shifting noise means that the tumbler is working properly.
-
5Run the tumbler for a long period of time. Some experts recommend several days, but depending on the rock type, a one-day cycle may be sufficient. Check stones after one day to see if they need more tumbling.
-
6Periodically sift out waste materials on a multiple day tumbling. Every 24 hours, check the stones, and also filter out any built up material that has accumulated. Pros call this mix “slurry.” It is composed of sloughed off bits from rocks. For finer tumbling, replace the grit after several days with a finer variety up to several hundred mesh.


Community Q&A
-
QuestionHow long does this take?
 Community AnswerIt varies. Check your stones after one day, and keep tumbling them as needed.
Warnings
- Some rock tumbling hobbyists have reported that gas build-up can be a problem. Though this is not common, in some loads, gases can build up and cause pressure that can interfere with the process. Experienced tumblers recommend adding some baking soda to the mix to prevent gas build-up.⧼thumbs_response⧽
- Wear safety glasses when taking out batches of rocks to avoid being splashed in the eyes by the residual material that has built up in the tank.⧼thumbs_response⧽
- Dispose of slurry properly. Experts report that pouring this substance down the drain can have a devastating effect on pipes, as the mix can harden over time.⧼thumbs_response⧽
Things You'll Need
- A tumbling device
- Rough stones
- Water
- Grit (recommended: coarse grit of 60-90 mesh)
- Cushioning material