X
wikiHow is a “wiki,” similar to Wikipedia, which means that many of our articles are co-written by multiple authors. To create this article, volunteer authors worked to edit and improve it over time.
This article has been viewed 146,375 times.
Learn more...
So, you’re bored of Wilson and his big hairy beard. That’s fine, it’s nice to expand your horizons every once in a while and use other characters! Except you don’t really have an idea HOW to gain all these wonderful other characters you see other people using. Not to fret, most of them are easy to unlock!
Steps
Part 1
Part 1 of 3:
Dying a Lot
-
1Set a “goal” character. The characters you unlock through dying are as follows, in order: Willow, Wolfgang, Wendy, WX-78, Wickerbottom, and Woodie. Each character has their own advantages: Willow has a lighter and gains sanity from fire, Wolfgang gets stronger the higher his Hunger gauge is, Wendy can summon her dead sister’s ghost to help her fight, WX-78 gets stronger from eating gears and getting hit by lightning, Wickerbottom can craft books with unusual effects like summoning Tentacles, and Woodie can chop wood faster and turn into a Werebeaver! But they all have drawbacks themselves, like how Willow sets fire to things when her Sanity is low or how WX-78 gets damaged from the rain.
-
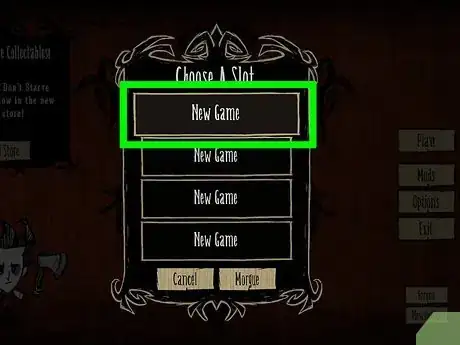
2Make a New Game. Now that you’ve unlocked your character, exit your current game and head on over to the Main Menu. You can do this by pressing the Esc button, pressing R2, or by tapping the “Pause” button in the lower right half of the screen. Select “Exit Game” then “Yes.” Now, press “Start Game,” and select a New Game slot instead of your usual game slot.Advertisement
-
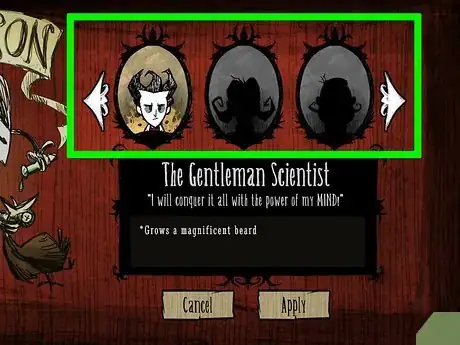
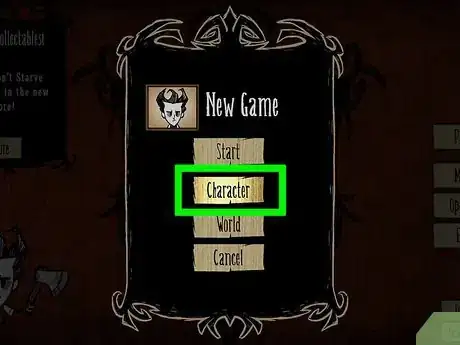
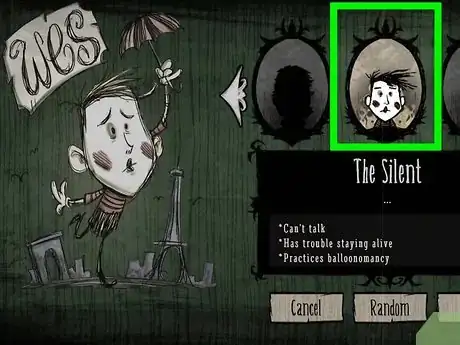
3Pick a character. In the New Game menu, pick the Character option and scroll by your choices! The hidden or locked characters are silhouetted while the playable ones are in full color. When you find one you like, press select them and then press “Apply.” After that, press “Start” and you’ll spawn in your world with your new character!
-
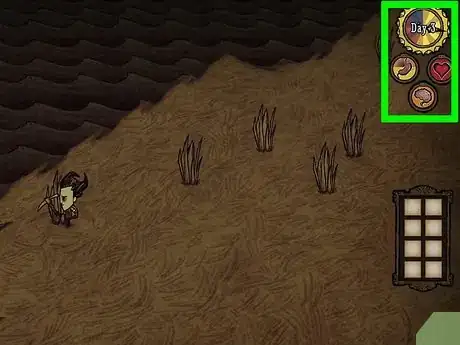
4Survive the days. Each hour you survive in the game before you eventually die is converted to EXP, and the longer you last, more EXP you get, and the more characters you unlock! The EXP needed to unlock the characters increase incrementally for each of them. For instance, Willow takes 8 days, Wolfgang takes 16 days, Wendy needs 32, and so on and so forth. So try to survive for the number of days required to unlock the goal character you have in mind.
- In RoG, another character named Wigfried is introduced, available when you survive a total of 96 days before dying, making her the last in the list. Her advantage is that she spawns with a helmet and armor right off the bat and gains sanity and health from killing things, but can only eat meat.
-
5Die. You can choose how you die—get killed by Hounds, frogs, mosquitoes, bees, or any other creature you find. Except for the first, all you have to do is attack them to irk them and have them attack you; just don’t attack back once they do. You can also starve, which might take a bit longer than finding something to kill you though.
-
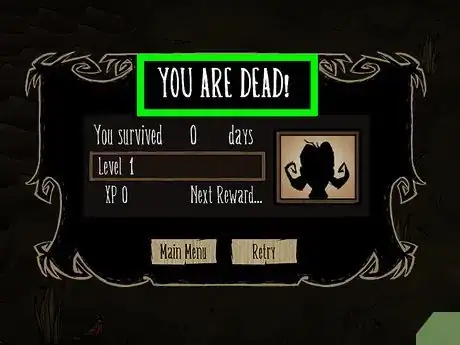
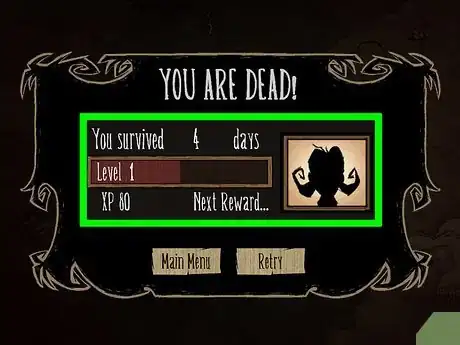
6Check your experience and unlocked character. Once you’re dead, you have the option of continuing or exiting the game. Opt to exit, and you’ll see the points you’ve earned and the character you’ve unlocked!
Advertisement
Part 2
Part 2 of 3:
Reviving Webber
-
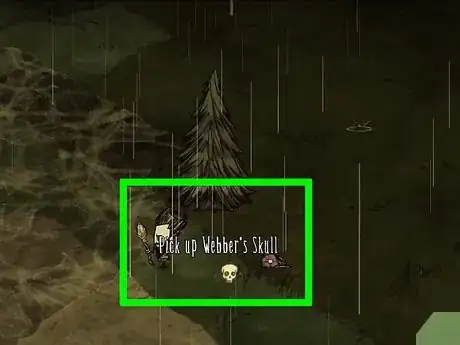
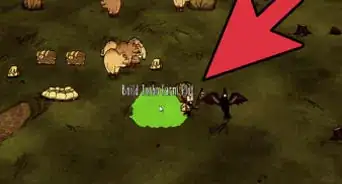
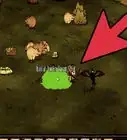
1Find Webber's skull. This poor child, eaten by Spiders, is another unlockable character, available in the Reign of Giants DLC! Webber’s Skull is a rare item dropped by slain Spiders or by destroying Spider Dens. While morbid, you better hang on to it until you find a Grave.
-
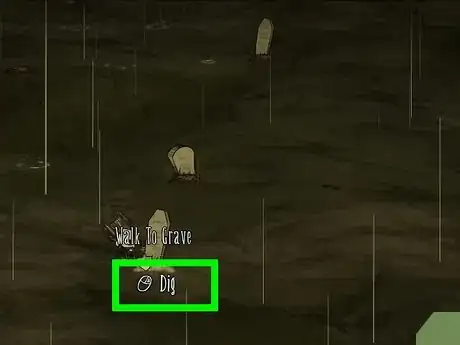
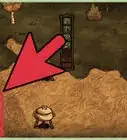
2Find and dig up a Grave. Graves are normally found in Forests or in Graveyards. Digging one up requires a shovel, which you can learn to create through a Science Machine. Digging Graves normally yields you treasures, but occasionally spawns vengeful Ghosts instead, so be careful!
- Shovels require 2 Twigs and 2 Flint to create, and can be made in the Tools tab (crossed pickaxe and axe icon).
-
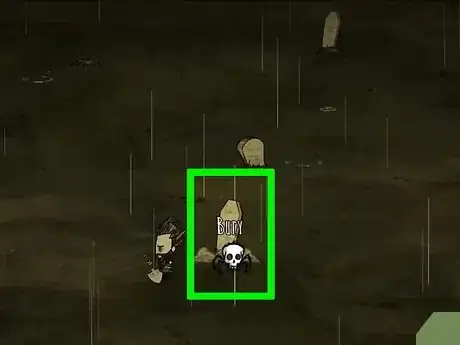
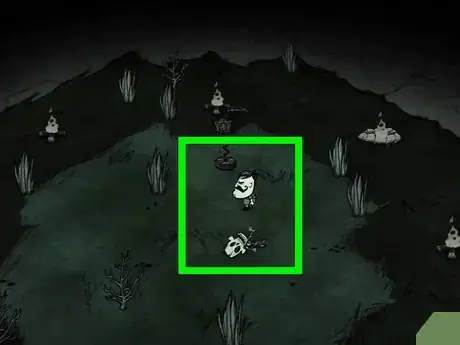
3Revive the child. Now that you have everything, it’s time to commit a sin against nature and bring him back to life! To revive Webber, place his skull on the Grave you dug up. Lightning will immediately strike it, and the child in a spider’s body will emerge, along with some other Spiders.
- Webber is great if you like Spiders, since he can befriend them all. He can grow a beard of Silk, making it easily renewable every few days, and he’s immune to the penalties from eating Monster food. As a drawback though, his Sanity is quite low, and mobs like the Pigs and Bunnymen will attack him on sight since he looks too much like a Spider, which they tend to murder with extreme prejudice. You can still befriend them, but you need to feed them their respective items (meat for Pigs, carrots for Bunnymen) twice, once to dispel their hostility and the second to completely befriend them.
- Oddly enough, as long as you haven’t buried Webber’s skull yet, you can still get it as drops from Spiders and Spider Dens. Aside from being creepy, the skull item doesn’t have much of a function apart from Webber’s revival.
Advertisement
Part 3
Part 3 of 3:
Going on Adventure Mode
-
1Understand what Adventure Mode is before jumping into the fray. Adventure Mode is the most difficult challenge for the players of this game. This mode is a crazy grind of unusual mechanics and even more unusual challenges that force the players to get very, very clever with their strategies, and is thusly not recommended for novice players of the game. Therefore, the following steps will just be a breakdown on each theme, where to find your other characters, and some basic survival tips.
-
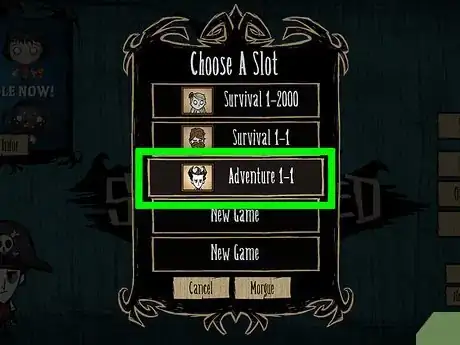
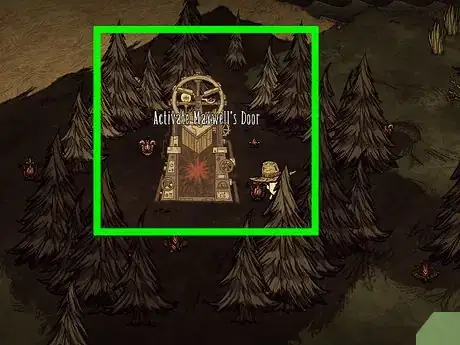
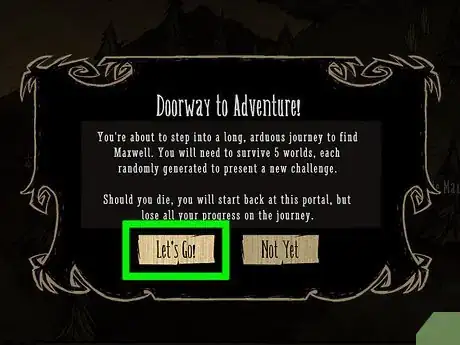
2Find Maxwell’s Door. Adventure Mode can be accessed by going through a structure called Maxwell’s Door, which is commonly found in Forests. When you enter that, you’ll be taken to another world with a specific theme, called a Chapter, wherein you have to survive in. Do note that you can only bring four items with you in Adventure Mode at a time. This includes player-only items such as Lucy the Axe, Willow’s Lighter, and Abigail’s Flower (carried by Wendy).
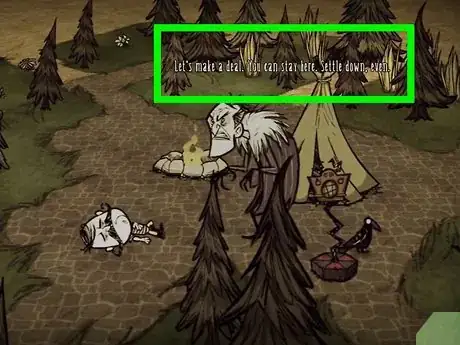
- Maxwell’s Door is a huge metal and wood structure that looks like Maxwell’s over-inflated head, and is surrounded by a field of Evil Flowers. To those who have seen the introductory animated scene of the game, it looks exactly like the object Wilson made under Maxwell’s instructions.
- Wilson and Webber’s beards don’t count as an item, and WX-78’s upgrades from eating Gears are unaffected.
-
3Survive the chapters. You need to survive four themed worlds in “Chapters” to progress through Adventure Mode. The order of appearance for most worlds is chosen at random, however, in the 3rd, 4th, and 5th world, the map will show some of the path indicating where the objectives are. These five possible themes are quite difficult to survive in due to their unusual mechanics.
- You should at least make it a point to learn as many recipes as you can by making things on your Science Machine, Alchemy Engine, and Prestihatitator, and bring at least one warm article of clothing, since most of the possible chapters feature harsher winters than normal.
- At random, one basic resource will be made rare: saplings might not spawn but there might be spiky bushes instead, or there might not be any trees but only stumps.
- Common food sources like Carrots, Berry Bushes, and Rabbit Holes are also generally scarce in the Adventure Mode worlds, so you’ll have to stockpile your food carefully and bring along long-lasting foods like Jerky and Popcorn.
- Thankfully, you always spawn close to a Divining Rod to aid you in search of the Things, which is the only advantage given to you by Maxwell.
-
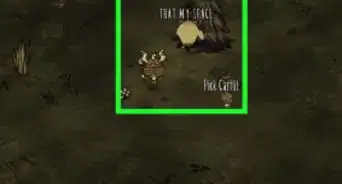
4Know the Things. To progress, you need to find the Things scattered around the map. Only one Thing can’t be removed from its spawn point, but the rest can be gathered and brought to it. Thankfully, you can equip your Divining Rod to direct you to the nearest Thing.
- The Ring Thing is a large yellow-colored metal ring and is found in the middle of a ring of Evil Flowers.
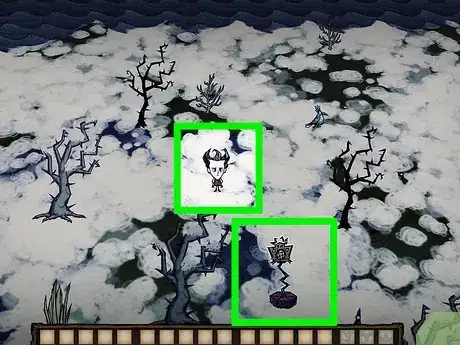
- The Crank Thing is a large rectangular metal object with what looks like large screws at each side and a small lever in the middle. It’s found in a small patch of savannah, with Evil Flowers, a Pig House, 3 Spikey Trees, and an axe next to it.
- The Box Thing is a small wooden box and is found surrounded by Stone walls, a lawn gnome, a spear, and of course, Evil Flowers.
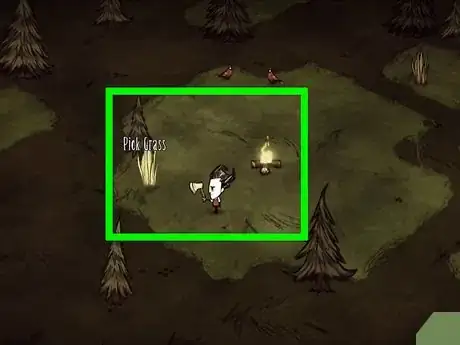
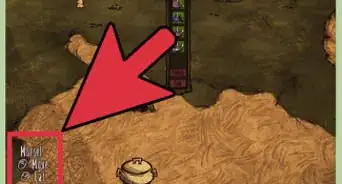
- The Metal Potato Thing looks like a huge round lump of scrap metal. It’s right next to some Farm Plots, Grass, Twigs, and some Carrots, making it a good area to stay in for some food, if you need to.
- Lastly, the Wooden Thing is a large wooded circle with strange red symbols etched into it. It’s also the most difficult to secure since it’s spawned next to some hostile Clockwork monsters, and you can’t move it either, so you can’t just run and grab it. The entire area it’s found in is full of Marble Trees and Marble Pillars, in an area commonly referred to as the Chess Biome due to it’s checkered floor and chess-themed Clockwork monsters surrounding it. You can place any of the Things in any order on the Wooden Thing, and once it’s complete, you can use it to get to the next world.
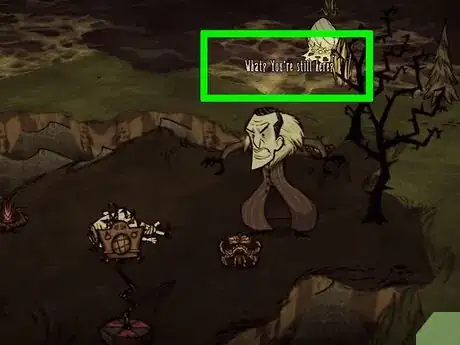
- The complete Wooden Thing is basically the Metal Potato Thing, now revealed to be a metal sculpture of Maxwell’s head, floating on top of the other Things. It’s also referred to as the Teleportato, as a reference to the Metal Potato Thing being Maxwell’s head. Once completed, you can interact with it to bring you to the next world, and when you choose to advance, shadowy hands will drag you away while the head laughs.
-
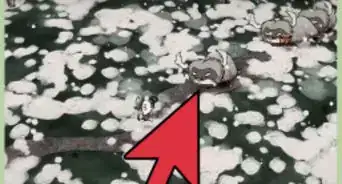
5Beat the Cold Reception theme. The first of the five possible themes for the four chapters is the Cold Reception theme. The seasons here are unusually short (6 days of summer to 3 days of winter) and rainy to boot. It may also rain Frogs, which can be an advantage and disadvantage at the same time.
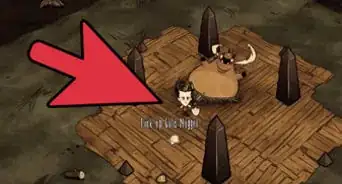
- The next is the King of Winter. This theme, obviously, is a harsh, endless Winter with normal weather patterns and day lengths. This is also where you can encounter Hound Mounds, which are bone piles that spawn Hounds periodically. Your path would also be blocked with Obelisks, which can be raised and lowered according to your sanity. If you encounter a raised obelisk with full sanity, you would need to lower your sanity to pass, and if it’s raised while in low sanity, you would need to increase your sanity to continue.
-
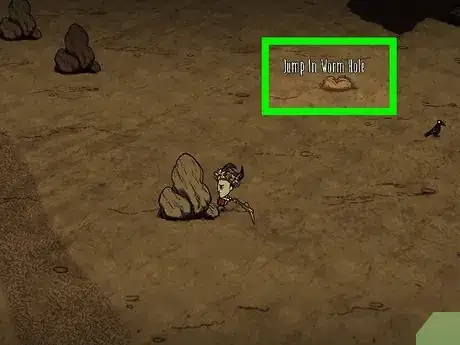
6Get past The Game Is Afoot! theme. This theme has a very lush, rich central island surrounded by other hazardous islands where you can find the Things inside. It also starts immediately in Winter. To progress, you need to go through “bridges” linking the islands that have various obstacles. You can actually gather a lot of resources in this theme for the next ones, making this one of the better themes to start off in. Occasionally, the islands don’t have a bridge, prompting you to travel through Wormholes.
-
7Conquer the Archipelago theme. This theme has six islands in total, with five of them containing a Thing, and the last island is where you start in. The only way to get to the other islands is by going through Wormholes. Your initial spawning point is in the relatively safe Grasslands, but it’s surrounded by Marshes, so you must still be careful. The day-night cycle is normal, as are the seasons, making this another good place to stock up on supplies before advancing.
-
8Beat the Two Worlds chapter. This next theme, appearing on either the 3rd or 4th chapter, is the Two Worlds chapter. Here, the world is split between two islands: one is a lush, almost idyllic place with abundant resources and extremely long days and short nights, while the other is a rainy, swampy area full of Merms, Spiders, Tallbirds, and Tentacles, and thankfully, a normal day-night cycle. Of course, you start in the lush area but need to leave for the swampy area to progress. Normally, when the world is generated, the only way to the swamp island is a Sick Wormhole, which makes it a one-way trip, prompting the player to hoard and stockpile resources before heading to the other island.
- Occasionally, a pair of regular Wormholes connecting the islands can spawn, or a land bridge naturally spawns between them, letting you explore and gather things in a more relaxed, thorough manner before progressing.
-
9Survive the Darkness. The fifth chapter is always Darkness. This is pretty much a straightforward rush-or-die world where the timer is your own degrading sanity and dwindling food sources. Maxwell’s Lights are common, but the eternal darkness can still drain sanity. Even if there are some creatures you can kill and hunt for meat, they’re not common enough for you to completely thrive off on. Think of this as the Underground with exponentially less resources and more danger. Do not linger, keep moving forward, and you’ll be able to get to the final area of Adventure Mode.
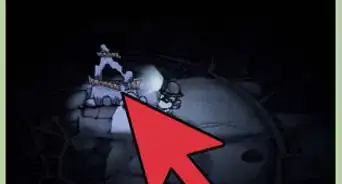
- The last area is named Epilogue. When you get to the very very end of Adventure Mode, you’re immediately taken to this very special place, full of resources and darkness. Any more description would reveal massive spoilers, but if you’re not careful, you can still die from Hound Attacks and from the penalties of sanity loss. The only way to escape is to make a special choice, or to die.
-
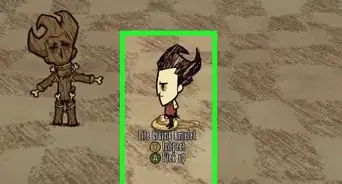
10Find Wes! Here’s the first “special conditions” character you might encounter in the game, if you haven’t found Webber yet. His name is Wes. He’s a mime, and Maxwell has him in his dastardly clutches. And only you can save him and then recruit him! Do note that he is, by far, the absolute weakest character in the game, with the lowest overall stats, and is meant to be played by experienced players who want a challenge.
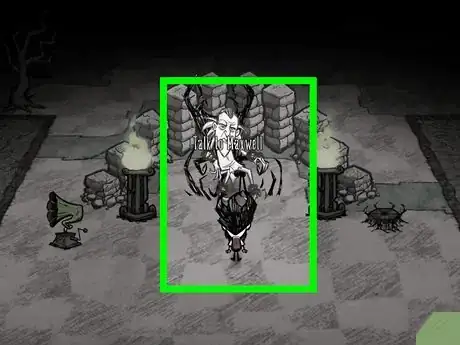
- Wes can be found in the third chapter of Adventure Mode (if it’s not the Two Worlds theme) in a structure of three rooms, two with Maxwell’s Statues, and poor Wes trapped in the third one. If you break any of the statues, undamaged Clockwork monsters will appear to attack you, and you need to break all the statues and defeat all the monsters before you can approach Wes. Once you do, when you get near him, even more Clockwork monsters spawn, and you have to defeat them all to release Wes, so be very careful when you find this poor little mime!
-
11Release . . . Maxwell? You know him, you hate him, and he revels in your misery. But now it’s time for a little payback, don’t you think? In lieu of spoilers, just know that you’ll meet Maxwell himself in the final area of Adventure Mode, and after a series of events and some eerie and important exposition, you are given a choice. One lets you continue on as you were, the other shows you an “ending” to the tale of Don’t Starve, and lets you Exit Adventure Mode with Maxwell as your character!
- While despicable, Maxwell is one of the best characters to play! He constantly regenerates Sanity due to his smug dapperness, can spawn copies of himself, and even spawns with the Dark Sword and Nightmare Armor—one of the best weapons and armor in the game—in his inventory! To make up for this, his maximum health is the absolute lowest compared to character in the game, even Wes, so try to keep him alive to prolong his torment!
Advertisement
Community Q&A
-
QuestionHow can I unlock the last two? I have Willson, Wolfgang, Willow, Woody, Webber, Wendy, WX78, and Wickerbottom. How do I get the last two?
 Community AnswerWell, you can cheat and enter in codes to play all characters. Go to YouTube and find the video called "Don't Starve Cheats/Console Commands - Unlock ALL Characters!"
Advertisement
About This Article
Advertisement
