X
This article was co-authored by wikiHow Staff. Our trained team of editors and researchers validate articles for accuracy and comprehensiveness. wikiHow's Content Management Team carefully monitors the work from our editorial staff to ensure that each article is backed by trusted research and meets our high quality standards.
The wikiHow Tech Team also followed the article's instructions and verified that they work.
This article has been viewed 71,288 times.
Learn more...
This wikiHow teaches you how to download and use the OBS Studio application to stream your live video on Facebook, using a desktop internet browser.
Steps
Part 1
Part 1 of 3:
Installing OBS
-
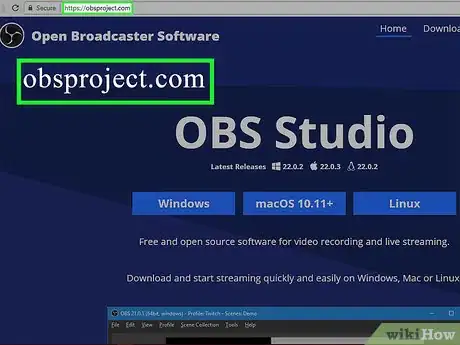
1Open the Open Broadcaster Software website in your internet browser. Type obsproject.com into the address bar, and hit ↵ Enter or ⏎ Return on your keyboard.
-
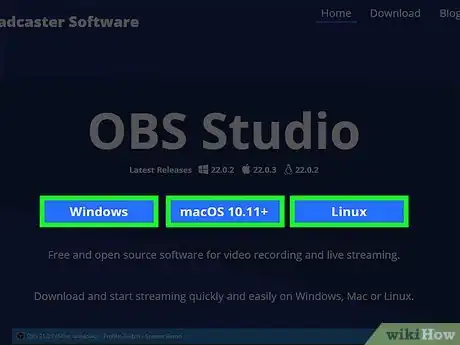
2Click your operating system on the home page. You can download and use OBS Studio on Windows, Mac, and Linux.
- Alternatively, you can click the Download tab in the upper-right corner of the page, and download a different version of the OBS streaming software.
Advertisement -
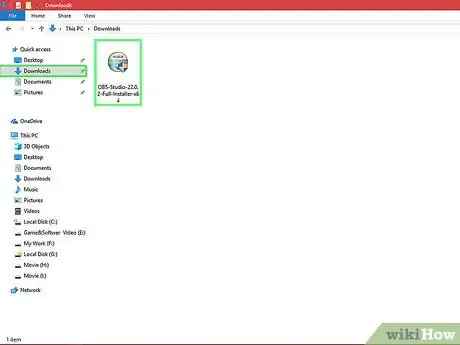
3Open the OBS setup file on your computer. Find the setup file you just downloaded on your computer, and start the installer.
-
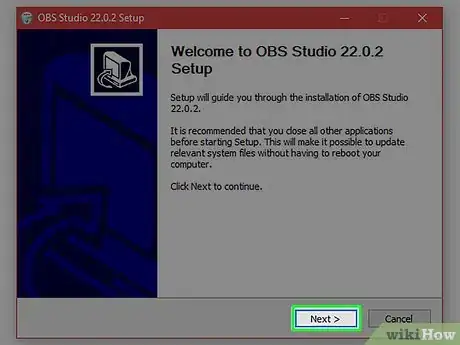
4Click Continue or Next. The setup wizard will guide you through the steps, and install OBS Studio on your computer.
- If you're prompted to agree to the license terms, click I Agree.
-
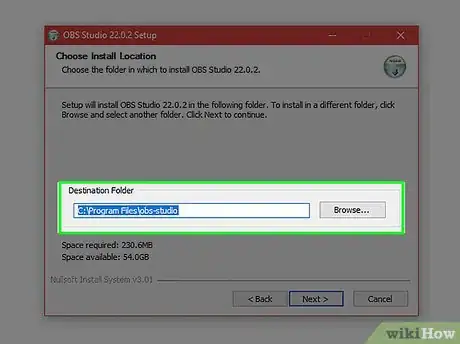
5Select your install location. You can install OBS Studio on any partition of your hard drive.
- On a Windows PC, you can click Browse, and select a destination folder for your install.
- On Mac, click on the drive or partition you want to use for OBS. A green arrow icon will appear on the selected drive.
-
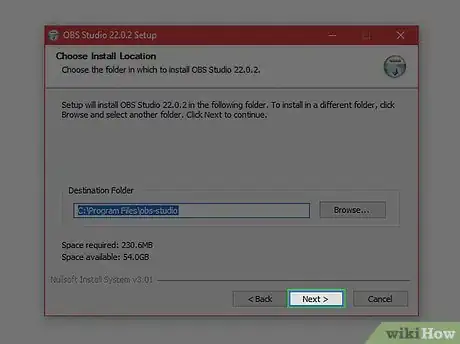
6Click Continue or Next. This will confirm the selected location for your installation.
- If you're using Windows, you can select which components and plugins you want to install here. In this case, make sure OBS Studio is checked on the list.
-
7Click the Install button. This will install OBS Studio on your computer.
- You may be prompted to enter your computer password here. In this case, enter your account password to proceed with the install.
-
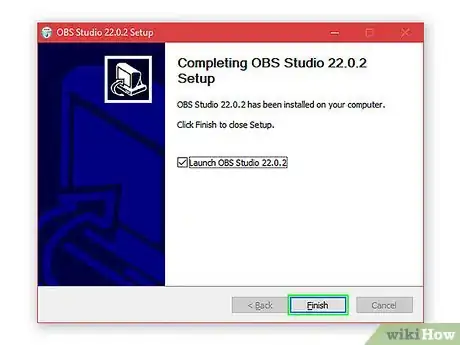
8Click Continue or Finish. This will close the installer. You can now use OBS Studio to stream live on your computer.
Advertisement
Part 2
Part 2 of 3:
Setting Up OBS
-
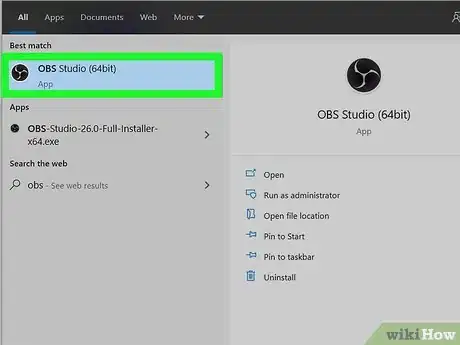
1Open the OBS Studio app on your computer. You can find it in your Applications folder on a Mac, or on the Start menu on Windows.
- If you're opening OBS for the first time, you'll be prompted to review the license agreement. In this case, make sure you understand the terms of service, and click OK.
-
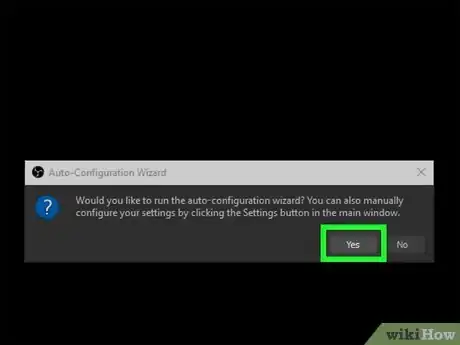
2Click the Yes button to auto-configurate your settings. When you're prompted to run the auto-configuration wizard, clicking Yes will allow you to automatically configure all your streaming settings.
-
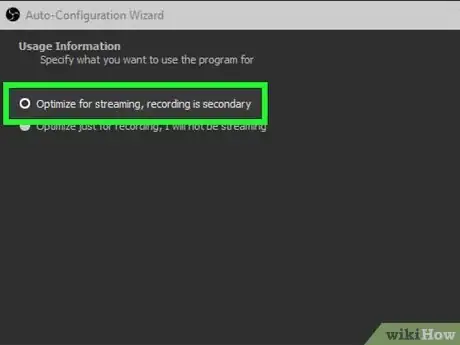
3Select Optimize for streaming, recording is secondary. This option will configure your settings for live streaming from your computer.
-
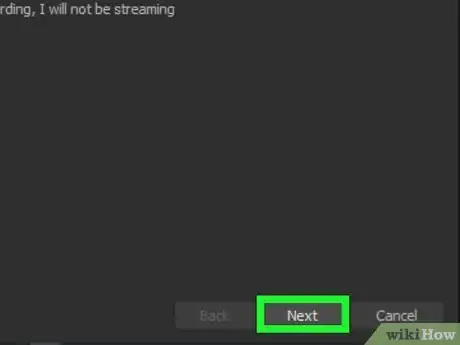
4Click Next. This will allow you to review and change the auto-configuration settings on the next page.
-
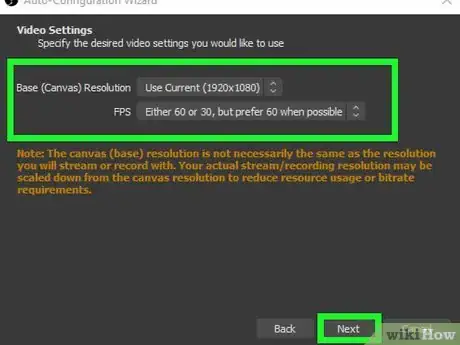
5Click Next again. This will confirm your streaming settings.
- If you want to change your settings, you can select a different Base Resolution or FPS rate for your streams here.
- You may be prompted to enter your stream key here. If you don't know it, open your Facebook page's Video Library, and click the +Live button to see it.
-
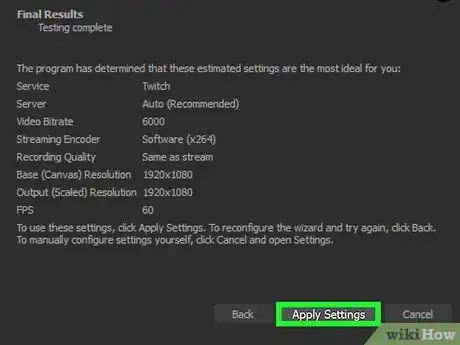
6Click the Apply Settings button. This will save your streaming settings in OBS.
-
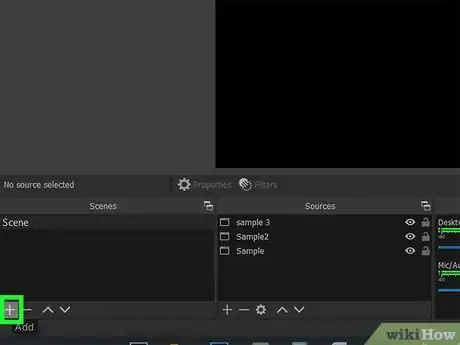
7Click the + button in the Scenes section. The Scenes section is in the lower-left corner of OBS.
-
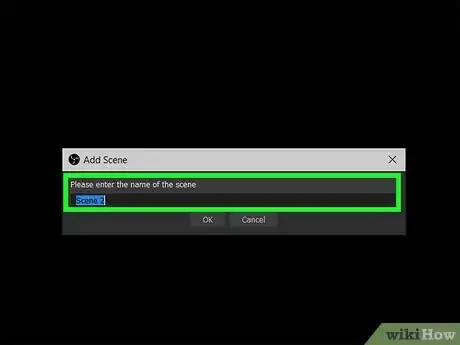
8Enter a name for your stream scene. You can create multiple scenes and switch between different scenes in your stream.
-
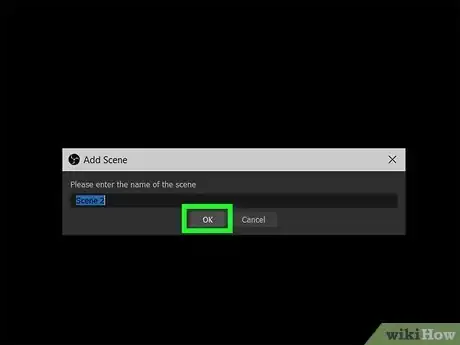
9Click OK. This will create your new scene.
-
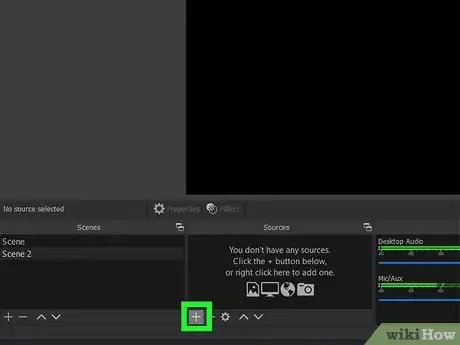
10Click the + button in the Sources section. The Sources section is next to Scenes in the lower-left corner. This will open a list of all the audio and video sources you can stream.
-
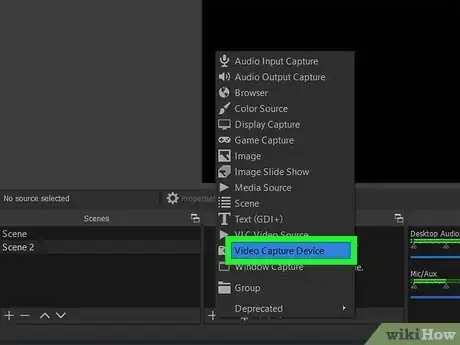
11Click Video Capture Device. This option will allow you to use your computer's camera to stream video.
-
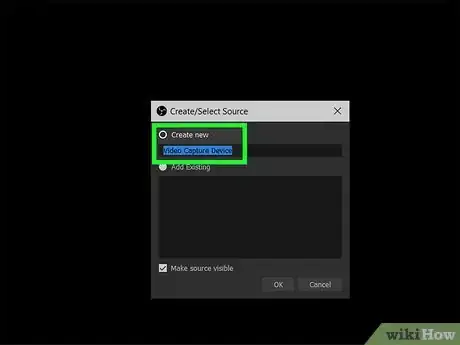
12Select Create new. This option will allow you to add your camera to OBS.
- Optionally, you can edit your camera's name in the text field here.
-
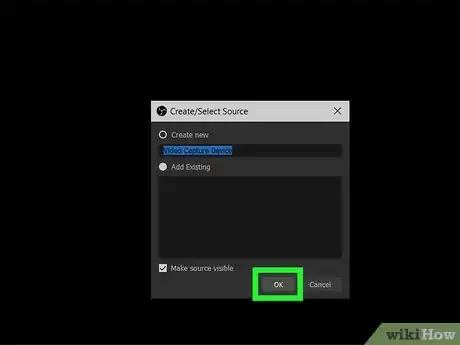
13Click OK. This will allow you to select your computer's camera in a new pop-up window.
-
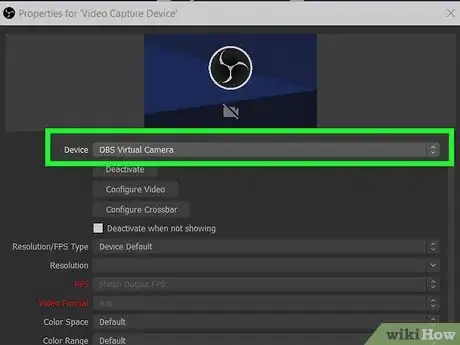
14Select your camera on the Device menu. Click the drop-down menu next to Device, and select the camera you want to stream.
- Optionally, you can also select a video resolution from the Preset menu here.
-
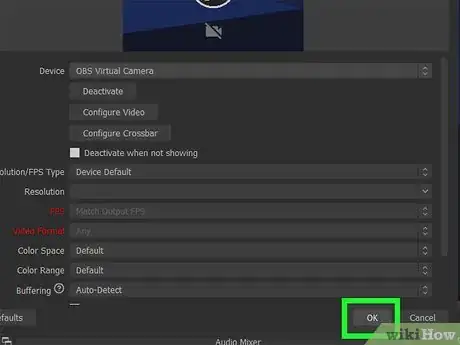
15Click OK. This will add your camera to the selected scene. You can now stream your camera, using OBS.
Advertisement
Part 3
Part 3 of 3:
Going Live on Facebook
-
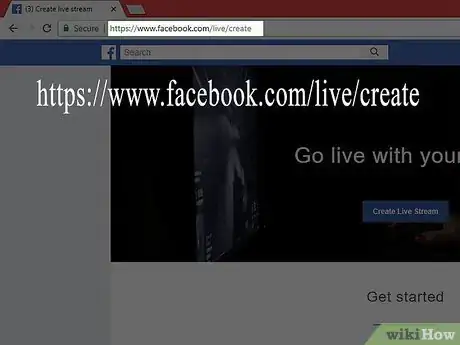
1Go to https://www.facebook.com/live/create in your internet browser. This page will allow you to create a new live stream on Facebook.
- If you're not already logged in to Facebook, enter your email address or phone number, and your password to log in.
-
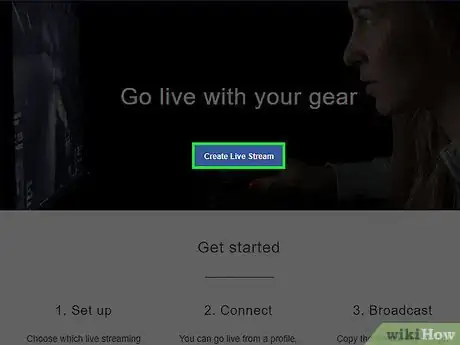
2Click the Create Live Stream button. This will allow you to stream live from OBS Studio.
-
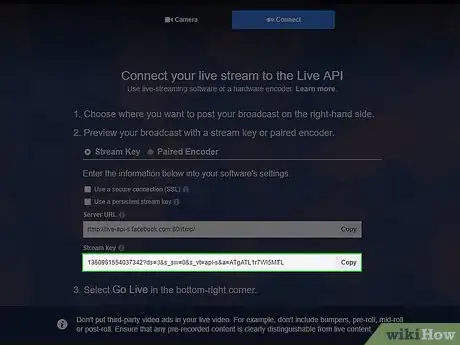
3Copy your stream key. Your stream key allows you to stream your OBS video on Facebook or on a different website.
- You can highlight your stream key here, and use the Control+C shortcut on Windows and ⌘ Command+C on Mac to copy it.
- If you want to stream on a different website, you will have to change your stream key settings in OBS.
-
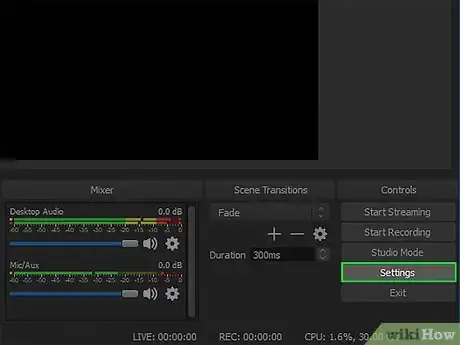
4Open your OBS settings. Find and click the Settings button in the lower-right corner of OBS to open your settings.
-
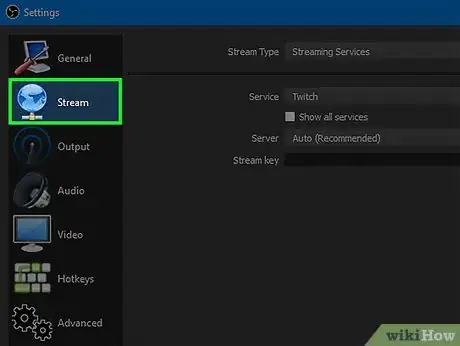
5Click Stream on the left sidebar. This will open your streaming settings in OBS.
-
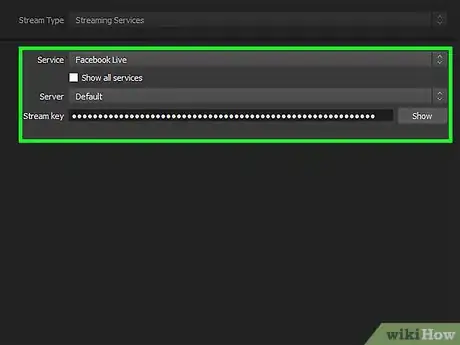
6Paste your stream key into the "Stream key" field. Make sure Facebook Live is selected next to Service in your settings, and your stream key is correct.
-
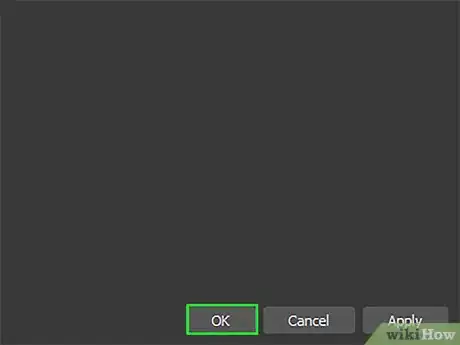
7Click OK. This will save your new stream key settings.
-
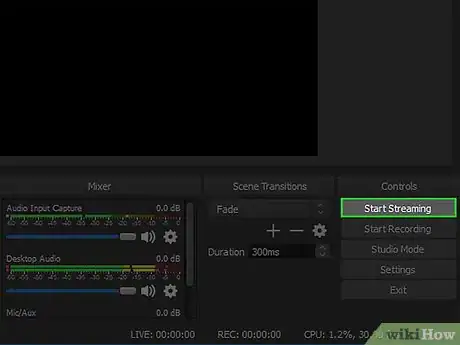
8Click Start Streaming in OBS. This button is in the lower-right corner of OBS. It will stream your live video to Facebook.
-
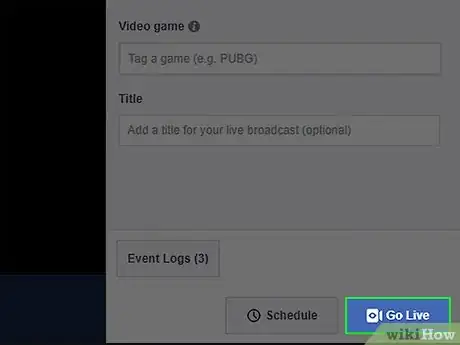
9Click the Go Live button on Facebook. Go back to your live stream page on Facebook, and click the blue Go Live button in the lower-right corner of your screen. This will start your live broadcast on Facebook.
Advertisement
About This Article
Advertisement
