This article was co-authored by wikiHow Staff. Our trained team of editors and researchers validate articles for accuracy and comprehensiveness. wikiHow's Content Management Team carefully monitors the work from our editorial staff to ensure that each article is backed by trusted research and meets our high quality standards.
There are 7 references cited in this article, which can be found at the bottom of the page.
This article has been viewed 69,900 times.
Learn more...
Bread makers have simplified the process of making bread at home, because they take over the kneading and baking for you. In fact, all you need to do to have fresh bread every day is pour in the ingredients and press a few buttons! Bread machines are generally quite easy to use once you understand what all the functions are, but if you’re using a new machine and don’t know what all the buttons do, it can be quite intimidating. If you are using a new machine for the first time, read over the manual first, and go through it to figure out what all the buttons and functions are for, in what order to add ingredients, and in what order you should program the different functions. You may even find that your bread machine can make more than bread.
Ingredients
- 1/2 package (1/8 ounce) active dry yeast
- 1 1/8 cups (270 ml) warm water
- 1.5 tablespoons (21 g) sugar
- 1/2 tablespoon (7.5 g) salt
- 1 tablespoon (13.5 g) canola oil
- 3 1/8 cups (469 g) all-purpose flour (plus ½ (75 g) cup if necessary)
Steps
Learning the Basic Functions
-
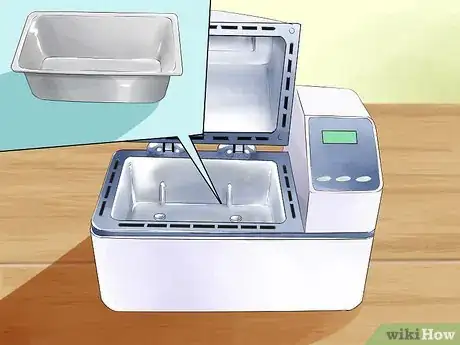
1Put the bread pan and paddles into the machine. These are the components that will be responsible for mixing, kneading, and baking your bread. Open the lid on the top of the machine. You’ll see a heat element in the bottom and a place where the bread pan sits inside the machine.
- Insert the pan into place, and then place the paddles (sometimes called the blades) on top of the peg inside the pan.
- To remove the pan from the machine again, use the handle and give it a gentle pull.
- The paddle will knead the bread, and the metal pan is what the bread will bake in.
-
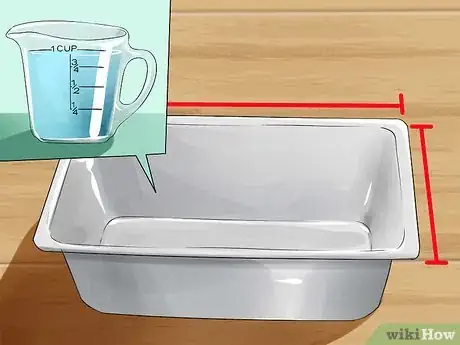
2Determine the size of your bread maker. Bread machines have different capacities, and some can make small, medium, or large loaves of bread. It’s important to determine the capacity of yours, because you can’t overfill your bread maker.
- Add one cup of water at a time to the bread pan, keeping track of how many cups you added. Add water until the pan is full.
- For a machine that holds fewer than 10 cups, you can make one-pound loaves. For a machine that holds 10 cups, you can make 1.5-pound loaves. For 12 cups, your bread can be two pounds. More than 12 cups indicates a 2.5-pound loaf.[1]
- A small to medium loaf of bread (one to 1.5 pounds) will have around two cups of flour, while a medium to large loaf (two to 2.5 pounds) will be around three cups.[2]
Advertisement -
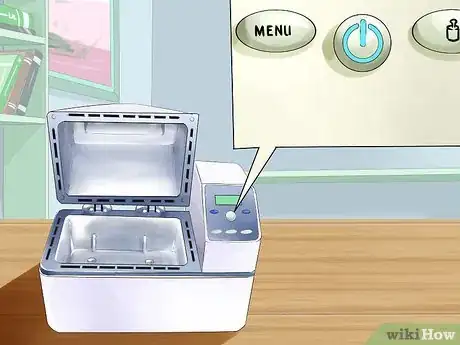
3Find the power button if there is one. Dump or reuse the water from the bread pan. Replace the pan and paddles inside the bread machine. Close the lid, and plug in the machine. Most machines will come on automatically, but there may be an on/off switch.
-
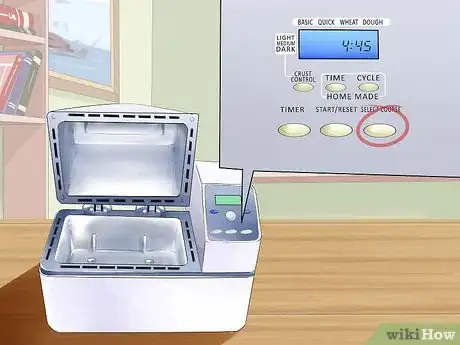
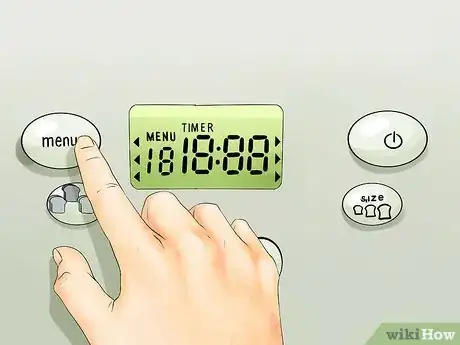
4Find the Select button. The Select button allows you to begin programing your bread maker according to your ingredients and preferences. The different settings you’ll be able to choose include:
- Loaf size
- Crust darkness
- Flour type
- Rapid cycle
- Dough-only
-
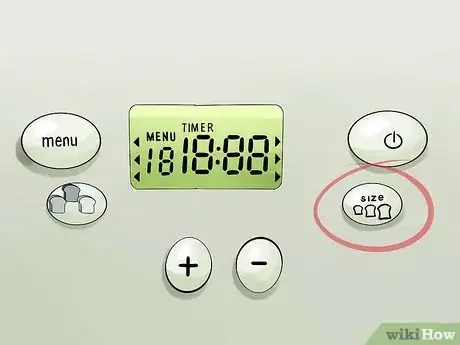
5Learn how to select loaf size. Some larger bread machines have a button that allows you to select the size of the loaf you’re making, and this will adjust the baking time of the machine accordingly.
- Most bread machines will have a single Loaf button, and you can push this multiple times to change the setting.
- As you change the setting, pay attention to how it alters the time on the display. [3]
-
6Understand the different flour settings. Bread machines have different settings for different flours, and this is because your loaf will take a longer or shorter time to bake depending on the type of flour, such as white versus whole wheat.[4]
- Some flours have a longer kneading and rising time, while others can be put on a rapid cycle.
- There are some bread maker models that don’t have flour types written right on the machine. Instead, you may have to select a menu number that corresponds with different flour types.
-
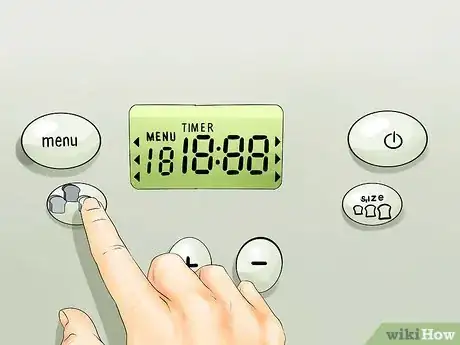
7Find the crust control. Many bread makers allow you to control the crustiness or darkness of your crust, because it will add a longer or shorter baking time to your setting.
- Like the Loaf control, your machine will likely have a single Crust button that you can push multiple times to change the setting.
-
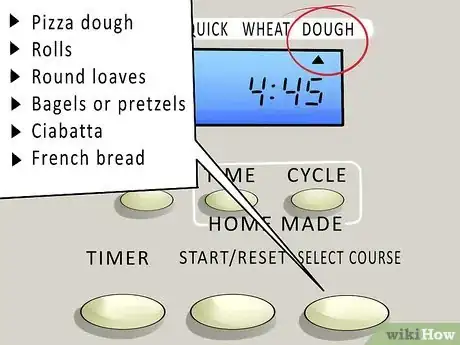
8Try the dough-only setting. This setting is for when you just want the bread machine for mixing, kneading, and rising, but not baking. This comes in handy when you’re making non-loaf breads, such as:
- Pizza dough
- Rolls
- Round loaves
- Bagels or pretzels
- Ciabatta
- French bread
-
9Find the rapid cycle. The rapid cycle is a quicker version of the bread machine process for when you’re in a hurry, but keep in mind that even this will usually take at least one hour. You also likely won’t be able to choose custom settings like crust darkness when you select this option.
- When you have the time, it’s recommended that you allow your machine to go through the full cycle, because this gives the yeast and ingredients the proper time to activate.
-
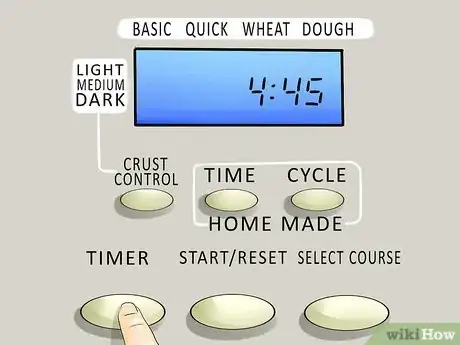
10Master the time delay. The time or delay setting allows you to program your machine to start its cycle at a later time. For instance, you can put all your ingredients into the machine in the morning, set the delay for five hours, and then your bread will be ready when you get home after work.
- To use the time delay, use the up and down arrows to add or subtract time from your programmed setting.
- Once you select your flour type, bread size, and crust setting, your bread machine will give you a cycle time, such as three hours, for example. You can add five hours (so the time display will read eight hours), which means your bread maker won’t start the process until five hours have elapsed.
- Never use the delay cycle for recipes that contain dairy or other ingredients that should always be refrigerated.[5]
-
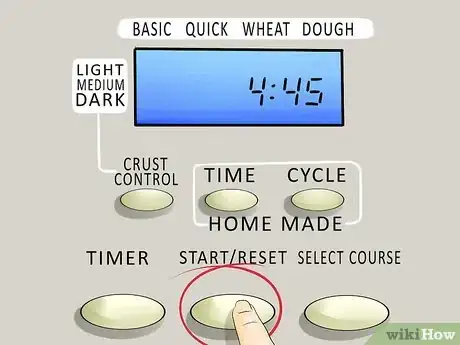
11Locate the start button. You can play with the settings on your machine all you want, and the machine won’t start mixing, kneading, or baking until you actually hit Start. When you do hit Start, the machine will begin its cycle, or will begin counting down through the time delay.
-
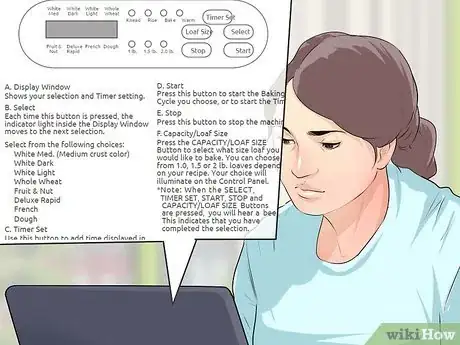
12Troubleshoot problems. The bread machine manual should have all the information you need regarding the functions, how to solve different problems, and possibly even some tasty recipes. But if you have lost your manual, take a look online to see if you can find a digital version.
- Websites like manuals online are a great resource for replacing lost appliance manuals.
Making Simple White Bread
-
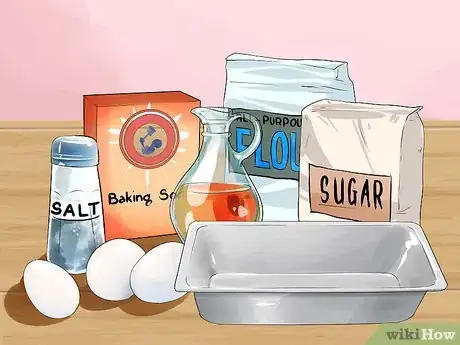
1Remove the pan from the bread maker. Insert the paddle, and gather all the ingredients you need for your bread.
-
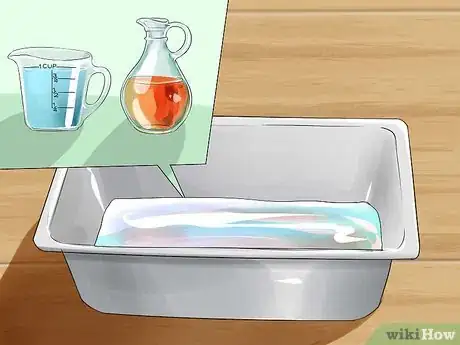
2Add the wet ingredients. It is especially important to add ingredients in the proper order if you are using the time delay function. Your bread maker may be different, but most machines say to add the wet ingredients first, and this includes the water and oil.
- In order to activate the yeast, make sure that any liquids you add to your bread are at least 80 F (27 C).[6]
-
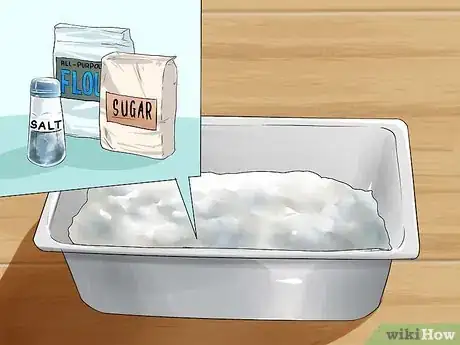
3Add the dry ingredients except for the yeast. Add the sugar and salt first, followed by the flour. You want to make sure the salt and sugar are separated from the yeast, so you want to create a barrier with the flour.
- To make an herb bread, you can also add seasonings in with the dry ingredients, such as thyme, oregano, sage, dill, or rosemary.
-
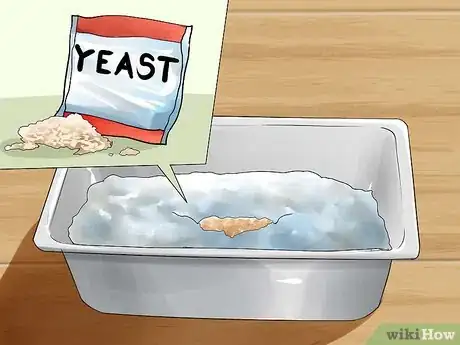
4Add the yeast. Make a small well in the flour with a spoon or your finger, and pour the yeast into the well. The yeast always comes last because it needs to stay away the from salt, sugar, liquids, and the heat element until a certain time.[7]
- Separating the yeast from the other ingredients is especially important when you are using the timer.
-
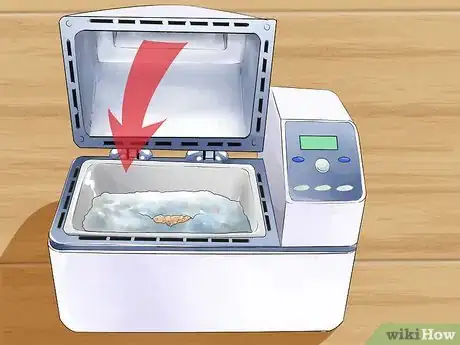
5Insert the bread pan into the bread machine. Once all your ingredients are in, replace the bread pan into its position in the bread machine. Close the lid.
-
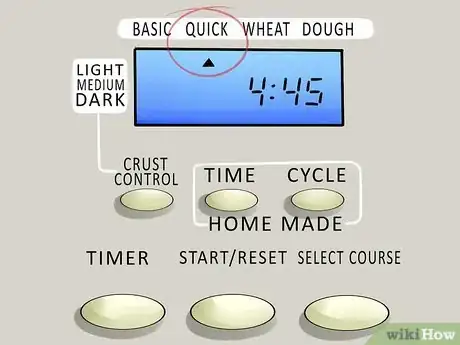
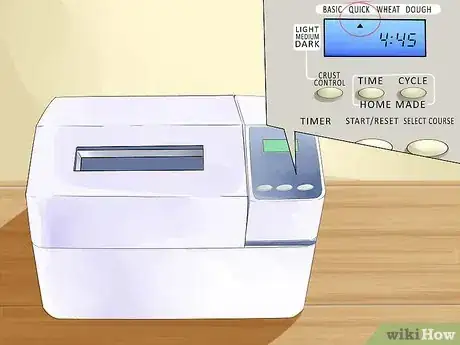
6Program the machine. Press Select. If you only want the machine to make dough, select the dough cycle. Or, you can select the rapid cycle. Otherwise, select your flour type, loaf size, and crust preferences. Press Timer, if necessary,[8] and use the arrows to adjust the time if you want to use the delay function.
- When you are finished, press Start. The machine will begin spinning the paddles to mix the ingredients and knead the bread. It will likely go through several periods of kneading and rest, and eventually it will stop to allow the bread to rise.
-
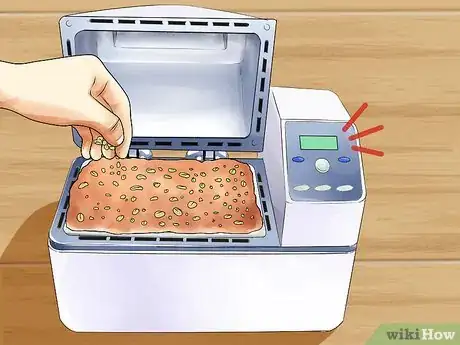
7Listen for the beeps. Depending on the bread you’re making and the settings you’ve chosen, your machine may beep to indicate it will start the baking process soon, and this is your chance to lift the lid and add extra ingredients like nuts, seeds, fruit, or cheese.
-
8Remove the dough if you selected knead-only. When the machine beeps to indicate that the dough is ready, unplug the machine, lift the lid, and remove the bread pan.
- To bake your simple white bread in the oven, preheat your oven to 375 F (191 C). Grease a nine-inch by five-inch loaf pan and place the dough into it. Set it aside and give it some time to plump up again as the oven heats up.
- Bake the loaf for 30 to 35 minutes, until golden brown.[9]
-
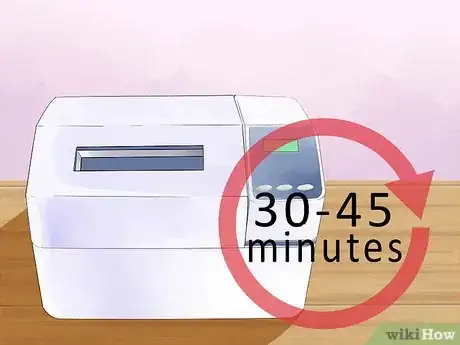
9Bake the bread in the bread maker as an alternative. If you’ve opted to bake your bread in the bread machine, the last 30 to 45 minutes or so will be for the baking process.
- The bread machine will likely beep several times to indicate that it has completely finished its cycle.
-
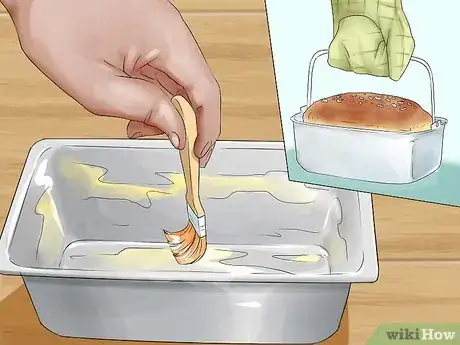
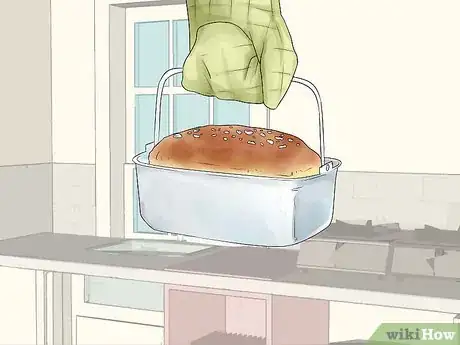
10Remove the bread pan from the machine. Use an oven mitt to grab the handle, and gently pull the bread pan out. Tip the pan upside down, and use a plastic or rubber spatula to remove the bread from the pan.
- If the paddles are stuck inside the bread, use the handle of a wooden spoon to help get them out.[10]
-
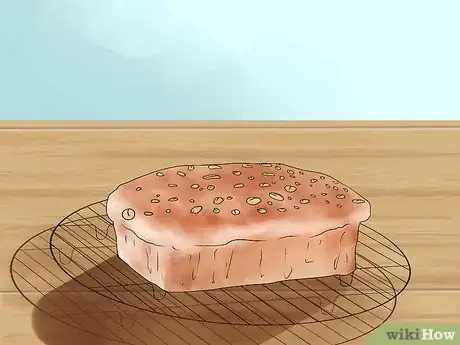
11Give your bread time to cool. Transfer your freshly baked loaf to a wire cooling rack and let it cool for at least 15 minutes before slicing and serving.[11]
Community Q&A
-
QuestionAfter the cinnamon raisin bread is baked, why are the raisins sitting on top of the bread and not all the way throughout?
 Community AnswerThey are floating to the top. To stop this, you can try soaking them first in a simple sugar water syrup, or even add liquor like rum and spices. Soaking them for a few hours could do the trick, but I recommend overnight.
 -
QuestionWhy does my bread sink in the middle?
 Community AnswerToo much moisture or wrong measurements of the dry goods in the recipe can cause the bread to sink in the center.
 -
QuestionHow soon can I make another loaf of bread in my bread maker?
 Community AnswerClean the bread maker pan and leave the bread maker open so that it cools down. Once it has cooled, you can make another loaf; this can take 30 minutes to an hour. Your machine will won't start and will beep letting you know it's too hot if you don't wait long enough.
References
- ↑ http://www.hillbillyhousewife.com/breadmachinemanual.htm
- ↑ http://dish.allrecipes.com/bread-machine-baking-the-basics/
- ↑ https://www.youtube.com/watch?v=tKf1U0lSST8
- ↑ http://www.hillbillyhousewife.com/breadmachinemanual.htm
- ↑ http://dish.allrecipes.com/bread-machine-baking-the-basics/
- ↑ http://redstaryeast.com/tips-troubleshooting/bread-machine-tips/
- ↑ http://whatscookingamerica.net/Bread/Secrets.htm
- ↑ http://www.explainthatstuff.com/breadmaker.html
- ↑ http://www.tasteofhome.com/recipes/basic-homemade-bread
About This Article
To use a bread maker to make a simple white bread, start by removing the pan from the bread maker and inserting the paddle. Next, add water and oil to the pan, followed by sugar, salt, and flour. Then, make a small well in the flour, and pour some yeast into it. Finally, place the pan into the bread machine, close the lid, and program the machine for your loaf size and crust preference. To learn how to program your bread maker for a delayed start, keep reading!
