This article was co-authored by Patrick Coye. Patrick Coye is the owner and operator of Patrick’s Painting & Home Improvement in Alexandria, Virginia. With over 15 years of experience in residential construction, Patrick specializes in painting, wallpaper removal/installation, drywall, staining decks and fences, and kitchen cabinetry painting. To date, Patrick and his team have painted over 2,000 houses and stained over 800 decks. Patrick's Company won a "Top Job" award from the American Painting contractor magazine in 2020.
This article has been viewed 171,604 times.
Airless paint sprayers are known as a speedy alternative to other methods of painting with a consistent, high-quality result. Using an airless sprayer, you can hope to paint a surface at least twice as fast as if you were using a traditional roller. Airless sprayers are generally pretty easy to use once you get the hang of it. It operates by a slightly different set of rules than other forms of paint. However, the time you'll save during your projects is more than worth the effort to get yourself up to date with this handy device.
Steps
Preparing an Airless Sprayer
-
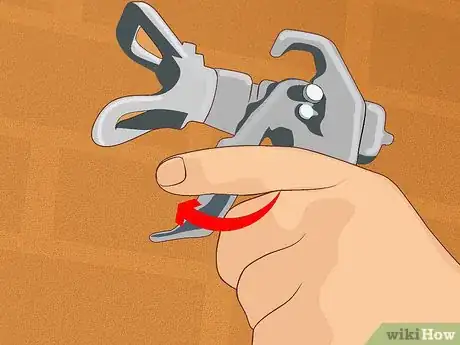
1Pick the right tip.[1] Choosing the right tip can be as important as having the right pressure gauged on your sprayer. Larger tips generally require more pressure, but can cover more ground effectively. Narrower tips, on the other hand, are best for precision work. If you're unsure about the sort of tip you should be using, contact a hardware professional and give her the details of your project.
-
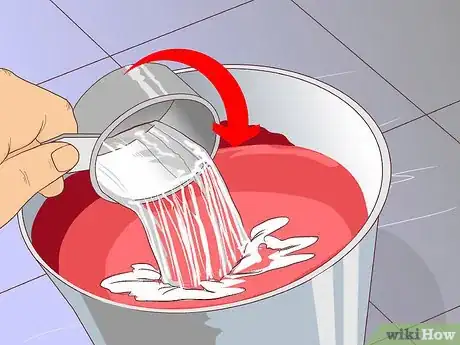
2Thin the paint. Latex paint works for airless sprayers, but it must first be thinned out in order to flow easily through the nozzle.[2] Add 1/4 cup of water or chemical thinner for every gallon of paint you're using, then mix the two together thoroughly. You may have to experiment with different thicknesses of paint. Load some into your paint sprayer and check the coverage. If it's not spraying evenly, you may need to add more thinner.
- Latex paint is the default paint for airless sprayers.
- Chemical thinners are available from paint and hardware stores as well. These work more effectively than water and don't work against the paint's default properties.
- The type of paint you use for your project will depend on the surface.
Advertisement -
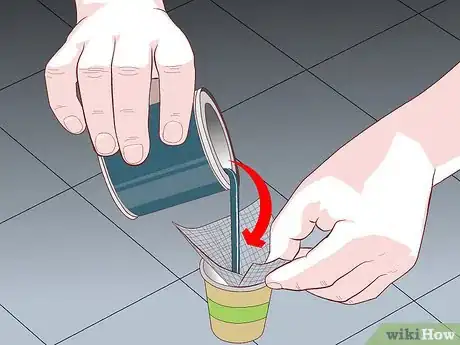
3Strain your paint. No matter how well you mix the paint, there may still be little clumps of solid paint. It doesn't take much to clog an airless sprayer nozzle. Take a strainer and strain your paint into another bucket, catching the solid bits and discarding them.
-
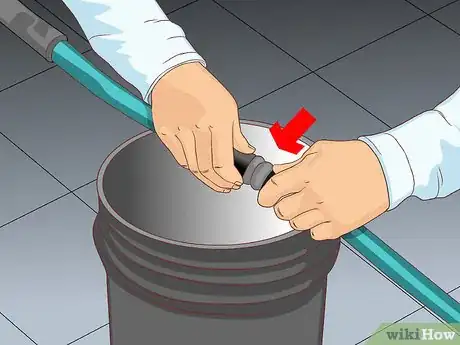
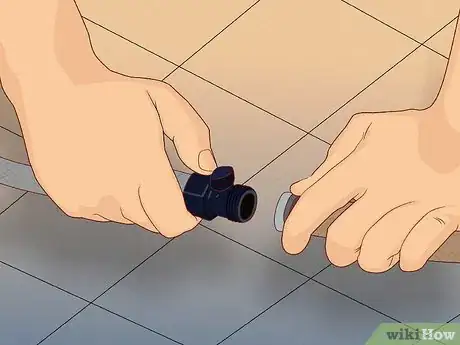
4Set up the siphon hose.[3] An airless sprayer draws paint from a hose. Attach your siphon hose to the back and place it gently in your paint bucket. It's a good idea to do this prior to priming. That way, you'll be able to tell priming is done because paint will start coming through the nozzle.
-
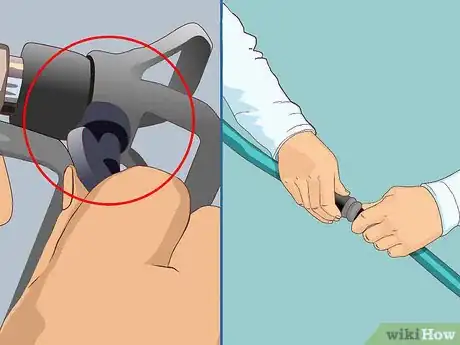
5Prime the pump.[4] All airless sprayers require priming before they're ready for use. Luckily, this is a fairly straightforward operation, as many airless sprayers will have a "Prime" setting. If your airless sprayer isn't priming successfully, it may help to give the device a slight tap with a hammer. This can loosen any clogged paint inside the sprayer.
- Keep the nozzle face downward in a bucket to account for paint drips while you're getting the sprayer ready.
-
6Give your sprayer a quick check before each use. Making sure your sprayer's in working order before you use it can help prevent big messes. Check the hose for microfractures. Check the nozzle and make sure the filter is clear. Give the paint a quick test run on a surface to make sure the paint's being distributed evenly.
Painting With An Airless Sprayer
-
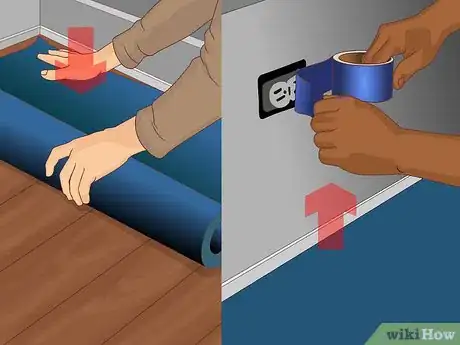
1Prepare the surface for painting. As with all paint surfaces, painting something with an airless sprayer should involve some prep work in the surrounding area. If there are part of the surface you do not want to have painted, cover them with masking tape. Lay tarp down on the ground to account for any drips.
- While airless sprayers have a lot of positives to them, one drawback is how much the paint can get everywhere. If you're painting outside, wind can pick up your paint and carry it to other nearby walls and surfaces. It's a good idea to keep other surfaces covered with tarps to make sure this doesn't happen.[5]
- Keep the wind in mind whenever you're spraying, too.
-
2
-
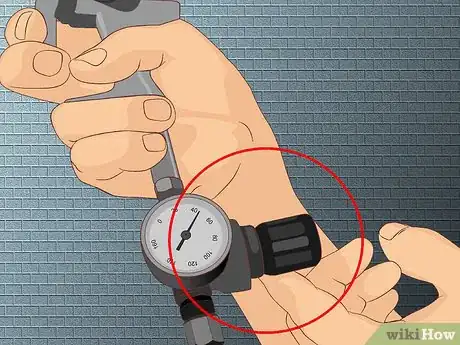
3Adjust the pressure if you need to. If the paint isn't spraying evenly and thickly, it's a good sign you need to increase the pressure. There should be a dial on your airless sprayer to control this with.[8] However, as a general rule, you'll want to keep the pressure as low as possible without resulting in a weaker paint job. Unnecessarily high pressure wears out the sprayer faster.[9]
-
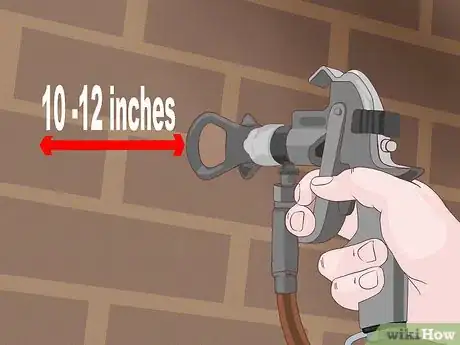
4Maintain a steady distance while you spray. You should keep your sprayer between 10-12 inches (30.5 cm) away from the surface you're painting. This will make it close enough to apply effectively, but far enough away to cover a good range of surface.
-
5Keep your aim moving. If you hold down the trigger in one place for too long, you'll run the risk of overspray and dripping. To avoid this issue, make sure your hand is always moving over the surface you're painting. Make sure that the speed you're moving at is relatively consistent. You want to make sure your paint-job looks even throughout.
- If the paint doesn't look like it's being applied evenly, you should slow down your movements.
-
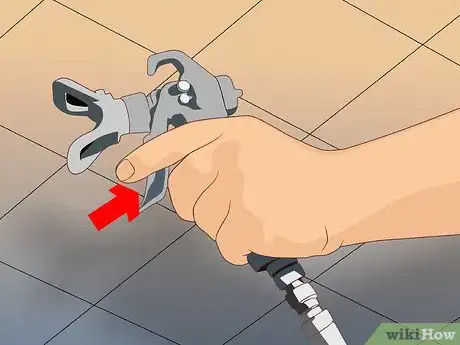
6Release the trigger to stop painting. When you're done a certain round of painting, simply release the trigger to stop painting. You should account for the split second between the time you release the trigger and the point paint will stop being applied at.
Caring For Your Airless Sprayer
-
1Clean the sprayer after each use. The paint in a sprayer will harden if it's not dealt with promptly. It's a good idea to clean out your sprayer after every use. Remove the nozzle from the sprayer and clear the paint out of the nozzle with a damp paper towel. Dry out the nozzle afterwards to make sure the moisture doesn't affect the next load of spray paint.
- Don't leave the sprayer idle for more than 20 minutes. If you do, the paint will begin to harden.[10]
-
2Check hoses for breaks before use. Checking hoses is an important part of maintenance for your airless sprayer. If there's a micro-fracture somewhere in the hose, it will shoot out paint and lower the effective pressure of the device. This is best done by feeling out the hose as well as looking for visible breaks.
-
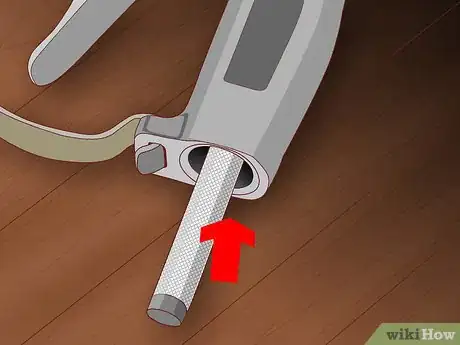
3Replace filters when necessary. A filter is the mask at the front of your sprayer's intake. If it's punctured or at least 20% clogged, your filter is a good candidate for replacement. Many airless sprayers come with a couple of replacement filters, but you can purchase them fairly inexpensively wherever you got the sprayer from.
-
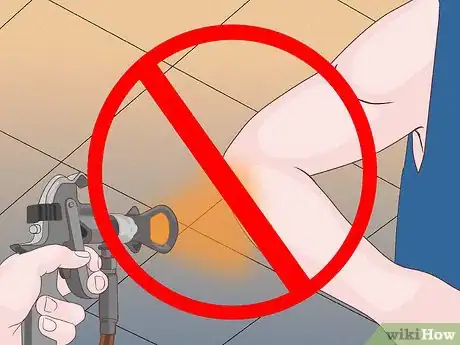
4Keep safety in mind. Airless paint sprayers operate at very high pressures and can very easily cause injuries if you spray directly onto your skin. You may actually inject paint into your tissues or bloodstream without having an obvious cut or bleeding. The skin can open up and allow the passage of the paint through and then close off again making it appear that nothing is wrong. This is a "fluid injection injury", and should be treated by a professional immediately.
Community Q&A
-
QuestionHow much is the sprayer?
 Community AnswerIt depends on where you are. Just look up the sprayer you want on Google, and you can get a fairly solid idea of how much a sprayer will cost in your area.
 -
QuestionHow do I prime my spray painter?
 Community AnswerUse a little bit of the paint until you can see it is dispensing consistently.
Warnings
- Airless paint sprayers are recommended for their speed, but a major drawback is that the paint doesn't stick to surfaces as well as with other applications. Expect to have at least 20% of your paint wasted in the application.[12]⧼thumbs_response⧽
References
- ↑ http://www.familyhandyman.com/painting/painting-with-an-airless-sprayer/view-all
- ↑ http://www.doityourself.com/stry/mixing-paint-for-spraying#b
- ↑ http://www.familyhandyman.com/painting/painting-with-an-airless-sprayer/view-all
- ↑ http://www.familyhandyman.com/painting/painting-with-an-airless-sprayer/view-all
- ↑ http://www.familyhandyman.com/painting/painting-with-an-airless-sprayer/view-all
- ↑ http://magnum.graco.com/howtospray/spraytechniques/
- ↑ http://magnum.graco.com/howtospray/spraytechniques/
- ↑ http://www.familyhandyman.com/painting/painting-with-an-airless-sprayer/view-all
- ↑ http://www.portlandcompressor.com/airless/spraying-techniques.aspx
About This Article
To use an airless paint sprayer, start by thinning the paint with water or a chemical paint thinner and straining out any clumps. Next, attach the siphon hose to the back of the sprayer and place the other end of the hose gently into the paint bucket. Then, give the sprayer a quick test run on a scrap surface and adjust the pressure, if needed. Finally, position yourself 10-12 inches away from the surface you're painting and pull the trigger! For tips on priming an airless paint sprayer, read on!

