This article was co-authored by wikiHow Staff. Our trained team of editors and researchers validate articles for accuracy and comprehensiveness. wikiHow's Content Management Team carefully monitors the work from our editorial staff to ensure that each article is backed by trusted research and meets our high quality standards.
This article has been viewed 23,556 times.
Learn more...
Unit tests are a good way to check programs as they are being developed. To write them, you’ll need to break your program down into independent units, and create tests that examine each unit one by one in a controlled way. Analyze your results and use them to improve your program’s code. Though no test can check for all potential bugs, running effective unit tests will help ensure that your program works as expected.
Steps
Planning Unit Tests
-
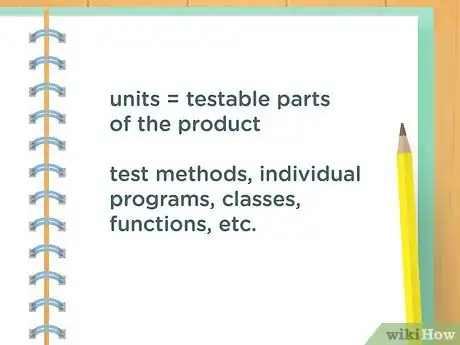
1Map your program into units. The key aspect of a good unit test is that it checks just one portion of a program. Whether you are looking to test an existing program, or planning tests for a program that isn’t written yet, you’ll need to break it down into discrete parts (“units”). You’ll then write a unit test for each one.
- The definition of a “unit” varies widely depending on the type of program you are developing. A unit could be a class, but also a single function or procedure.
-
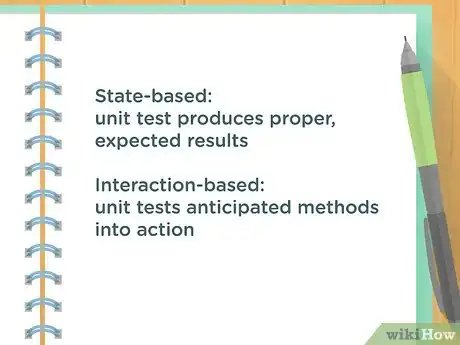
2Determine if you need state-based or interaction-based testing. A unit test can be used to check two kinds of scenarios. State-based testing is used to see if a program unit produces proper or expected results. Interaction-based testing, on the other hand, is used to see if a unit sets anticipated methods into action. To write a good test, you’ll need to identify what you are trying to test for, so keep one of these approaches in mind as a model.[1]Advertisement
-
3Plan simple and readable tests. Keep in mind that you’ll need to write lots and lots of unit tests. You’ll want to run a unit test for every portion of your program. Keeping your tests simple will have several benefits:[2]
- Simple tests will help ensure that you really are testing only one unit at a time.
- The tests’ code will be reliable. If you have complex test code, it will be more prone to problems, making it just that harder to see bugs in the code of the program you are testing.
- The tests will be faster, decreasing the overall amount of time it takes to do the testing.
- A simple test will be readable, meaning you may see some potential problems just by looking at the code itself.
-
4Differentiate unit tests from integration tests. Seasoned developers know that there are different ways to test a program. Unit tests are narrow, specific, and look at only one portion of a program. Integration tests, on the other hand, look at the whole program in a real environment. In other words, unit testing ensures that the individual parts of a program work, while integration testing verifies that the parts work together.[3]
- Integration tests also usually require external elements, such as web servers or a database. To keep unit tests controlled, write them so that they don’t require external elements.
Using the Arrange, Act, Assert (AAA) Approach
-
1Determine the data you need to run the test. To actually run a unit test, you’ll need some input, but this can vary widely depending on the type of program you are developing. Common examples include a few variables or a list of data (such as a number set).
- You can try running your unit test with really simple data, or "dummy data." This can help you quickly assess if the unit works well.
-
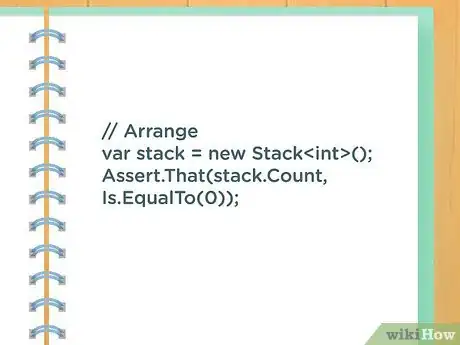
2Initialize the unit you want to test. Set this to happen using the initialization code protocol for the programming language you are using. This step is known as the “Arrange” portion of the AAA approach. The part of the program you are testing is known as the System Under Test (SUT).[4]
- For example, you might initialize a unit that performs some arithmetic on a set of numbers.
-
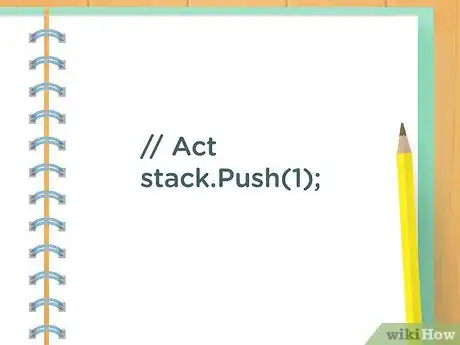
3Use the System Under Test (SUT). The next portion of your unit test should ask the unit to “Act.” What you ask the test to do will depend on the language and type of program, but generally the test will do something like invoke a method for the SUT. [5]
- For example, the requested action might be to give the sum of a set of numbers.
-
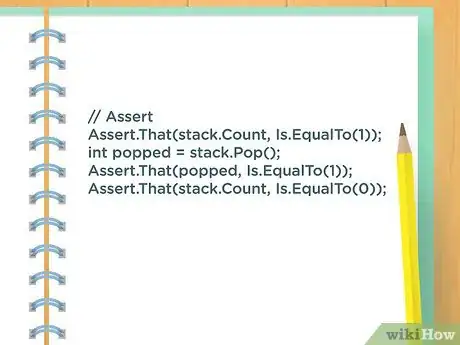
4Observe the program’s behavior. You’ll need the unit test to include an aspect that will “Assert” whether or not the program you are testing is running properly. With the expected result in mind, write your unit test so that it will “pass” if things go as anticipated, and “fail” if they don’t.[6]
- For example, if you want a unit to give the sum of only the even numbers from a set, you will expect the sum to also be an even number. If the unit gives an odd number as a result, then it has failed the test.
-
5Analyze the results. Once the test has run its course, is your turn to interpret what happened. Did it pass or fail? Spotting a failure indicates that there is a problem in your program’s code that needs to be fixed. Since you’re just working with a single unit at a time, however, if will be easier to isolate where the problem might be.[7]
- If your hypothetical SUT from the previous example provided an odd sum instead of an even one, for instance, you can check the code that produced the sum, as well as the code that retrieved the even numbers from the set, in order to see where the error is.
-
6Experiment with bad data. Expert developers suggest trying this with your unit tests. From a strictly scientific point of view, having a program do exactly what you expected doesn’t prove that it actually will work. Trying bad data will show that the program will recognize problems and respond accordingly.[8]
- Continuing with the previous example: if your SUT produces even sums, that doesn’t necessarily prove that it’s working correctly--it might just be giving false sums. Try the unit test with some bad data, like a set of only odd integers. The program should indicate that it could not produce the sum of all even numbers in the set because there were none in the set.
- If you put in bad data and the test makes it seem like nothing is wrong (for example, it still provides a sum), then you know that there’s a problem with the unit (for example, perhaps the code is retrieving odd numbers instead of even ones).
Writing Testable Code
-
1Write the test before you write the code. It might seem counterintuitive, but developers swear that the way to go is to write code to pass a unit test, rather than using unit tests to see if code will work. This can be the approach to take if you haven’t actually begun to write your code, or if you don’t have much yet. Be goal-oriented: write your unit tests to check if code will do what is expected, then write the code, then test it.[9]
- Writing the tests first encourages you to write just enough code to make the program do what it needs to, without inadvertently including unnecessary or bad code.
-
2Come up with unit tests as you write code, if you need to. If you’re well on your way with the writing of your program, you can still make use of unit tests. Just draw on the map you made of your program to break it down into individual units. Run the tests using the AAA approach, and adjust your code as needed based on the test results.[10]
-
3Write testable code. One of the hardest things about using the unit test approach in program development is that you must plan carefully to have code that can actually be tested. If your program is full of elements that you can’t actually test, then you won’t be able to use the unit test method to verify that your program will work as expected. Keep this in mind as you write code for your program.[11]
- For example, avoid things like hidden inputs and non-deterministic factors in your program’s code.
References
- ↑ https://www.toptal.com/qa/how-to-write-testable-code-and-why-it-matters
- ↑ https://www.toptal.com/qa/how-to-write-testable-code-and-why-it-matters
- ↑ https://www.toptal.com/qa/how-to-write-testable-code-and-why-it-matters
- ↑ https://www.toptal.com/qa/how-to-write-testable-code-and-why-it-matters
- ↑ https://www.toptal.com/qa/how-to-write-testable-code-and-why-it-matters
- ↑ https://www.toptal.com/qa/how-to-write-testable-code-and-why-it-matters
- ↑ https://www.toptal.com/qa/how-to-write-testable-code-and-why-it-matters
- ↑ https://www.codeproject.com/Articles/10105/Writing-Your-First-Unit-Test
- ↑ http://radio-weblogs.com/0100190/stories/2002/07/25/sixRulesOfUnitTesting.html
