This article was co-authored by Anthony Stark, EMR. Anthony Stark is a certified EMR (Emergency Medical Responder) in British Columbia, Canada. With over 11 years of experience, he has worked as an industrial medic and provided urban and rural paramedic services. He currently works for Mountain View Safety Services and previously worked for the British Columbia Ambulance Service. Anthony has a Bachelor of Engineering in Electrical, Electronics, and Communications Engineering from the Georgia Institute of Technology. He has completed the EMP Canada EMT Course and Swiftwater Awareness Training associated with the British Columbia Ambulance Service.
This article has been viewed 194,445 times.
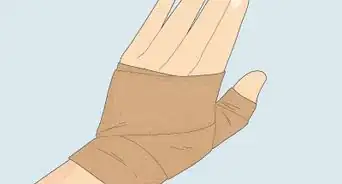
Ace bandages are used to control swelling. They have elastic in them so they apply pressure to the area and prevent fluid from building up. However, if the area already has a lot of fluid in it, this will apply a lot of pressure to the area and it can hurt. It can also reduce the circulation and slow the healing process. Talk to your doctor before applying wraps to be sure that it is right for your situation and that you are doing it correctly. Ace bandages can be purchased over-the-counter at your local drug store.
Things You Should Know
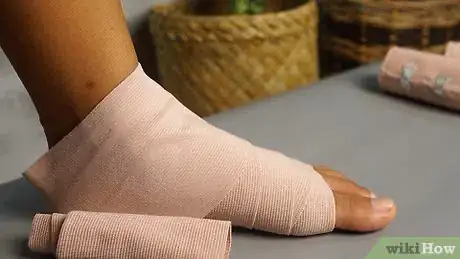
- Wrap from the foot up to the leg, covering the ankle with a figure-8 pattern to ensure the wrap is tight throughout (but not so tight that it causes swelling or numbness)
- If you're unsure whether your muscle or joint injury would benefit from a wrap or if you notice signs of infection, reach out to your doctor.
- In addition to washing your wraps, avoid using them with lotion and waiting too long to replace them.
Steps
Wrapping the Leg
-
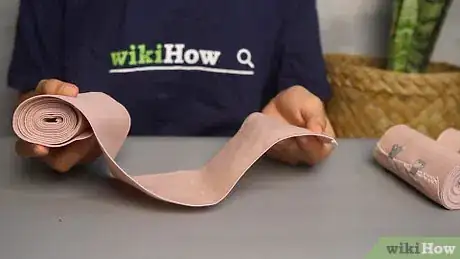
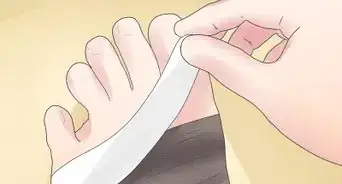
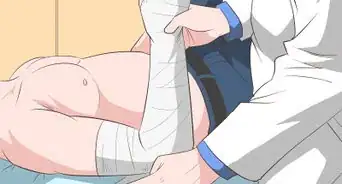
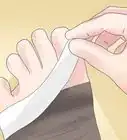
1Start at the foot. Use a bandage that is four inches wide for the foot. Start with the wrap rolled up and unwind it as you go. Wrap in a diagonal, criss-cross pattern as follows:
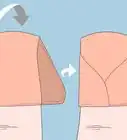
- Begin wrapping over the top of the foot near the toes. Wrap under the foot to secure the bandage. When wrapping over the foot, you should be moving out towards the outside of your foot. When continuing to wrap under your foot, you should be moving in towards the inside of your foot.
- Pull the bandage so that is diagonal. It should not be at a 90 degree angle to your foot; instead, wrap at a 30 degree angle. Each time you wrap, reverse the direction of the diagonal to make a criss-cross pattern, not a spiral. Instead, it should look more like a herringbone pattern.
- You want to overlap the bandages a bit on either side of the foot to provide the extra support. The herringbone weave should ideally run right up the midline of the foot as you go — this provides pressure and support in all the right places.
- Do not wrap the middle of your leg without wrapping your foot.
-
2Wrap in a figure-8 pattern over the ankle. After wrapping over the top of your foot, continue around your heel. Continue wrapping around to the front and over the top of your ankle towards the outside of your foot.
- The next time around your ankle will make an X on the front of your ankle. Wrap from underneath the inside of your heel, up and across the front to the bottom of your calf on the outside of your leg.
Advertisement -
3Continue wrapping up the leg. Keep working in a criss-cross pattern over the ankle and above, keeping the herringbone running up the midline as best you can.[1]
- Wrap less tightly as you go over the calf and even looser at the knee. Take care that the bandage lays flat. If there are wrinkles it will create pressure points and irritate you.
- When you get to the thigh, you may want to change to using a larger bandage. For adults, you can use a bandage that is six inches wide. For children and small adults, you may simply use another four inch bandage.
- If you find it too difficult to wrap in a criss-cross pattern over your calf and thigh, you can wrap those areas using a circular pattern. If you do this, change to wrapping in circles just above your ankle. Each new layer should overlap the previous by 1/3 to 1/2 the width of the bandage.
- Secure the wrap with a clip when you are finished.
-
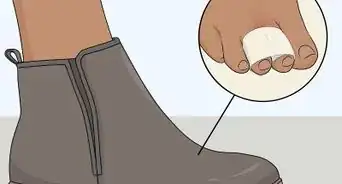
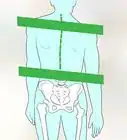
4Check the tightness. The wrap should be tightest on your foot, looser on your calf, and loosest over your knee and thigh. It should not hurt and you should be able to fit a finger snugly underneath. Examine your toes, if you squeeze them, you should see the blood rapidly return to the tissue as soon as you release them. If your toes show the following signs, the wrap is too tight:[2]
- Swelling
- Lack of color or bluish tinge
- Numbness
- Tingling
Recognizing When to Wrap
-
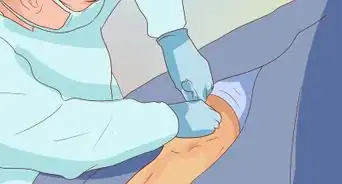
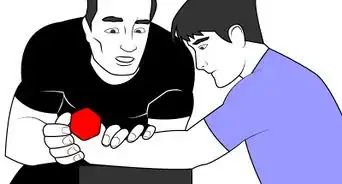
1Apply an ace bandage if you have a muscle or joint injury. If you are unsure whether a compression wrap would be beneficial or if you are unsure how to wrap it, see your doctor. Your doctor can advise you on what would be best for your particular injury and how exactly you should apply the wrap. Both strains and sprains can benefit from wrapping.[3]
- A strain occurs when your muscles or tendons stretch or tear. Tendons attach your muscles to your bones.
- A sprain occurs when your ligaments stretch or tear. Ligaments run between bones.
-
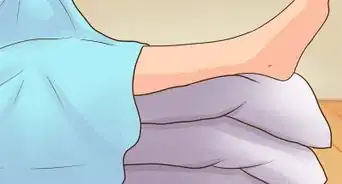
2Watch for signs of improvement. Compression wraps serve multiple purposes for promoting healing. They are best used when you have to stay mobile while you heal your injury. Checking the bandage to make sure it isn't impeding blood flow at least a couple of times a day is useful. They can help by:[4]
- Reducing pain.
- Limiting swelling.
- Protecting the injured area.
-
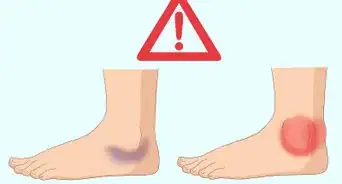
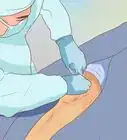
3Call your doctor if you have an infected wound. If you are unsure whether you might have an infection, you should still call the doctor and ask if he or she would like to see you. Signs of an infection include:
- A wound that gives off a bad odor or leaks pus.
- Skin that is hot, swollen, and red, or has red streaks running from the wound site.
- A fever.
Cleaning Your Wraps
-
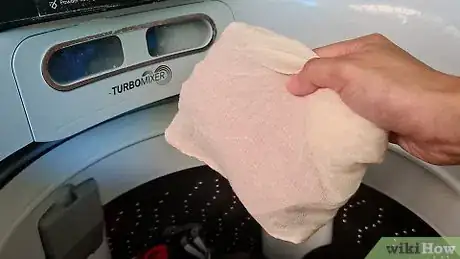
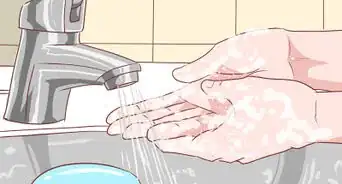
1Wash the wraps after use. They are reusable, but they must be kept clean. Read and follow the manufacturer’s instructions. Most types are machine washable.
- Place them in a hosiery bag so they don’t get tangled in the machine. Use a gentle cycle and a mild soap. If you put them in the dryer use a low setting so that the elastic maintains its stretchiness.
- If you do not use a dryer, lay them flat to dry. Do not wring them out or hang them. This will stretch them out.
-
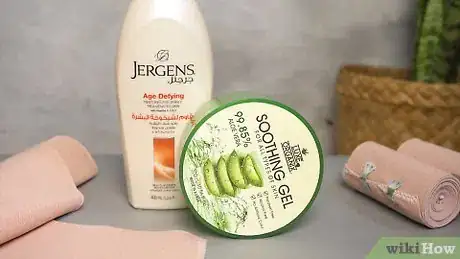
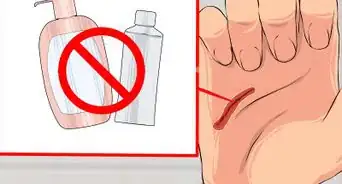
2Protect the wraps from damaging substances. Some substances may cause the elastic or the fibers of the wrap to degrade. Do not use the following products on your skin when using wraps:
- Vaseline
- Lotions and ointments with petroleum
-
3Replace the wraps when necessary. Depending upon how much use they get, most wraps will need to be replaced after one or two months.[5]
- If the wrap is no longer as stretchy as it was when you bought it, this is a sign that it needs to be replaced.
- Wraps with tears or holes should also be replaced as this creates an uneven amount of pressure on your skin.
References
- ↑ https://www.uwhealth.org/healthfacts/burn/4406.pdf
- ↑ https://www.uwhealth.org/healthfacts/burn/4406.pdf
- ↑ http://www.mayoclinic.org/diseases-conditions/sprains-and-strains/basics/definition/con-20020958
- ↑ https://www.gannett.cornell.edu/topics/health/acebandage.cfm
- ↑ https://www.uwhealth.org/healthfacts/burn/4406.pdf
About This Article
To ace wrap a leg, first take the end of the unrolled bandage and wrap it around the base of your foot to secure it. Then, begin wrapping up towards your ankle, making sure to wrap at an angle so each layer overlaps by ⅓ of an inch. Once your foot is covered, wrap once around your ankle and once around the base of your foot to make a figure-8 pattern over your heel and ankle for extra support. Then, return to wrapping your ankle and shin. Once you get to the calf, you should start wrapping more loosely to prevent cutting off circulation. When you’ve fully wrapped the area, secure the wrap with a clip to hold it together. To learn how to clean your wraps, read more from our EMT co-author.






Medical Disclaimer
The content of this article is not intended to be a substitute for professional medical advice, examination, diagnosis, or treatment. You should always contact your doctor or other qualified healthcare professional before starting, changing, or stopping any kind of health treatment.
Read More...