This article was medically reviewed by Ronn Callada, RN, MS. Ronn Callada, ANP, RN is a Nurse Practitioner at the Memorial Sloan Kettering Cancer Center in New York. Ronn is also part of the adjunct faculty at New York University in nursing. He received his MS in Nursing from Stony Brook University School of Nursing in 2013.
This article has been viewed 370,470 times.
Liquid bandage is an adhesive that can be used to close a minor, superficial wound (such as a laceration or an abrasion) to keep it clean and to stop minimal bleeding. As the name indicates, liquid bandages come in a liquid form and are sprayed or applied over the wound and then allowed to dry. The seal of a liquid bandage typically lasts between 5 and 10 days. After the seal is gone, the bandage will remove itself from your skin. However, if you need to remove a liquid bandage (for example if it is damaged or the wound underneath has healed), you can do so with a few easy steps.[1]
Steps
Removing a Liquid Bandage by Softening It
-
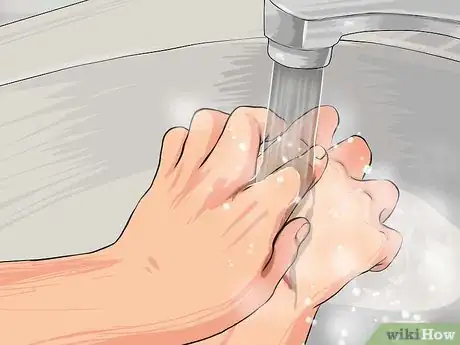
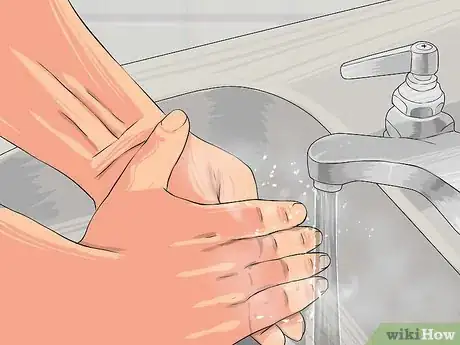
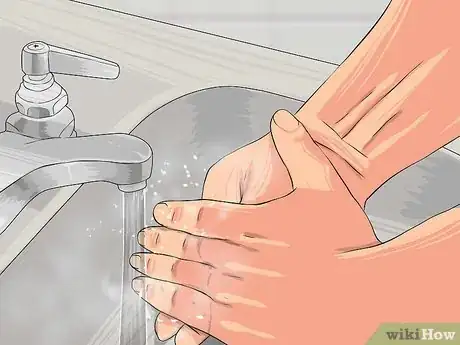
1Wash your hands. This is especially important if the wound under the bandage has not had enough time to heal and poses a risk to open during the bandage removal. Dirty hands contain bacteria that can be transferred to the wound during bandage removal.[2]
- Use warm water and soap to wash your hands. Be sure to remove all visible dirt on the skin as well as under the fingernails.
- Scrub for at least 20 seconds, or about the time it takes to sing the “Happy Birthday” song to yourself twice.
- After washing, dry your hands to remove all moisture.
- If you aren’t able to wash your hands with soap and water, use a hand sanitizer that has at least 60% alcohol.
- Do not attempt to remove a liquid bandage if your doctor has advised against it.
-
2Wash or wipe the bandage and the skin around the bandage clean. Remove all visible dirt and wash the skin around the bandage with soap and water. It’s okay to wash the bandaged area too, because the soap will not irritate wounded skin that has the liquid bandage over it.
- It is important to have the skin around the bandage clean, especially if the wound has not had time to heal. Once the bandage has been removed, the wound is open and susceptible to bacterial infection.
- Optionally, you can remove the bandage after taking a bath to ensure your skin is clean.
- Do not use alcohol, iodine or other antiseptic liquids as these may cause skin irritation.[3]
Advertisement -
3Soften the bandage to remove it. Liquid bandages are meant to stay on your skin until they come off but you can remove the bond between the bandage and your skin by softening the bandage to loosen the bond.[4]
- You can soften the bandage by applying a new layer of the liquid bandage over the old one. This will help soften the bond between your skin and the bandage.
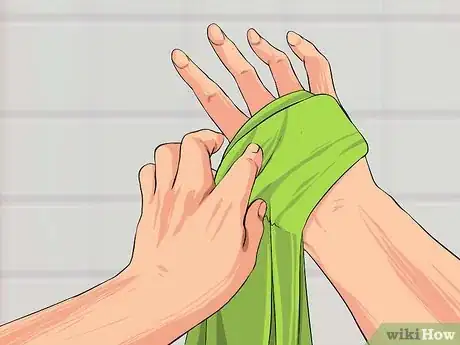
- Optionally, you can place a clean, wet towel over the bandage to soften it and loosen the bond between it and your skin.
- You can also soften the bandage during a bath, or by giving the bandaged area a soak in a bowl of water.
-
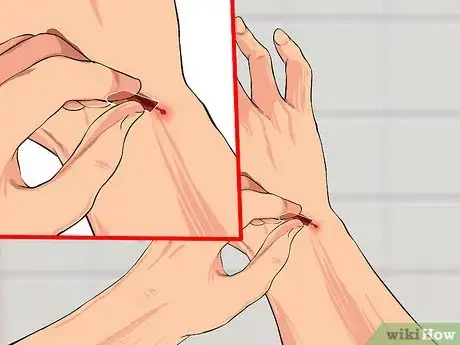
4Peel the bandage off. After the bond is loosened, you can peel the bandage off. Be careful not to injure the wound or skin underneath.
- If the edges are not “peeling off”, take a wet cloth and wipe the bandage away. Do this before the bandage begins to harden after being softened.
- You may need to gently rub the area with a towel to help remove the bandage, but do this only if it does not injure the wound underneath. Try not to drag or scrub the towel over the area.
-
5Wipe or rinse the skin and the affected area if needed. Be gentle not to disrupt the wound. Use the first aid steps recommended for wound care if the wound begins to bleed (see below).
- If the skin (or wound) appears healthy, you can leave it as is after you have removed the liquid bandage; there is no need to apply a new bandage if your skin has healed. However, if the wound has not healed, you may want to re-apply a new liquid bandage (see below).
- Do not apply alcohol, iodine or other antiseptic liquids on the wound as these may cause irritation.
Removing a Liquid Bandage with Acetone
-
1Wash your hands. This is especially important if the wound under the bandage has not had enough time to heal and poses a risk to open during the bandage removal. Dirty hands contain bacteria that can be transferred to the wound during bandage removal.[5]
- Use warm water and soap to wash your hands. Be sure to remove all visible dirt on the skin as well as under the fingernails.
- Scrub for at least 20 seconds, or about the time it takes to sing the “Happy Birthday” song to yourself twice.
- After washing, dry your hands to remove all moisture.
- If you aren’t able to wash your hands with soap and water, use a hand sanitizer that has at least 60% alcohol.
- Do not attempt to remove a liquid bandage if your doctor has advised against it.
-
2Wash or wipe the bandage and the skin around the bandage clean. Remove all visible dirt and wash the skin around the bandage with soap and water. It’s okay to wash the bandaged area too, because the soap will not irritate wounded skin that has the liquid bandage over it.
- It is important to have the skin around the bandage clean, especially if the wound has not had time to heal. Once the bandage has been removed, the wound is open and susceptible to bacterial infection.
- Optionally, you can remove the bandage after taking a bath to ensure your skin is clean.
- Do not use alcohol, iodine or other antiseptic liquids as these may cause skin irritation.[6]
-
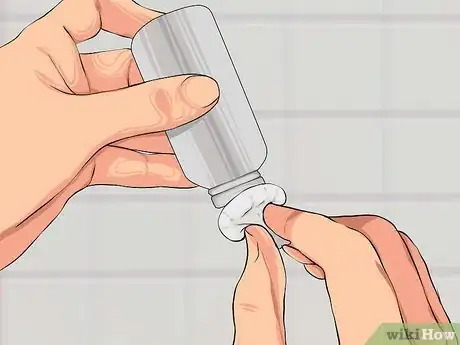
3Apply acetone or nail polish remover to a cotton ball or pad. Acetone, the most common type of nail polish remover, will help soften and lift the liquid bandage from your skin. However, it can irritate some people’s skin, so try the softening method first if you have sensitive skin.[7]
-
4Dab the acetone onto the bandage. Make sure the acetone gets onto the whole bandage. You may need to saturate the bandage with acetone to soften it.
-
5Peel the bandage off. After the bond is loosened, you can peel the bandage off. Be careful not to injure the wound or skin underneath.
- If the edges are not “peeling off”, take a wet cloth and wipe the bandage away. Do this before the bandage begins to harden after being softened.
- You may need to gently rub the area with a towel to help remove the bandage, but do this only if it does not injure the wound underneath. Try not to drag or scrub the towel over the area.
-
6Wipe or rinse the skin and the affected area if needed. Be gentle not to disrupt the wound. Use the first aid steps recommended for wound care if the wound begins to bleed (see below).
- If the skin (or wound) appears healthy, you can leave it as is after you have removed the liquid bandage; there is no need to apply a new bandage if your skin has healed. However, if the wound has not healed, you may want to re-apply a new liquid bandage (see below).
- Do not apply alcohol, iodine or other antiseptic liquids on the wound as these may cause irritation.
Applying a New Liquid Bandage
-
1Wash and dry the affected area. The skin and wound area must be completely dry before liquid bandage can be applied. Pat dry with a soft towel to avoid disturbing the wound.[8]
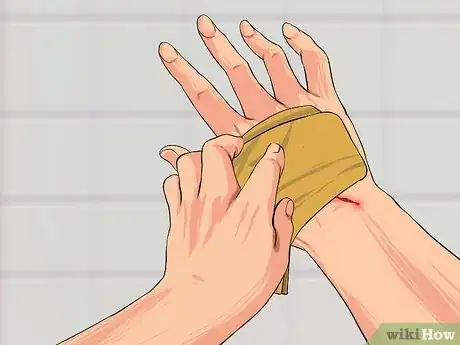
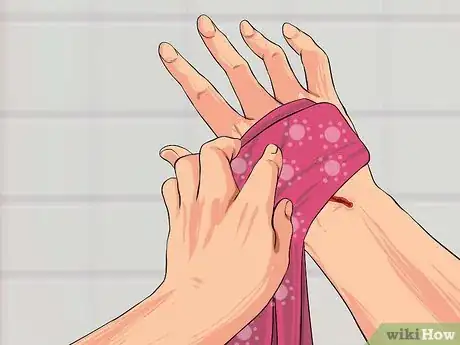
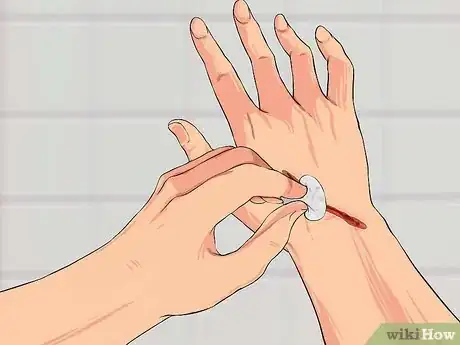
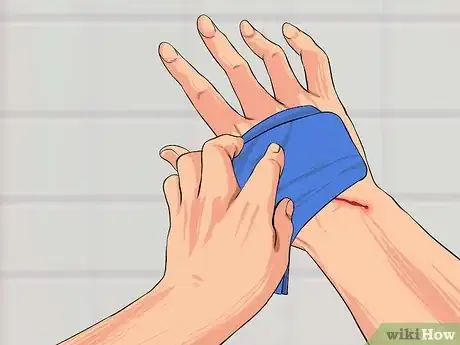
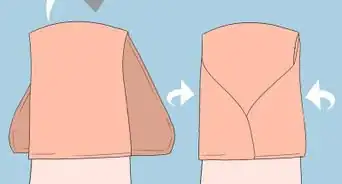
- If the wound is bleeding, stop the bleeding first before applying the bandage. Press the wound with a towel and hold the pressure until the bleeding has stopped.
- You can also press an ice pack wrapped in a cloth or towel over the wound to reduce blood flow and stop the bleeding.[9]
- Elevating the wound above the level of your heart can also reduce bleeding.
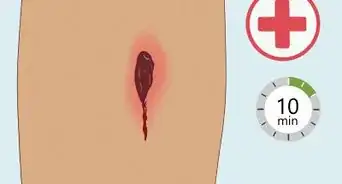
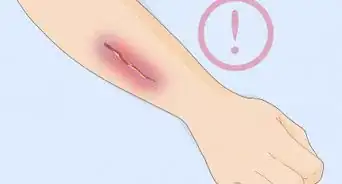
- Liquid bandages should only be applied over minor wounds, such as superficial cuts, abrasions and scrapes that are not deep and do not bleed heavily. If the wound is deep or bleeds heavily for over 10 minutes (regardless of attempts to stop the bleeding), seek medical attention immediately.[10]
-
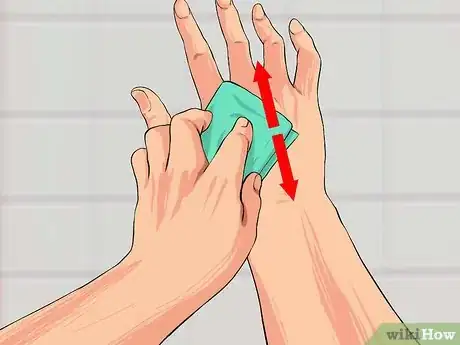
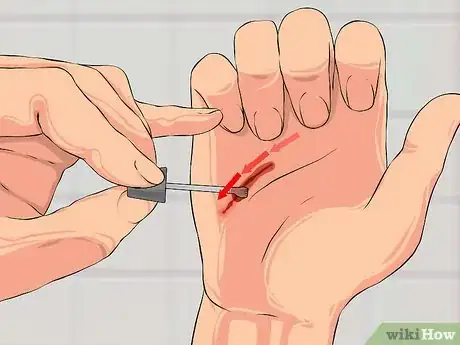
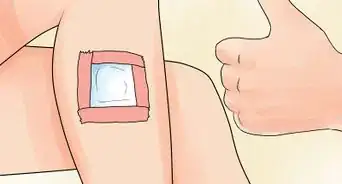
2Apply the liquid bandage over the wound. Use a spreading motion from one end of the wound to the other. Use one continuous movement until you have covered the wound completely.[11]
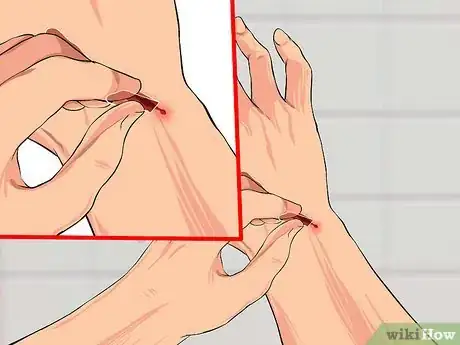
- If the wound is a cut, bring the edges of the wound together with your fingers to help seal the wound.
- Do not place the liquid bandage inside the wound. It should be applied only on the surface of the affected area.
-
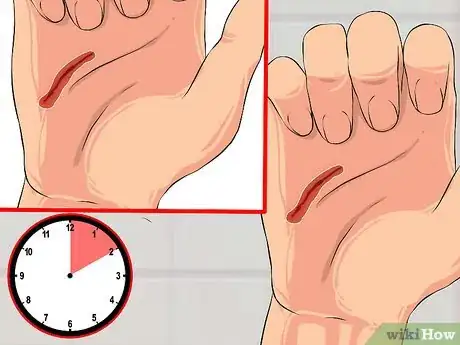
3Allow the bandage to dry for a few minutes. This allows the adhesion or bond between the bandage and skin to develop.
- Do not apply another layer of liquid bandage over the old one after it has dried. This will loosen the old bandage.
-
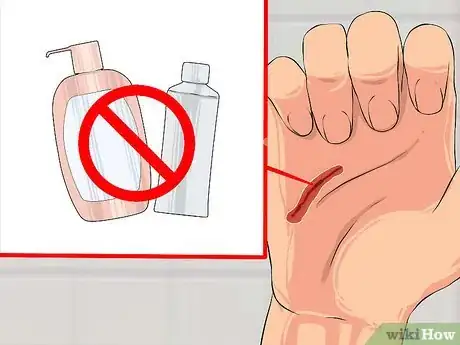
4Keep the liquid bandage dry. Although it is waterproof, you should not let it sit in water as this will remove the bandage. You can still take a shower or go swimming as long as you are not soaking in the water for an extended time.[12]
- Do not apply any lotions, oils, gels, or ointments over the affected area. This will weaken the bond between the liquid bondage and your skin.
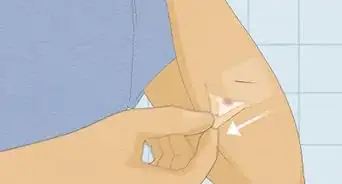
- Avoid scratching the site as this may remove the liquid bandage.
- The liquid bandage will fall off naturally in 5 to 10 days.
Expert Q&A
Did you know you can get expert answers for this article?
Unlock expert answers by supporting wikiHow
-
QuestionHow do I remove a drop of New Skin liquid bandage that fell on my ceramic tile?
 Jonas DeMuro, MDDr. DeMuro is a board certified Pediatric Critical Care Surgeon in New York. He received his MD from Stony Brook University School of Medicine in 1996. He completed his fellowship in Surgical Critical Care at North Shore-Long Island Jewish Health System and was a previous American College of Surgeons (ACS) Fellow.
Board Certified Critical Care Surgeon
-
QuestionIs liquid skin the same as liquid bandage?
 Jonas DeMuro, MDDr. DeMuro is a board certified Pediatric Critical Care Surgeon in New York. He received his MD from Stony Brook University School of Medicine in 1996. He completed his fellowship in Surgical Critical Care at North Shore-Long Island Jewish Health System and was a previous American College of Surgeons (ACS) Fellow.
Board Certified Critical Care Surgeon
Warnings
- You should only try to care for minor, superficial wounds at home. If you have a large wound and/or a wound that does not stop bleeding, seek medical attention immediately.⧼thumbs_response⧽
- Do not attempt to remove a liquid bandage if your doctor has advised against it.⧼thumbs_response⧽
- Do not place the liquid bandage inside the wound. It should be applied only on the surface of the affected area. Do not apply liquid bandage over deep, bleeding wounds.⧼thumbs_response⧽
- Avoid rubbing or irritating the wound when removing the bandage, as it could prolong healing and increase the risk of infection.⧼thumbs_response⧽
Things You'll Need
- liquid bandage
- warm water and soap
- acetone
- cotton balls
- a clean towel or a cloth
References
- ↑ http://www.nlm.nih.gov/medlineplus/ency/patientinstructions/000497.htm
- ↑ http://www.cdc.gov/handwashing/when-how-handwashing.html
- ↑ http://www.mayoclinic.org/first-aid/first-aid-cuts/basics/art-20056711
- ↑ http://www.nlm.nih.gov/medlineplus/ency/patientinstructions/000497.htm
- ↑ http://www.cdc.gov/handwashing/when-how-handwashing.html
- ↑ http://www.mayoclinic.org/first-aid/first-aid-cuts/basics/art-20056711
- ↑ http://www.ccohs.ca/oshanswers/chemicals/chem_profiles/acetone.html
- ↑ http://www.nlm.nih.gov/medlineplus/ency/patientinstructions/000497.htm
- ↑ http://www.nlm.nih.gov/medlineplus/ency/article/000045.htm
About This Article
To remove a liquid bandage, start by washing your hands with soap and water so that if the wound isn’t fully healed you don’t risk transferring bacteria to it. Next, wash the bandage and surrounding skin with soap and water. Then, soften the bandage by putting a wet towel over it, which will loosen the adhesive. You can also soften the bandage by applying another layer of liquid bandage over it. Finally, once you've softened the bandage, gently peel it off and discard it. To learn how to remove a liquid bandage with acetone, keep reading!









Medical Disclaimer
The content of this article is not intended to be a substitute for professional medical advice, examination, diagnosis, or treatment. You should always contact your doctor or other qualified healthcare professional before starting, changing, or stopping any kind of health treatment.
Read More...