wikiHow is a “wiki,” similar to Wikipedia, which means that many of our articles are co-written by multiple authors. To create this article, volunteer authors worked to edit and improve it over time.
This article has been viewed 22,615 times.
Learn more...
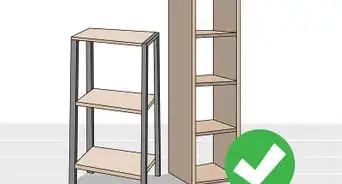
If you have a small closet or one that is already overflowing with clothes or stored possessions, you will want to make use of the available space more efficiently. One of the best ways to maximize the use of your closet space is by adding shelves. Simple wire shelving is easy to add to a closet, and being able to choose where to install the shelves will help you tailor your storage space for your particular needs. The guide below presents some of the key steps in learning how to add shelves to a closet.
Steps
-
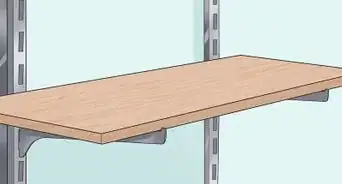
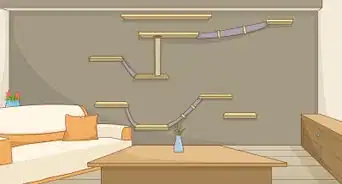
1Plan the locations of your closet shelves. The first step in planning your layout is determining the length of each shelf. Measure the length across the back wall, and subtract about an inch (2.5 cm) from either side where the shelf touches a wall. Next, plan the vertical distance between each shelf. This will depend on what type of objects you want to store.
-
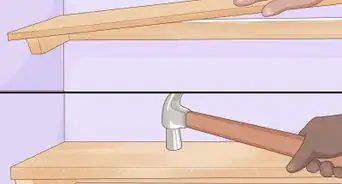
2Cut the wire shelves to length. Simple powder-coated wire shelving is available at hardware stores and retailers that sell home organization products. To cut the shelves to length, you can use either a hacksaw or a pair of bolt cutters. Measure each shelf's length carefully with a tape measure before making your cuts.Advertisement
-
3Mark the locations of the mounting clips. Wire shelves are sold with U-shaped mounting clips that can be screwed into your wall. Use a stud finder and a pencil to mark the locations of the studs along the back wall of your closet. Then, use a spirit level and a long piece of scrap wood (or other straight material) to draw long horizontal lines indicating the position of each shelf. You will screw the mounting clips into the points where the long lines pass over the studs.
-
4Drill pilot holes for the mounting clips. At the locations that you marked for the mounting clips, drill pilot holes using a drill bit that is just smaller in diameter than your screws. The pilot holes should be a bit deeper than the overall length of the screws. These holes will prevent the mounting screws from binding up and breaking.
-
5Screw the mounting clips into the wall. Position each mounting clip over the pilot holes you drilled. Drive drywall or wood screws into these holes using your drill. For the best stability, use screws with lengths between 1.5 and 2 inches (2 - 2.5 cm).
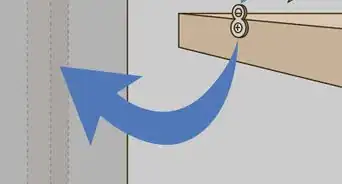
- If your mounting clips have an integrated drywall anchor (a long plastic sheath projecting from the back), you should cut it off using scissors. Mounting these clips into wood studs will provide much sturdier and more stable closet shelves.
-
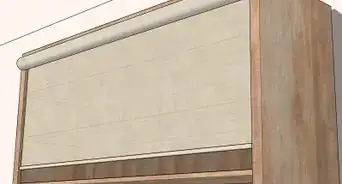
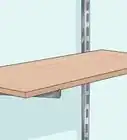
6Hang the wire shelves using the mounting clips. Once the mounting clips are all installed against the back wall of your closet, you can clip each length of shelving into them. You may have to angle the shelves sharply to get them through your closet door.
-
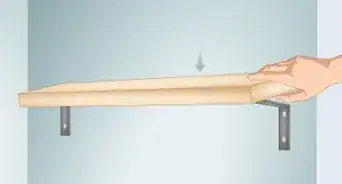
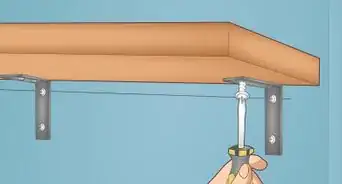
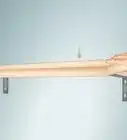
7Install the support poles. Most wire shelving systems are supported using angled braces that connect the front edges of the shelves to the wall. Clip the front end of each support pole onto the front railing of the shelf, and rest the other end against the wall. Drill a pilot hole through the screw hole of the support pole, and then secure it with a screw. Support poles should be secured into the studs as well.


Things You'll Need
- Tape measure
- Wire shelves
- Hacksaw or bolt cutters
- Mounting clips
- Stud finder
- Pencil
- Spirit level
- Long piece of scrap wood
- Electric drill
- Scissors