This article was co-authored by wikiHow Staff. Our trained team of editors and researchers validate articles for accuracy and comprehensiveness. wikiHow's Content Management Team carefully monitors the work from our editorial staff to ensure that each article is backed by trusted research and meets our high quality standards.
This article has been viewed 24,871 times.
Learn more...
Waterlox is a finishing stain that is used to protect wood surfaces. The Waterlox brand comes in three different finishes – the Original Sealer/Finish, the Original Satin Finish, and the Original High Gloss Finish. If you want to apply Waterlox to your wood surface, you’ll need to sand it down, clean up any leftover debris, and paint with the grain.
Steps
Choosing the Correct Finish
-
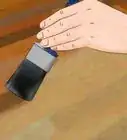
1Pick Waterlox Original Sealer/Finish for a basecoat and a medium sheen. The Waterlox Original Sealer should be used as a basecoat for every stain job you do. After, if you want a medium semi-gloss sheen, you can add more coats of this finish to achieve the desired effect.
- This produces a 75º gloss level immediately after finishing, which will fade to a 50-55º gloss level over the first few months after application. The gloss level is the measurement of paint sheen (how shiny/glossy the paint will be) once it’s dried.
-
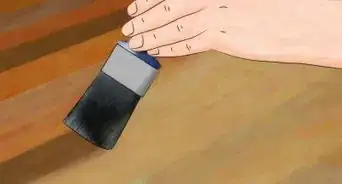
2Choose Waterlox Original Satin Finish for a lower sheen finish. This finish should be used only as a last topcoat of stain, on top of several basecoats of the Waterlox Original Sealer/Finish. It will provide a lower gloss level compared to the other finishes available.
- This finish produces a 20-25º gloss level.
Advertisement -
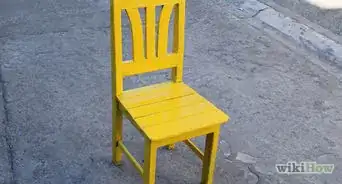
3Try Waterlox Original High Gloss Finish for a more glossy finish. Apply this finish as a final topcoat over several coats of Waterlox Original Sealer/Finish. This will give your wood surface a shiny, high-gloss look.
- This product produces an 85º gloss level with a shiny appearance.


Setting Up
-
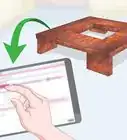
1Buy enough Waterlox to get the job done. 1 US gal (3.8 L) of Waterlox will cover 500 sq ft per coat. 1 qt (0.95 L) will cover 125 sq ft per coat. You can use Waterlox’s online “Purchase Assistant” to help you determine how much finish to buy: https://www.waterlox.com/support/purchase-assistant.
- Typically, you’ll need 2 basecoats and 1 topcoat. This means that for a 500 sq ft area, you would need 2 US gal (7.6 L) of Waterlox Original Sealer/Finish and 1 US gal (3.8 L) of whatever topcoat you choose.
- You may need more coats for very porous, untreated, or recently sanded wood surfaces.
-
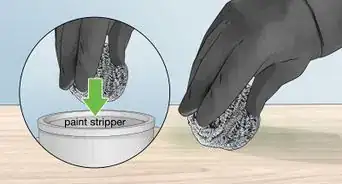
2Purchase safety goggles and gloves. Waterlox is a potentially harmful chemical solution, so you must always protect yourself against its effects during use. Wear safety goggles and gloves whenever you are handling this product.[1]
- Nitrile gloves work best for this purpose.
-
3Ventilate the area properly. Ventilation is crucial when using Waterlox. If you are unable to ventilate the area properly, you should not use this product. Cross-ventilation is best to aerate the room and to help the finish dry. For best results, place a box fan in a window or door with another window or door open on the opposite side of the room. You should ventilate the room while you are applying the finish and while it is drying between coats.
- Continue ventilating the area for at least 7 days after applying the final coat to ensure the finish is properly dried and to help evacuate the solvent odor.
-
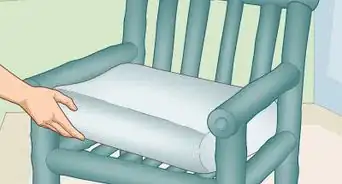
4Vacuum or dust the surface thoroughly. It is imperative that you vacuum the surface you want to finish completely before applying the Waterlox. This will remove any dust or debris left on the surface so that it doesn’t get painted over.[2]
- Consider using a shop-vac or a canister-style vacuum for best results on larger surface areas.
- For smaller surfaces, use a damp microfiber cloth to remove any dust particles.
- After vacuuming, wipe the surface with a dry rag to get up any remaining flecks or fibers that the vacuum may have missed.
-
5Lightly sand the wood surface. Wrap your sand block with 220-grit sandpaper and rub it across the surface of the wood in 2 ft (0.61 m) to 3 ft (0.91 m) sections. Be sure to go with the grain of the wood as you sand it.[3]
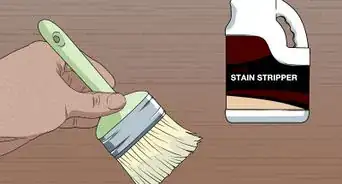
- Do not sand the wood too roughly or this could remove any existing protective stain.
- When finished sanding, wipe the surface with a rag to remove any leftover debris from the sanding process.


Applying the Waterlox Finish
-
1Sand the surface with a sanding block and 220-grit sanding paper. Before you begin applying the finish, you’ll need to sand down the wood surface first. To do so, you should get a sanding block and several pieces of 220-grit sanding paper. Gently sand down the surface of the wood to remove any rough or uneven spots.[4]
- You should be able to find these products at any home improvement store.
-
2Pour the finish into a paint tray. Pour just enough finish to thinly cover the bottom of a regular paint tray. You don’t want to overfill the paint tray, as this could lead to sloppy, dripping messes. Be sure to keep a clean rag on hand to wipe up any drips or spills while you’re pouring.[5]
- You may have to keep refilling the paint tray as you go, depending on how big the staining project is.
-
3Soak a paint pad in the tray and rub it across the unfinished surface. Take a short-bristled paint pad and place it in the paint pan. Let it soak up enough of the finish to be saturated, but not dripping excessively. Rub the paint pad back and forth across the surface to be stained in approximately 1 ft (0.30 m) to 2 ft (0.61 m) sections at a time, always going with the grain of the wood.[6]
- If you are finishing a rather large surface (like a floor, for example), it might be a good idea to attach the paint pad to a t-bar to make the painting job easier. This will help you save time and energy while finishing the surface.
-
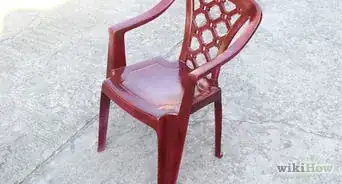
4Use a natural bristle paint brush for smaller jobs. If you have a smaller job that needs to be completed (like a wooden countertop, a chest of drawers, or a wooden box), you should use a natural bristle paint brush rather than a paint pad. This will help you control the finish on a smaller surface than you would be able to with a paint pad, preventing drips or other stains from occurring.
- Keep in mind that you should always apply the finish with the direction of the wood grain, regardless of what tool you use to apply the coat.
-
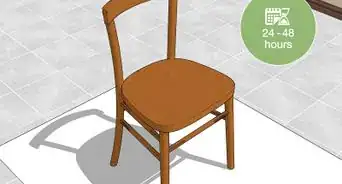
5Wait 24 hours between each coat. It’s important that you give each coat plenty of time to fully dry before starting on the next coat. Moving onto the next coat too quickly could cause air bubbles on the surface of the finish, or a sticky, filmy result.
- If your area has high humidity, cold temperatures, or is poorly ventilated, this may increase the time required for drying between coats.


Community Q&A
-
QuestionIs there a brush for cutting in on a counter top?
 Christina DavisCommunity AnswerLook for a corner paint pad or edge brushes that won't break your wallet. It is all about having a good fiber count and pressure to cut in nice lines.
 -
Questioncan we rub this on with lint free rags?Christina DavisCommunity AnswerYes, buy a pack of rags free of detergents or fabric softeners. Just remember, apply liberally with the grain using a lamb's wool applicator (floors) or a quality natural bristle brush or paint pad. Allow to dry for 24 hours. Repeat steps 2-4 for a second (for soft wood species, a third) coat.
Warnings
- Waterlox is made with Tung oil that is pressed from Tung tree nuts. This means that if you (or anyone in your household) are allergic to nuts, you may want to consider using another product.⧼thumbs_response⧽


References
- ↑ https://craft-art.com/wp-content/uploads/2015/10/Refinishing-Instructions.pdf
- ↑ https://www.peteshardwoodfloors.com/Wood-Floor-Techniques-101/how-to-apply-waterlox.html
- ↑ https://craft-art.com/wp-content/uploads/2015/10/Refinishing-Instructions.pdf
- ↑ https://craft-art.com/wp-content/uploads/2015/10/Refinishing-Instructions.pdf
- ↑ https://craft-art.com/wp-content/uploads/2015/10/Refinishing-Instructions.pdf
- ↑ https://craft-art.com/wp-content/uploads/2015/10/Refinishing-Instructions.pdf
About This Article