X
wikiHow is a “wiki,” similar to Wikipedia, which means that many of our articles are co-written by multiple authors. To create this article, volunteer authors worked to edit and improve it over time.
This article has been viewed 67,208 times.
Learn more...
Materials and textures are what makes a model look more realistic and appealing. Here is how to make them in Blender, a free, open-source 3D modelling program. For this tutorial, a relatively complex model will be used, but you can do this just as well with a simple shape, such as a cube or sphere.
Steps
Part 1
Part 1 of 2:
Adding Materials
-
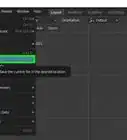
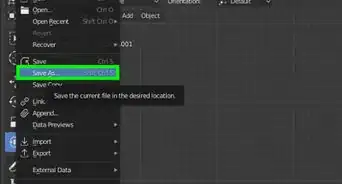
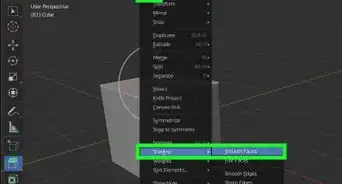
1Go to the "Materials" tab.
-
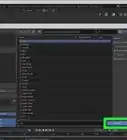
2Click the "New" button.Advertisement
-
3Review the materials setting that appears. You can adjust the color and reflection (diffuse and specular) settings here. The intensity slider will adjust how prominent the reflection is, and the "hardness" slider will affect the sharpness.
- For this example, an orange material with a soft reflection will be used.
-
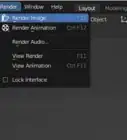
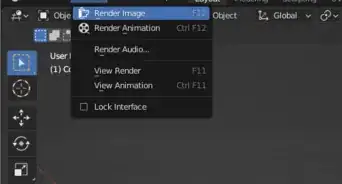
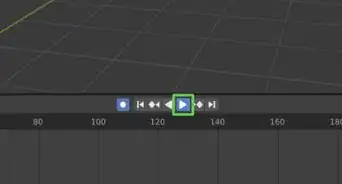
4Press F12 to render the image. It should have the selected material applied to it.


Advertisement
Part 2
Part 2 of 2:
Adding Texture
-
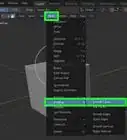
1If you want to add a texture to the model, go to the "Texture" tab. You can find it right next to the "Materials" tab, then click the "New" button.
-
2Click on the drop-down box next to the "Type" label. This will allow you to select a texture. The "Clouds" option will be selected for this example.
-
3Adjust the size and detail of the texture using these sliders.
- For this example, a size of 0.1 and a depth of 6 will be used.
-
4Preview the texture will now .
-
5Adjust the color. If you don't want the texture to be a very saturated pink color (when will you need to use that?) go down to the "Influence" panel in the Textures tab and click on the color swatch.
- Change the color to something more reasonable (for this example it will be a dark brown).
- The updated texture will show in the Preview panel.
-
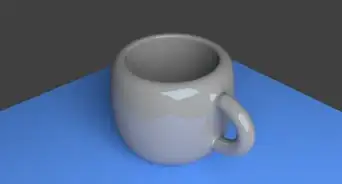
6Press F12 to render the image. The texture has appeared; however it's a little stretched out.
-
7To fix the stretching, go to the Textures tab and adjust the Size sliders. Since the texture is stretched vertically here, the Z value will be changed to 3. This will squish the texture so it appears normally.
-
8Finished!


Advertisement
Community Q&A
-
QuestionDo I have to do this differently in the latest version of Blender?
 MroshakCommunity AnswerThe setup of where different functions are is different, however, the steps are still the same.
Advertisement


About This Article
Advertisement