X
wikiHow is a “wiki,” similar to Wikipedia, which means that many of our articles are co-written by multiple authors. To create this article, volunteer authors worked to edit and improve it over time.
This article has been viewed 11,417 times.
Learn more...
Blender is a powerful free open source 3d program that allows you to create animated films, visual effects, art, 3D printed models, motion graphics, interactive 3D applications, virtual reality, and computer games. This wikiHow will teach you how to create 3d text in blender that you can later use to make a 3d logo or animated intro, for example.
Steps
Part 2
Part 2 of 3:
Understand the Basic Controls
-
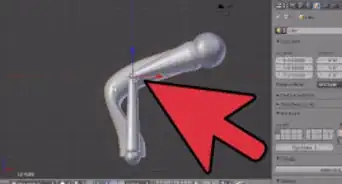
1Orbit. Rotate the view around the point of interest.
- Ctrl-Alt-Wheel to rotate the scene around the global Z axis from your current point of view.
- Shift-Alt-Wheel which correspond to vertical MMB dragging
-
2Roll. Rotate the viewport camera around its local Z axis.
- Use Shift-Ctrl-Wheel.
-
3Panning. Moves the view up, down, left and right.
- To pan the view, hold down Shift and drag MMB in the 3D View.
-
4Zoom.
- You can zoom in and out by holding down Ctrl and dragging MMB.
- The hotkeys are NumpadPlus and NumpadMinus.
- If you have a wheel mouse, you can zoom in and out by rotating the wheel.
Advertisement
Part 3
Part 3 of 3:
Creating the Text
-
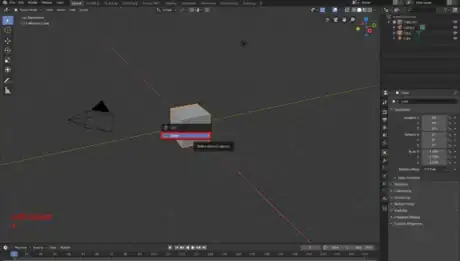
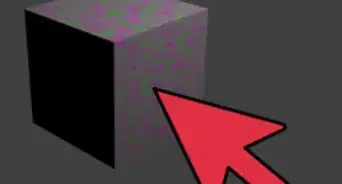
1Delete the cube in the starting scene.
- Select the cube with the left mouse button (the cube will be highlighted orange when selected).
- Press x on the keyboard.
- Select delete in the pop up menu.
-
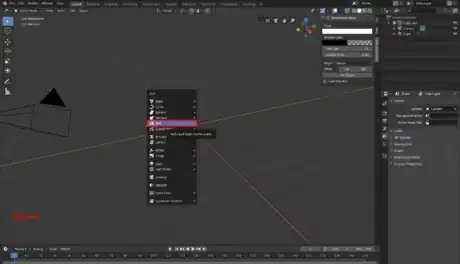
2Add text to the scene.
- Click “Shift + A” on the keyboard; a list will open on the screen.
- Select the “Text” option.
-
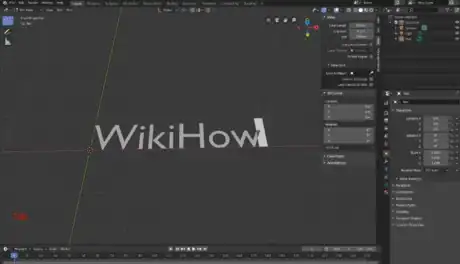
3Edit the text.
- Select the text with the left mouse (the text will be highlighted orange when selected).
- Hit tab to enter edit mode.
- Type whatever you want the text to be.
- Make sure to spell everything right as later you won't be able to change it.
- Hit tab to exit edit mode once you type what you want.
-
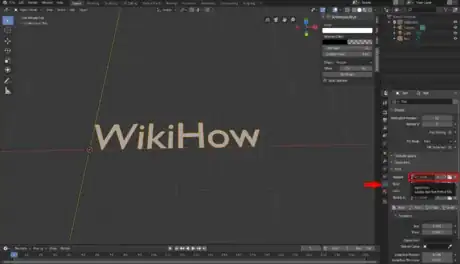
4Change the font of your text.
- Go to the text tab on the right side ("a" icon).
- In the text tab go to the font section.
- Press the little file icon for regular that will say “load a new font from a file” if you hover over it with your cursor.
- Select a font from your computer.
-
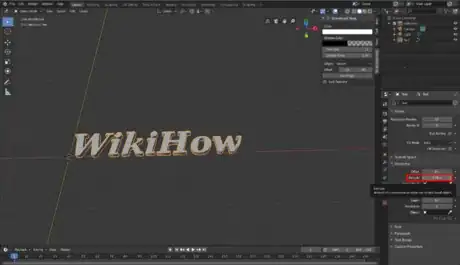
5Extrude the text in the text tab.
- Go to the text tab on the right side ("a" icon).
- In the geometry section to extrude your text by increasing the number for extrude.
- You can extrude your text to whatever size you want.
-
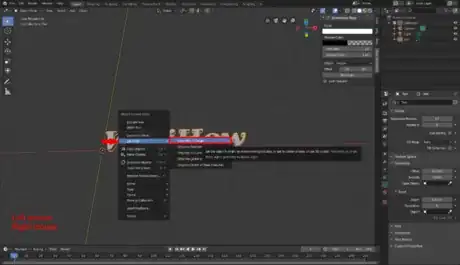
6Center the text.
- Select the text with the left mouse (the text will be highlighted orange).
- Then right-click on your mouse and navigate to set origin.
- Then select geometry to origin.
-
7Rotate the text.
- Select the text with the left mouse (the text will be highlighted orange).
- On your keyboard press R
- then X on the keyboard
- Then type in 90 on the keyboard
- Then press enter
- This will rotate the text 90 degrees on the x-axis
-
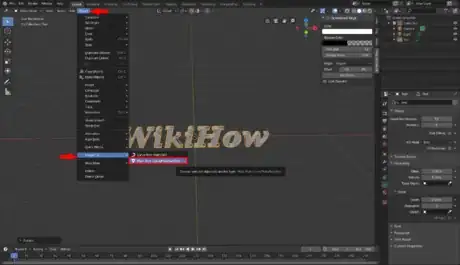
8Convert text to a mesh.
- Make sure your text looks exactly the way you want it to as you will now be creating an object from it.
- Select the text with the left mouse (the text will be highlighted orange)
- Navigate to the object menu
- Go to convert to
- Then select mesh from curve/meta/surf/text
-
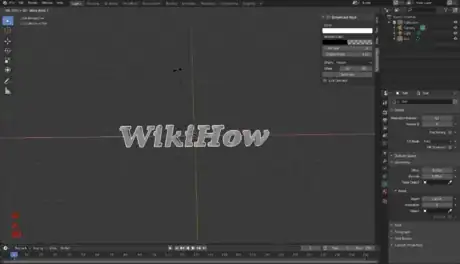
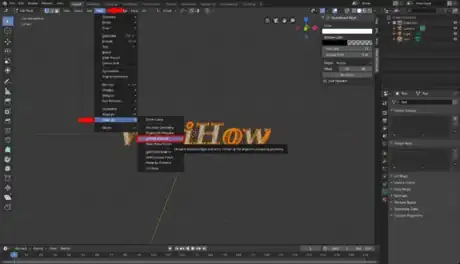
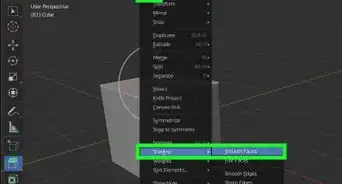
9Remove double vertices from text.
- Select the text with the left mouse (the text will be highlighted orange)
- Then press Tab on your keyboard to be in edit mode
- Then press A to select everything
- Navigate to the mesh menu
- Go to clean up
- Select limited dissolve
- Press tab to exit edit mode
-
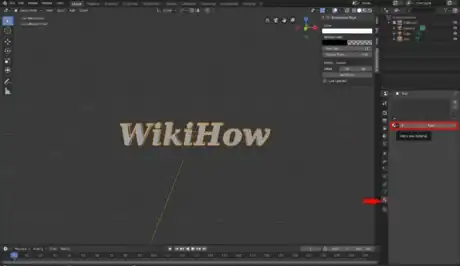
10Change the material of the text.
- Go to the materials tab on the right side
- Press add new
- Then change the base color
- This is also where you can create materials if wanted but that will require the use of nodes which is more complex.
-
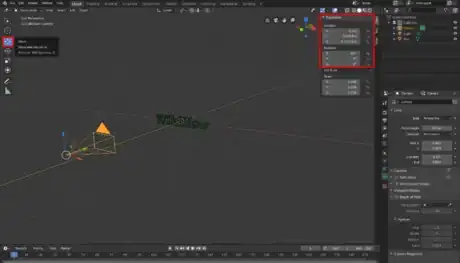
11Position the camera so the text is visible.
- Select the camera with the left mouse (the camera will be highlighted orange)
- Select the move tool in the tool shelf on the left side of the screen
- If the tool shelf is not visible press "T" on your keyboard to toggle the visibility
- Then use the coordinate arrows to move the camera in the X, Y, and Z directions
- Also use the location and rotation tabs in the item panel, in the properties panel located on the right side of the screen
- If the properties panel is not visible press "N" on your keyboard to toggle the visibility
-
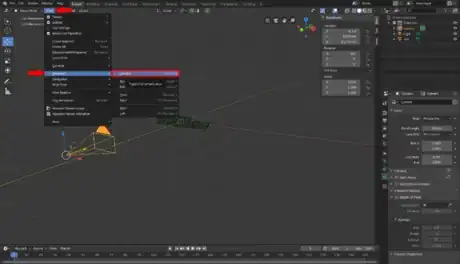
12Check that your text is visible in the camera.
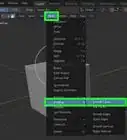
- Navigate to the view tab on the top
- Then viewpoint,
- Then select camera
- This will show you what is visible to the camera
- If your text is not fully visible within the view of the camera, you are going to want to move the position of the camera
-
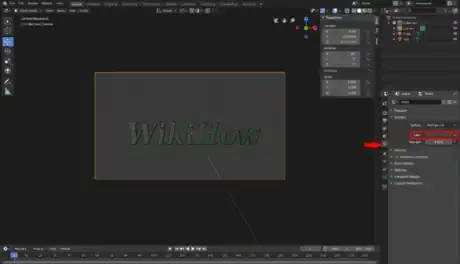
13Change the color of the background.
- Go to the world tab on the right side
- Go to the surface section
- Change the background color
-
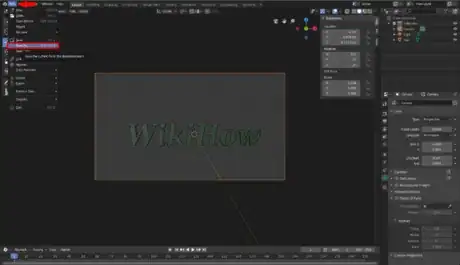
14Save your project.
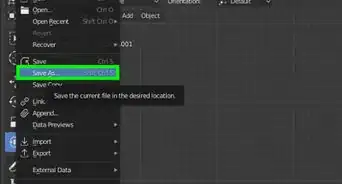
- In the upper left-hand corner, click the file,
- Then click save as
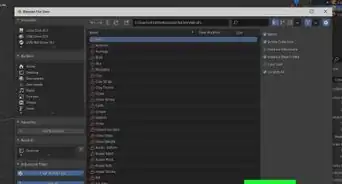
- Choose a location and a name for your project
- Then click save as to save your project
-
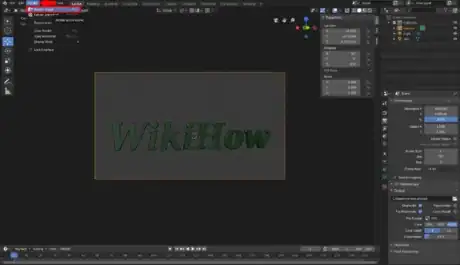
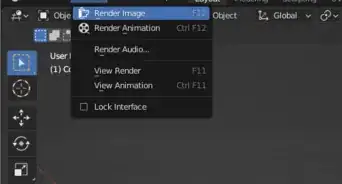
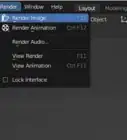
15Render your text.
- Click on the render option on the top left corner of the application screen to have a rendered view of the text.
- This will open a new window where your image will render at.
-
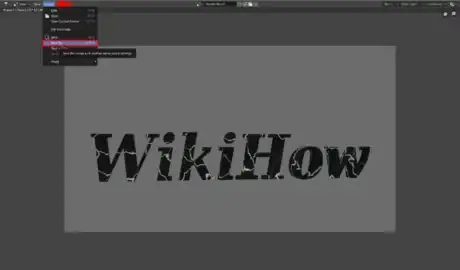
16Save the rendered image.
- Once the image renders in the new window, go to the top and click the image and save as and save your final text.
Advertisement
About This Article
Advertisement
