This article was medically reviewed by Sarah Gehrke, RN, MS. Sarah Gehrke is a Registered Nurse and Licensed Massage Therapist in Texas. Sarah has over 10 years of experience teaching and practicing phlebotomy and intravenous (IV) therapy using physical, psychological, and emotional support. She received her Massage Therapist License from the Amarillo Massage Therapy Institute in 2008 and a M.S. in Nursing from the University of Phoenix in 2013.
There are 11 references cited in this article, which can be found at the bottom of the page.
This article has been viewed 47,186 times.
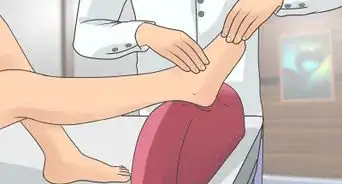
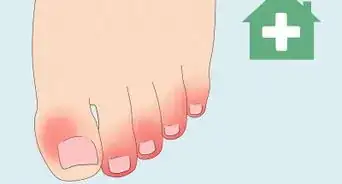
Bunions are caused when the bone in your big toe begins to tilt inward, rather than staying parallel with your other toes. This can be a painful condition, but taping your bunions not only provides relief, it also can help correct the problem. Learn the proper techniques for wrapping with conventional sports tape and kinesiology tape, and you may be able to treat a mild bunion without seeing a doctor.
Steps
Preparing Non-Elastic Tape
-
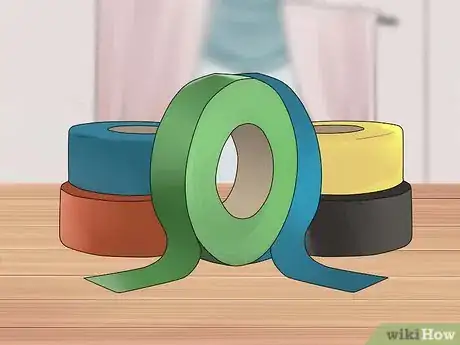
1Choose traditional sports tape for more rigid support. A conventional sports tape provides rigid structure to your joints when applied correctly. So if you’re more interested in toe support than the flexibility of wearing the tape for days at a time, select regular sports tape over kinesiology tape.
-
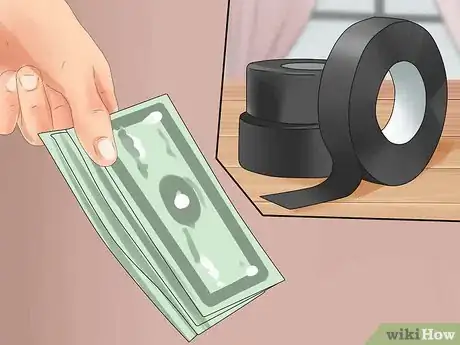
2Buy non-elastic zinc oxide sports tape. Visit a drugstore or sporting goods store and buy adhesive sports tape that’s 1 to 1.5 inches (2.5 to 3.8 cm) thick. It should be a waterproof zinc oxide tape that doesn’t have any stretch to it.[1]
- Look for tape with a grid printed on the back for easier measuring and cutting.
Advertisement -
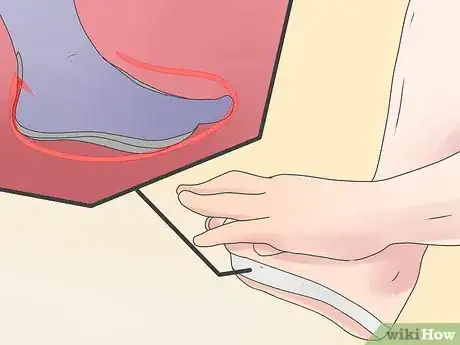
3Measure and cut four arch strips. Unroll some of the tape and wrap it all the way around the arch of your foot, perpendicular to your toes. Mark the tape about 1 to 2 inches (2.5 to 5 cm) past where it rounds the edge of your foot. Cut the tape at this mark, and then cut three more strips that are the same length.[2]
-
4Measure and cut two strips of tape for your toe. Unroll more tape and wrap it around your big toe this time. Mark the point where the tape overlaps by about 1 inch (2.5 cm), and then cut the tape at that spot. Cut a second piece of tape that’s the same length.[3]
-
5Trim the width of the toe strips to fit your toe. If the thickness of the tape you bought causes the edge of the toe strips to extend beyond the tip of your toe, trim the width back. Leave about a centimeter of your big toe peeking out the top of the strip when it’s wrapped. This will prevent big gaps from forming along the edge of the tape.[4]
-
6Measure and cut three edge strips. Unroll some tape and hold it along the inner edge of your foot. Hold the end in line with the bottom of your big toenail, and pull the tape back to about where your ankle is. Mark the tape there and cut it, then cut two more strips the same length.[5]
Applying Non-Elastic Tape
-
1Stand or spread your toes as you tape. The tape should be applied to your foot when it’s spread out. You can either stand and bend over to tape your foot, or sit and spread your toes while you’re taping.[6]
-
2Apply an arch strip to the middle of your foot. Hold the sticky side of the tape up toward you. Pulling the tape taut, step on the middle of the strip with the arch of your foot. Wrap the edges up around the middle of your foot and press the tape into your skin.[7]
- These anchor strips should adhere firmly to your foot, but they should not be overly tight.
-
3Wrap the second arch strip slightly offset from the first. Repeat the process of stepping on the second arch strip and wrapping the ends up over your foot. But this time, offset the tape a little toward your toes. Most of this second strip should still overlap the first, but taping about a centimeter of the second strip directly to your skin will create a stronger anchor.[8]
-
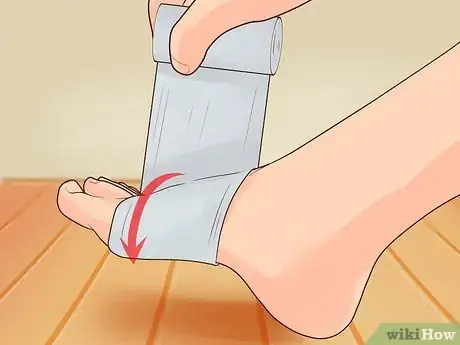
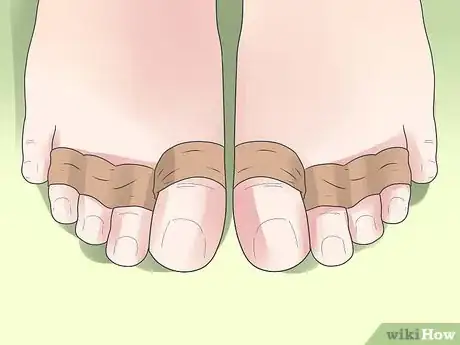
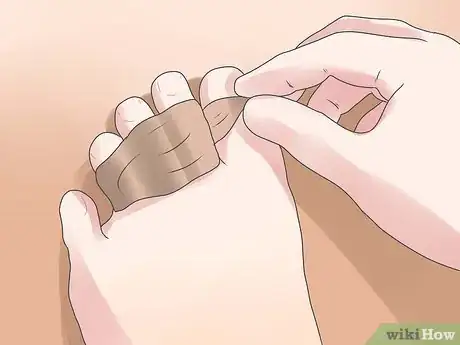
4Wrap one toe strip around your big toe. Place one end of the tape between your big toe and your second toe, then wrap the tape around your big toe. It doesn’t matter which direction you go, just try to eliminate any gaps in the tape.[9]
-
5Pull your toe out into a bunion-correcting position. To change the current angle of your big toe, place one finger between your big toe and second toe. Push the big toe out so that it’s parallel with the inner edge of your foot. Hold it there as you tape. This is the position you want to train your toe back into with the tape.[10]
-
6Connect the anchors with an edge strip. Take one of the strips that goes along the inner edge of your foot. Place one end of the tape on top of the toe strip and press it firmly to adhere the strips together. Pull the rest of the strip straight back along the edge of your foot until the other end attaches just below your ankle bone.[11]
-
7Apply the other two edge strips slightly offset from the first. Add another edge strip, this one overlapping the first, but with about a centimeter of extra tape hanging over the top. Do the same with the third edge strip, but go the other way. Have the offset go down under the edge of your foot slightly.[12]
-
8Add the rest of the strips as reinforcement. Wrap the two arch strips directly above where the first two were. Do the same thing with the second toe strip: place it directly over the first one to tape down the ends of the edge strips.[13]
-
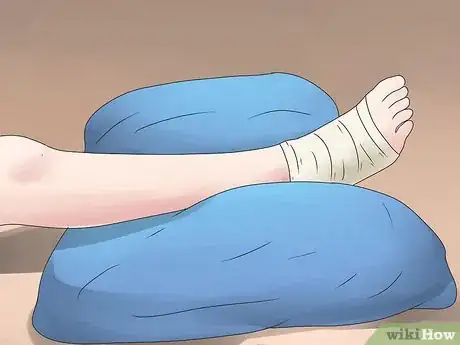
9Retape your foot every one to two days. The rigid zinc oxide tape probably won’t stand up to more than a day or two of being walked on and showered in. Change the tape every day or every other day, and talk to your doctor if your bunion isn’t improving after two or three months.
Preparing Kinesiology Tape
-
1Choose kinesiology tape to allow more freedom of movement. Kinesiology tape is your most flexible option for taping your foot, so it’s a good choice if you still want full freedom of movement. It also stays adhered to your skin longer, so you won’t have to rewrap as often.
-
2Purchase 2-inch (5 cm) kinesiology tape. Visit a drugstore or sporting goods store for 2-inch (5 cm) flexible kinesio tape. This tape will be stretchy and comes in a variety of colors. It also typically has a grid on the back for easy measuring and cutting.
-
3Measure and cut two strips longer than your foot. Unroll some tape and line it up with your foot. The piece that you cut off should be longer than your foot by about 2 inches (5 cm). Then cut it in half lengthwise. You should end up with two long strips of tape that are each 1 inch (2.5 cm) wide.[14]
-
4Measure and cut two strips to wrap over the toe joint. Hold some tape over the joint where your big toe connects to your foot. Cut off enough tape that it can wrap a couple inches over your foot and a couple inches underneath. Then cut a second piece that’s the same length to create two short pieces that are each 2 inches (5 cm) wide.[15]
-
5Round the corners of the tape. Use scissors to slightly round off the corners of the tape so that they don’t get caught on anything, especially any socks or shoes that you wear for the next few days. Do this to all the corners of all the pieces you’ve cut.[16]
Applying Kinesiology Tape
-
1Wrap a long piece over the back of your heel. Unpeel a little bit of the paper backing from one of the long pieces. Place the unpeeled end about 1 inch (2.5 cm) past your heel on the outer edge of your foot. Unpeel more of the tape as you pull it around your heel and toward the inner edge of your foot. Try not to stretch the tape. Press down on it to adhere it to your arch. Half of the tape should not be applied yet.[17]
-
2Pull the tape forward to wrap around your toe. Pull the unstuck portion of tape tightly from the middle to the inner edge of the foot, using 80% of the stretch. Then loosen the tape as you pull the tape around the tip of your big toe and tuck the end in between your first two toes.[18]
- 80% stretch will feel like it’s pulled almost as tight as it will go. Try holding the tape out from your foot, stretching it as much as possible, and then backing off just a little bit.
-
3Rub the tape to help adhere it to your skin. Rub the tape with your fingers all along the strip you just applied to press down the edges. This will also create heat that helps the tape adhere to your skin better.[19]
-
4Repeat the wrap with the second long strip. Wrap the second long strip around your foot, placing the end of the second piece just slightly above the end of the first on your heel. There should be a little bit of overlap between these pieces. Pull it forward around your toe and rub the tape again.[20]
-
5Wrap the short pieces over the toe joint. Place one short piece across the joint that connects your big toe to your foot. Have a couple of inches (5 cm) go on top of your foot and a couple go under, right along the ball of your foot. Repeat this with the second short piece, overlapping this one, but offsetting it slightly behind the first.[21]
- Use 80% stretch as you apply these.
-
6Replace the tape every one to three days. You can leave the tape on for up to three days, or retape it before then if it starts to come loose. Talk to your doctor if you have severe bunion pain, or if taping does not correct your bunion after a few months.
- If you have any rash or irritation around the tape, you may be having a reaction. Talk to your doctor about using a non-adhesive bunion treatment.
- If you have a latex allergy, you should look for a non-latex tape.
References
- ↑ http://www.sportsinjuryclinic.net/sport-injuries/foot-heel-pain/bunions
- ↑ http://www.sportsinjuryclinic.net/sport-injuries/foot-heel-pain/bunions
- ↑ http://www.sportsinjuryclinic.net/sport-injuries/foot-heel-pain/bunions
- ↑ http://www.sportsinjuryclinic.net/sport-injuries/foot-heel-pain/bunions
- ↑ http://www.sportsinjuryclinic.net/sport-injuries/foot-heel-pain/bunions
- ↑ http://www.sportsinjuryclinic.net/sport-injuries/foot-heel-pain/bunions
- ↑ https://www.youtube.com/watch?v=WhoXgXZL7I8&feature=youtu.be&t=99
- ↑ https://www.youtube.com/watch?v=WhoXgXZL7I8&feature=youtu.be&t=99
- ↑ http://www.sportsinjuryclinic.net/sport-injuries/foot-heel-pain/bunions
- ↑ https://www.youtube.com/watch?v=WhoXgXZL7I8&feature=youtu.be&t=118
- ↑ https://www.youtube.com/watch?v=WhoXgXZL7I8&feature=youtu.be&t=140
- ↑ https://www.youtube.com/watch?v=WhoXgXZL7I8&feature=youtu.be&t=140
- ↑ http://www.sportsinjuryclinic.net/sport-injuries/foot-heel-pain/bunions
- ↑ https://www.youtube.com/watch?v=aeZzCf0sQ28&feature=youtu.be&t=40
- ↑ https://www.youtube.com/watch?v=aeZzCf0sQ28&feature=youtu.be&t=168
- ↑ https://www.youtube.com/watch?v=aeZzCf0sQ28&feature=youtu.be&t=53
- ↑ https://www.youtube.com/watch?v=aeZzCf0sQ28&feature=youtu.be&t=80
- ↑ https://www.youtube.com/watch?v=aeZzCf0sQ28&feature=youtu.be&t=80
- ↑ https://www.youtube.com/watch?v=aeZzCf0sQ28&feature=youtu.be&t=119
- ↑ https://www.youtube.com/watch?v=aeZzCf0sQ28&feature=youtu.be&t=123
- ↑ https://www.youtube.com/watch?v=aeZzCf0sQ28
About This Article
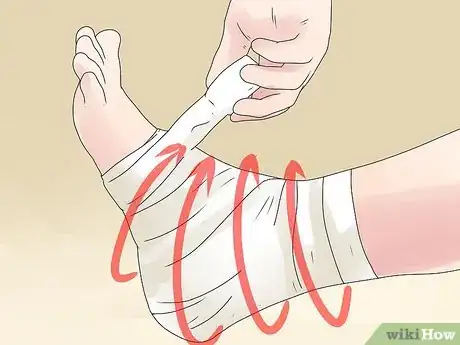
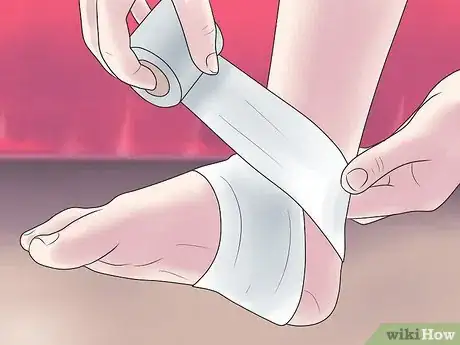
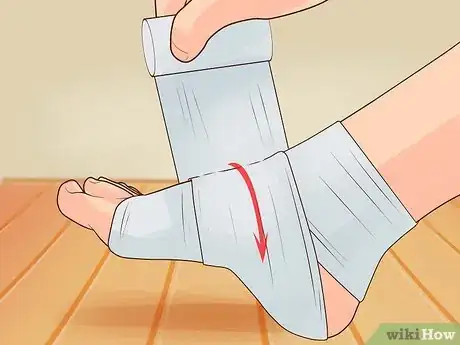
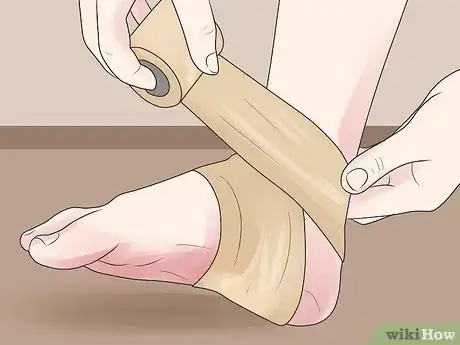
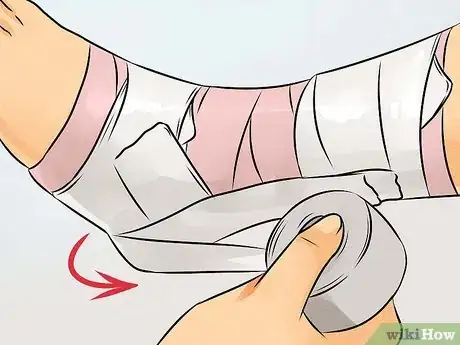
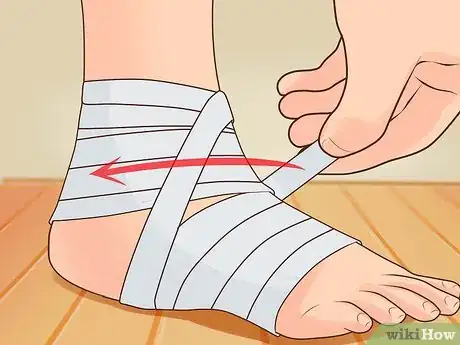
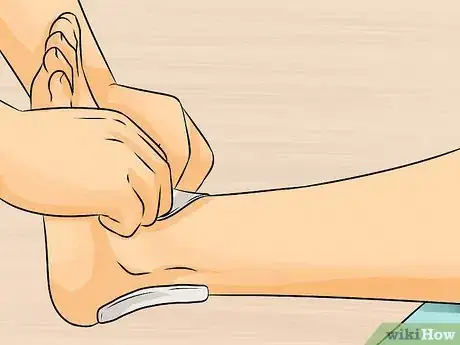
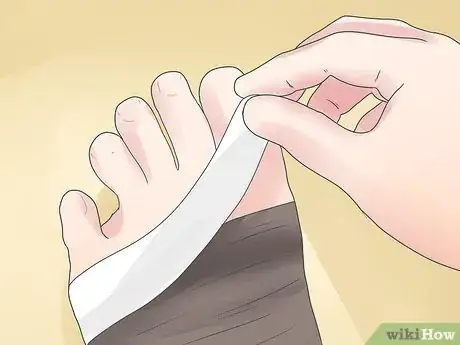
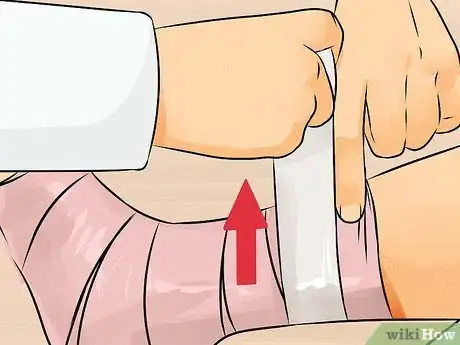
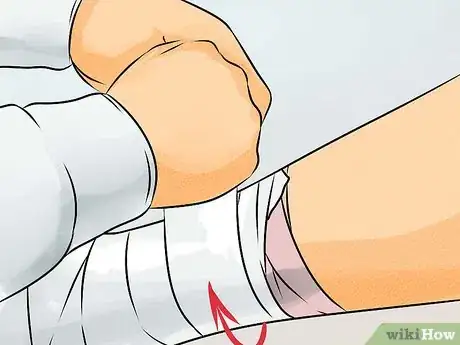
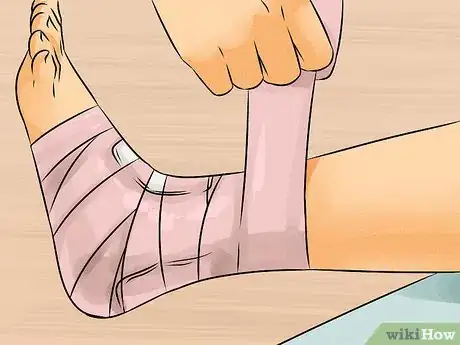
Bunions can be painful, but you can treat mild ones with non-elastic zinc oxide sports tape that’s at least an inch thick. To wrap your bunion, first unroll some of the tape and wrap it all the way around the arch of your foot then around your ankle for support. Bring it back around the arch of your foot and continue wrapping towards your toes. Wrap the tape between your big toe and second toe, then wrap the tape around your big toe again to secure it. As you’re taping, hold the toe with the bunion in the position you want to train it back into. After a day or two, retape your foot with fresh tape. To learn how to use kinesiology tape to wrap your bunion, read more from our Medical co-author.









Medical Disclaimer
The content of this article is not intended to be a substitute for professional medical advice, examination, diagnosis, or treatment. You should always contact your doctor or other qualified healthcare professional before starting, changing, or stopping any kind of health treatment.
Read More...