This article was co-authored by wikiHow staff writer, Hunter Rising. Hunter Rising is a wikiHow Staff Writer based in Los Angeles. He has more than three years of experience writing for and working with wikiHow. Hunter holds a BFA in Entertainment Design from the University of Wisconsin - Stout and a Minor in English Writing.
There are 13 references cited in this article, which can be found at the bottom of the page.
This article has been viewed 132,980 times.
Learn more...
Camouflage is a common pattern used primarily by hunters to blend in with the environment, but it’s gained popularity in many design fields. Painting a camouflage pattern is simple to do in a day using spray paints and stencils. After choosing your color palette and priming your work surface, you can make anything blend in naturally.
Steps
Choosing Paints
-
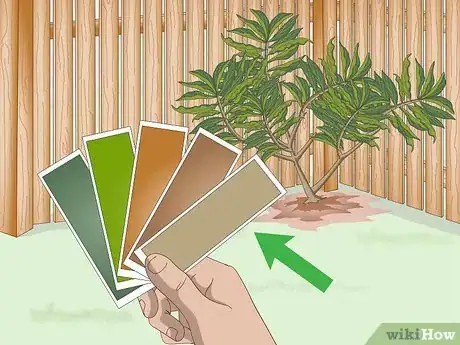
1Choose 4-5 colors that match the surroundings you want to blend into. Consider the environment where you plan on using your camouflage. Pick 4-5 paints that match the color scheme for the area you want to blend in with.[1]
- If you don’t need the camouflage to blend into your surroundings, you can choose any color scheme you want, such as 4-5 shades of pinks or blues.
Colors to Use Based on Your Surroundings
If you want to blend into the forest, use various shades of green and brown.
For desert camouflage, pick tans, dark browns, and pale reds.
If you’re using camouflage in a snowy environment, use whites, light blues, and greys.
For urban camouflage, use a variety of greys.
-
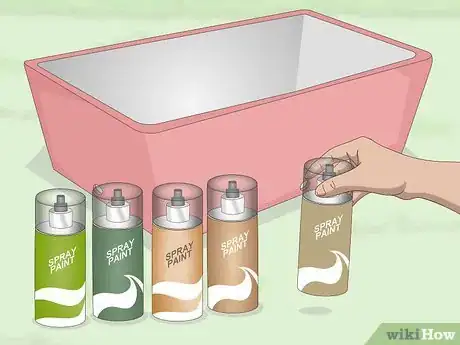
2Pick a spray paint meant for the surface you’re painting. Spray paint allows you to use a light coat on your material with a soft edge so it looks more natural. Visit your local paint supply or hardware store for your paints.[2]
- If you can’t use spray paint, acrylic paints with a sponge applicator work fine, but it may give you harder edges.
Advertisement -
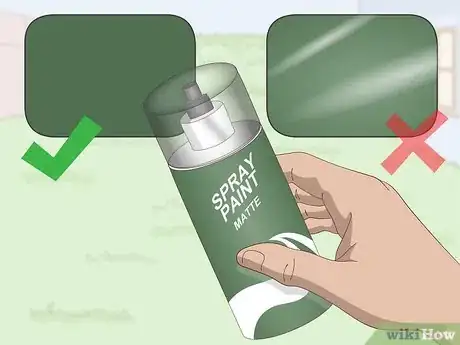
3Choose a matte paint if you don’t want a glossy finish. If you plan on painting camouflage for hunting and blending in, avoid using high gloss paints since they’ll be more noticeable in the environment.[3]
- Some brands of spray paint offer specific colors made for camouflaging.
- If you’re only using camouflage as a decoration, you can use a glossy paint if you want.
Preparing Your Painting Surface
-
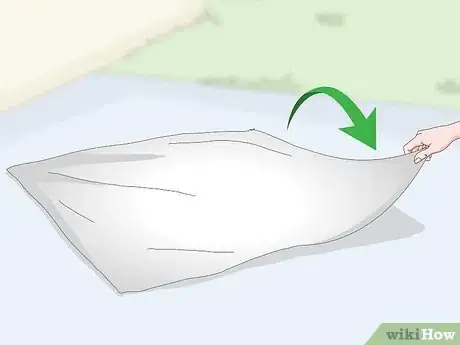
1Lay a drop cloth underneath your painting area. Work in a well-ventilated space. Set a painter’s drop cloth on the floor so you don’t accidentally get paint on a different surface. Make sure the cloth is completely flat so it doesn’t create a tripping hazard.[4]
- Drop cloths can be purchased from your local hardware store.
- If you don’t have a drop cloth, an old bed sheet works as well.
- Move any objects that you can out of the space so paint doesn’t get on them by accident.
-
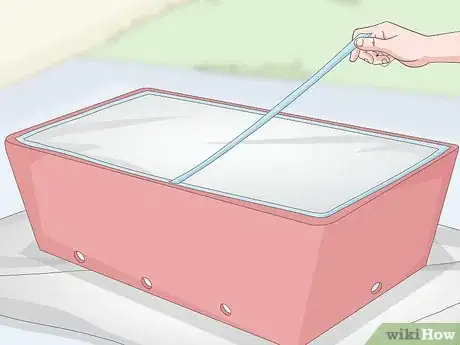
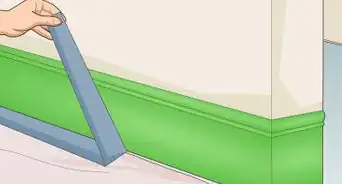
2Cover any areas you don’t want camouflaged with tape. Use masking tape or blue painter’s tape to cover any areas you want to preserve. Cut the tape to match the shape of the area if you need to. Overlap each of the pieces of tape by half so paint can’t get through the gaps.[5]
- If you’re covering a large area, such as a car windshield, use plastic sheeting and secure the edges with tape.
-
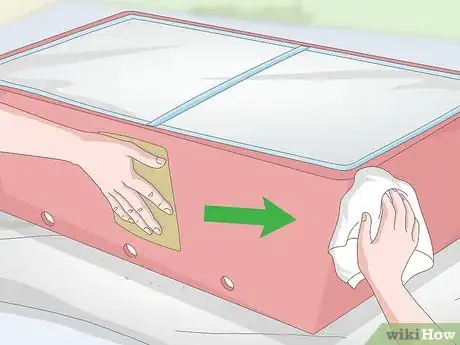
3Sand and clean your painting surface. Use a 400-grit sandpaper to scuff your painting surface so the spray paint adheres to the material. Work the sandpaper in small, concentric circles until your entire surface is smooth. When you’re finished sanding, use a dry cloth to wipe the surface free of debris.[6]
- Use a scuff pad instead of sandpaper if you have a softer or more delicate work surface such as thin metal or plastics.
- You only need to sand plastic if it was previously painted.
- If you’re painting metal, make sure to completely remove any rust.
-
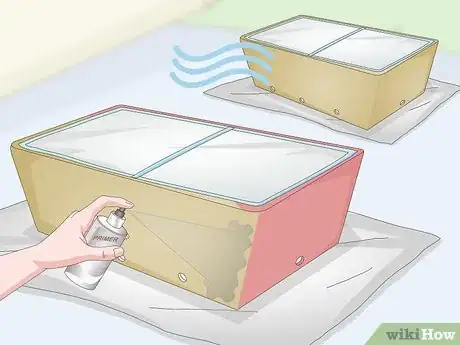
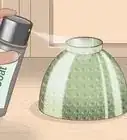
4Paint a layer of primer onto your surface and let it dry. Pick an all-purpose primer safe for interior and exterior use. Hold the can of spray bonding primer 12 inches (30 cm) from your painting surface and press the button on top. Move in quick back and forth motions across the surface to coat it in a thin layer. Coat the entire surface you want to camouflage with the primer and let it dry for at least 1 hour.[8]
- Use spray paint outdoors or work in a well-ventilated area.
-
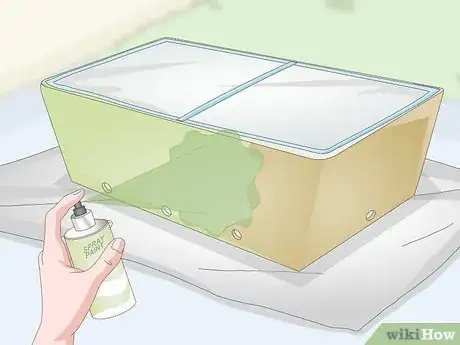
5Apply a base coat of the lightest color you have. Hold the can 12 inches (30 cm) from your paint surface. Work in short back and forth strokes across your work surface. Overlap each stroke by at least half so primer doesn’t show through. Continue working across your work surface until it’s entirely painted.[9]
-
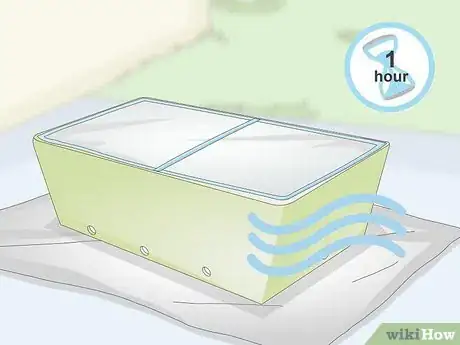
6Let the first coat dry for 1 hour before applying a second coat. Give the base coat of paint at least 1 hour to dry so as not to smear the paint. When adding the second coat, switch the direction in which you apply the paint. For example, if you painted horizontally during your first coat, paint vertically for the second.[10]
- Let the second coat dry for at least 30 minutes before painting.
Making a Camo Pattern with Stencils
-
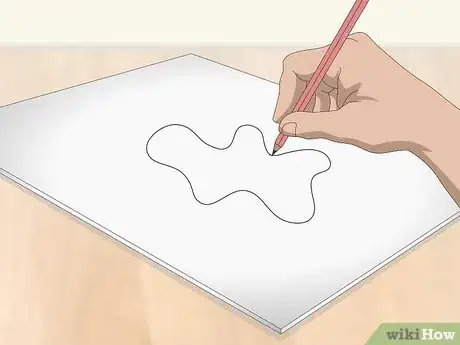
1Trace irregular blob shapes on cardboard or cardstock. Draw a series of amorphous shapes that are about 3–8 in (7.6–20.3 cm) long and 2–5 in (5.1–12.7 cm) wide. Vary the types of shapes and the sizes of each of your stencils. Leave at least 3–4 in (7.6–10.2 cm) between each of your shapes.[11]
- You can find traceable camo patterns here: https://www.krylon.com/pdf/camouflagestencils.pdf.
- Use shapes and sizes that match the natural environment that you’re trying to blend in with. For example, don’t use leaf-shaped patterns if you’re making desert camouflage.
- The size of your shapes depends on the size of your work surface. For example, if you’re painting a toy car, make shapes that are about 1⁄4–1⁄2 in (0.64–1.27 cm) long.
-
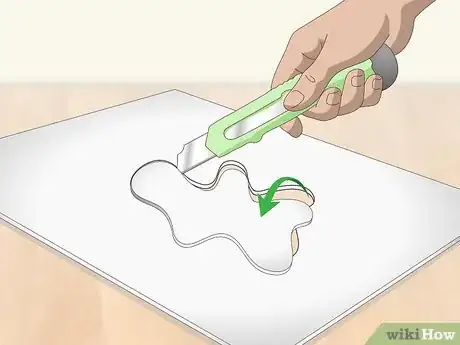
2Cut the shapes out with a craft knife. Work slowly and carefully around the shapes you drew on the cardboard or cardstock. As you cut out the pieces, save all of the pieces so you can use them later on.[12]
- Set a cutting board underneath your stencils or use a workbench, or else you’ll scratch your table.
- You can throw out the pieces you cut out since you’ll be using the cardboard as a stencil
-
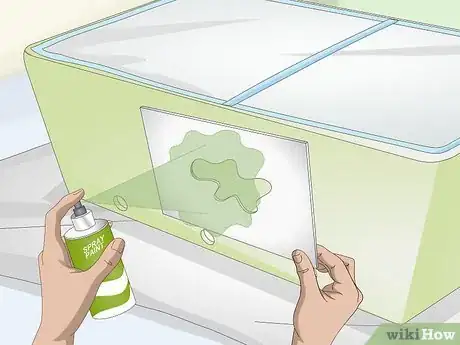
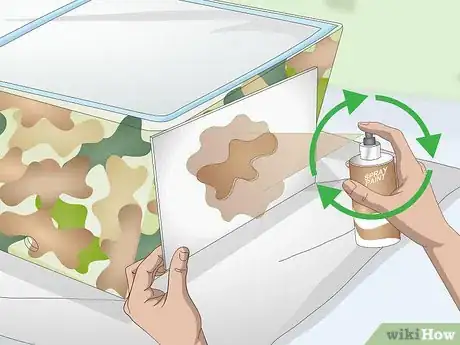
3Hold the stencil against your surface to paint the shape. Use the piece of cardboard or cardstock that you cut the shapes from. Hold it or use blue painter’s tape to secure it to your work surface. Paint your shapes with the second lightest color so they’re about 6 in (15 cm) apart from one another.[13]
- Rotate your stencils each time you apply them to give your work surface a randomized look.
- Make sure you only mist a thin layer of paint or else it won’t dry as smooth.
- The distance between shapes will change depending on the size of your work surface.
-
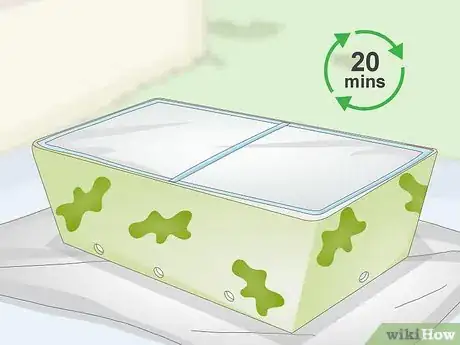
4Wait 20 minutes between coats. It's important to let the paint dry between colors or it could smear or end up drippy. After each color, wait at least 20 minutes before moving on to the next one.[14]
-
5Continue layering shapes from lightest to darkest color. Switch to the next darkest color and hold your stencil against your work surface. Slightly overlap the stencil over your existing pattern and paint a thin layer on top. Let the paint dry for 20 minutes in between each color so it doesn’t smear. Continue painting layers of patterns, working from your lighter to darker colors.[15]
Tip: Overlap different shapes to create a sense of depth to your camouflage. This helps the surface blend into its surroundings.
-
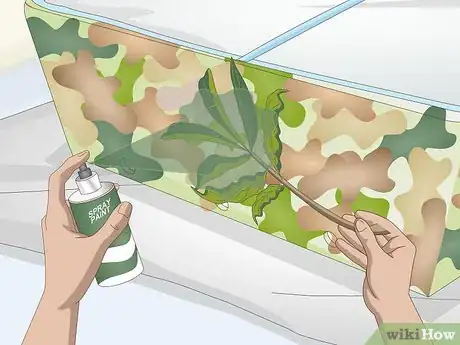
6Use leaves and branches as stencils to add a more natural look. Pick a few small branches and leaves from plants around your home and wrap them in a bundle with string. Hold the foliage against your work surface and hold your spray paint can 12 inches (30 cm) away. Use your spray paint on the tips of your branches and leaves. When you pull the greenery away from your work surface, there will be negative space resembling the shape of the bundle.[16]
- Use a variety of plants, such as broad maple leaves or pine needles, to create different textures.
- It doesn’t matter what kinds of leaves or branches you use since camouflage is mostly used to hide the object’s original shape.
- You can use leaves and branches for any color camouflage.
-
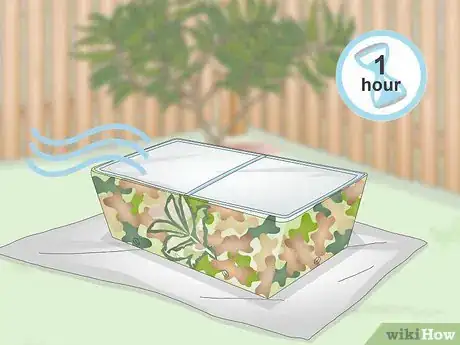
7Let the paint dry for 1 hour when you’re finished. Once you’ve finished painting all of your colors, let the final color dry for at least 1 hour before using or moving the object. Once the paint is dry, slowly remove the tape around the unpainted areas.[17]
Community Q&A
-
QuestionCould I use a brush and paint?
 Community AnswerYes. You can use a brush and paint if you practice enough. I think it might even be better that way.
Warnings
- Work in a well-ventilated area while using spray paint.⧼thumbs_response⧽
Things You’ll Need
- Matte spray paint
- Sandpaper
- Drop cloth
- Masking or painter's tape
- Bonding primer
- Cardboard or cardstock
- Craft knife
- Leaves and branches
- String
References
- ↑ https://www.krylon.com/pdf/camouflagepaintingtips.pdf
- ↑ https://www.ballisticmag.com/2015/06/17/diy-6-steps-to-successfully-camouflage-your-firearm/
- ↑ https://youtu.be/EFhA-b1nzVw?t=17
- ↑ https://youtu.be/EFhA-b1nzVw?t=33
- ↑ https://youtu.be/O2AlREfrEn0?t=132
- ↑ https://youtu.be/RUh4bD0uVNs?t=15
- ↑ https://www.theguardian.com/lifeandstyle/2008/mar/01/diy.homes16
- ↑ https://youtu.be/EFhA-b1nzVw?t=50
- ↑ https://youtu.be/EFhA-b1nzVw?t=58
About This Article
To camouflage paint, choose 4-5 matte spray paint colors that match the environment you want to mimic. Next, prime the surface, spray on a base coat of the lightest color, and let it dry. Then, create stencils by tracing irregular blobs on cardboard using shapes and sizes that match the environment. Finally, hold a stencil against the surface and spray paint it with the second lightest color. Continue layering shapes, working from lightest to darkest and letting the paint dry in between each new color. For more tips on layering colors, read on!
