This article was co-authored by wikiHow Staff. Our trained team of editors and researchers validate articles for accuracy and comprehensiveness. wikiHow's Content Management Team carefully monitors the work from our editorial staff to ensure that each article is backed by trusted research and meets our high quality standards.
This article has been viewed 10,922 times.
Learn more...
Sony allows you to change the Online ID that represents you on the PlayStation Network. This is the name that other users see when you play online together. This wikiHow shows you how to change your Online ID on a PlayStation 4 console or via a web browser. While you can change your name once for free, you'll be charged for any additional changes to your name after that.
Steps
Changing Your Online ID on PS4 via Your Console
-
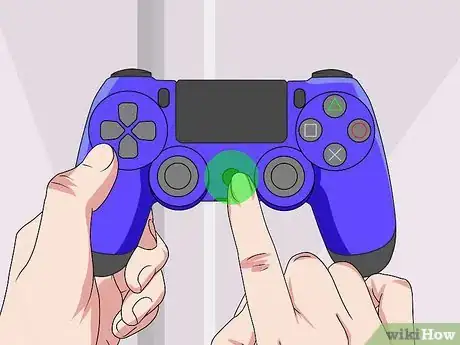
1Press the PS button. This brings you to the PS4's main menu screen.
-
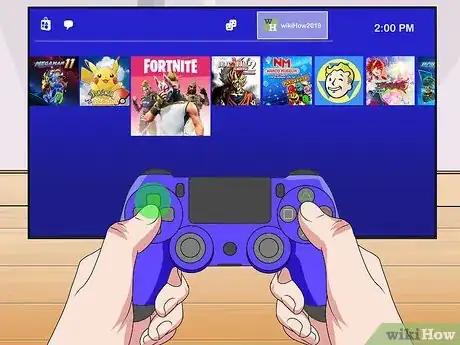
2Press up, then move right or left to highlight Profile.Advertisement
-
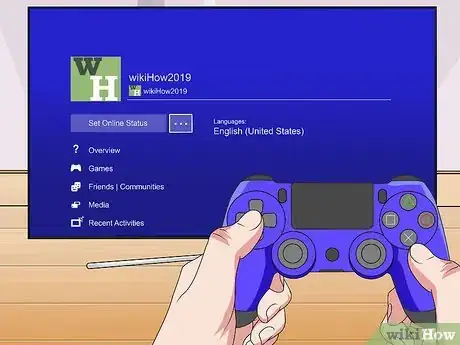
3Press ✕ to open the Profile page.
-
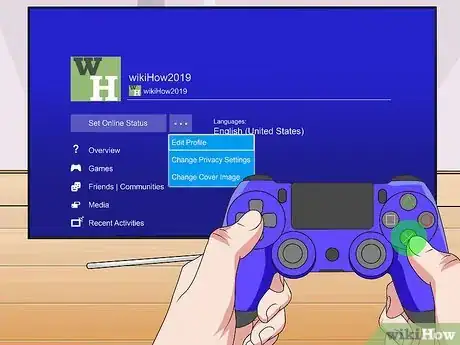
4Move right to highlight the three dots. The dots are right next to your profile name.
-
5Press ✕, then press ✕ again to select Edit Profile.
-
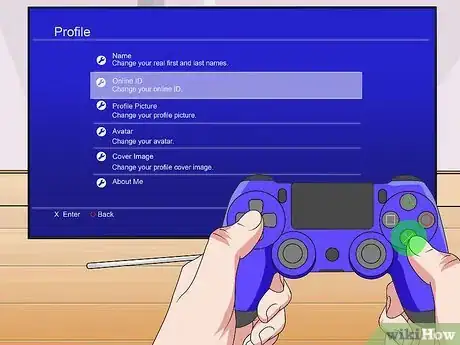
6Scroll down to highlight Online ID and press ✕.
-
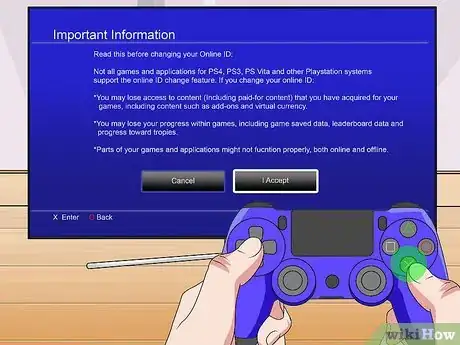
7Press right to select the I Accept option and press ✕. This takes you to the Important Information screen.
- Some games may not act as expected after you change your Online ID.
-
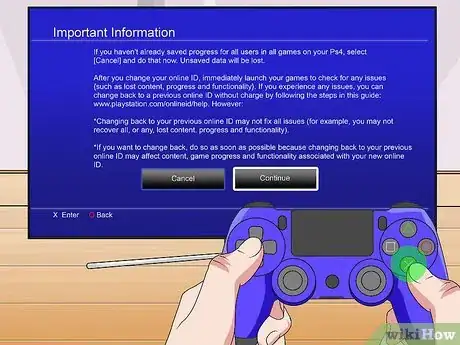
8Press right to select Continue and press ✕.
-
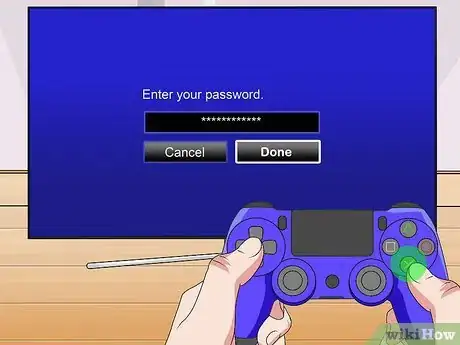
9Enter your password in the text field and select Done.
-
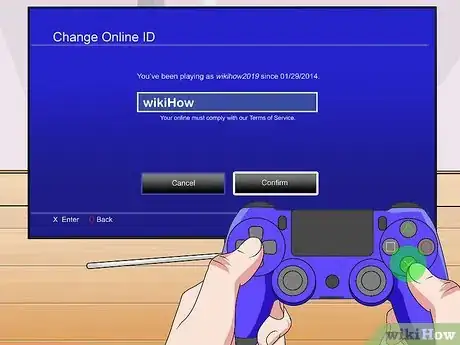
10Press ✕ to enter a new Online ID.
- PS4 usernames must be unique, so if you pick a name that somebody's already chosen, you'll have to choose again.
- This screen shows you suggestions of available usernames on the right side of the screen. You can pick any of them by highlighting it and pressing ✕.
- Sony allows you to pick a new Online ID once for free. If you want to switch your Online ID again, you'll be charged either $4.99 (if you're a PS Plus member) or $9.99 (if you're not a member) per change.
-
11Select Confirm. This takes you to the Change Online ID page.
-
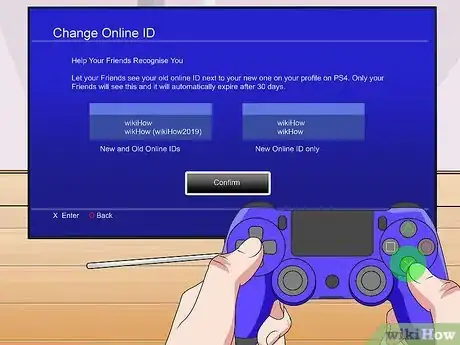
12Choose how you want to display your name. You can choose to display both your old ID and your new ID for 30 days, which can help your PS4 friends recognize you.
-
13Select Confirm and press ✕. Your Online ID is updated.
Changing Your Online ID via Computer
-
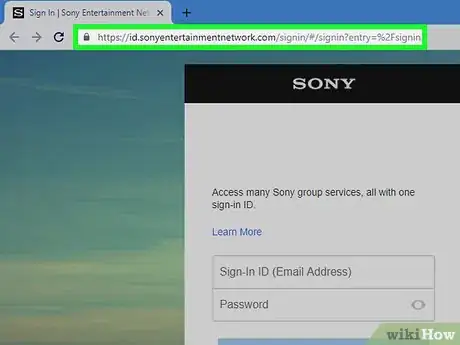
1Open a browser and go to Sony's sign in page.
-
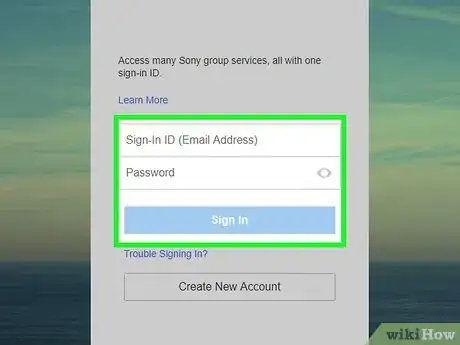
2Enter the sign in information associated with your PSN account.
-
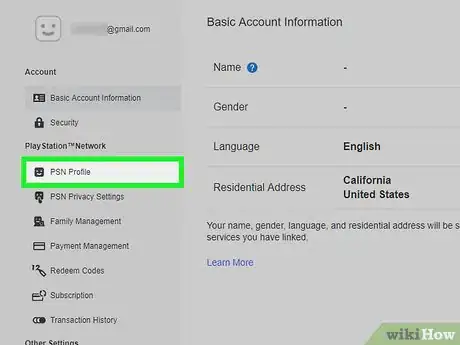
3Click PSN Profile. This option is located on the left side of the screen.
-
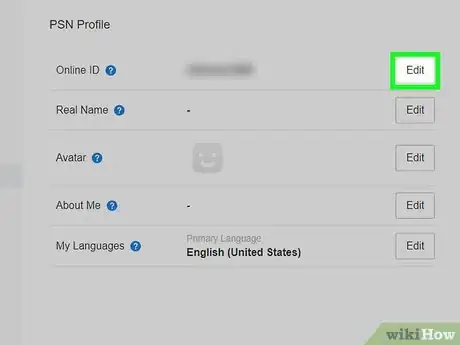
4Click the Edit option next to your current Online ID. This brings you to the Important Information page that summarizes potential issues with a name change.
-
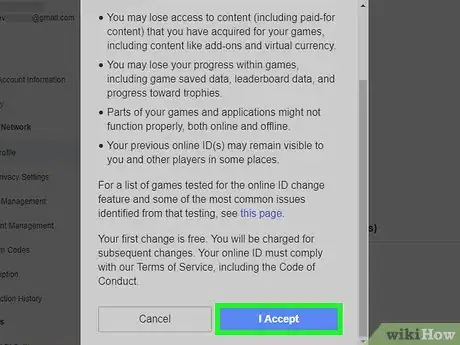
5Click I Accept, then Continue.
-
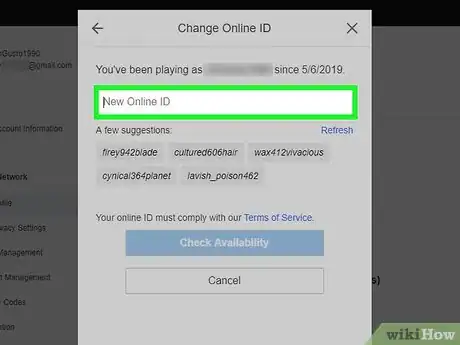
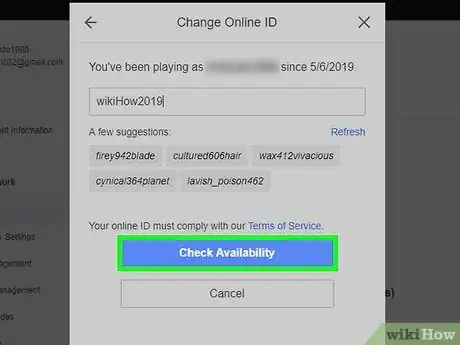
6Click in the text field and enter a new Online ID.
- You can also click directly on one of the suggested Online IDs that appear below the Change Online ID text field.
-
7Click Check Availability. PS4 usernames must be unique, so if you pick a name that somebody's already chosen, you'll have to choose again.
-
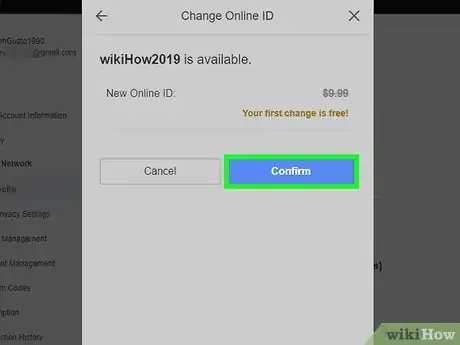
8Choose Continue when you've picked an available name. Your Online ID is updated.
- Sony allows you to pick a new Online ID once for free. If you want to switch your Online ID again, you'll be charged either $4.99 (if you're a PS Plus member) or $9.99 (if you're not a member) per change. If this isn't the first time you've changed your ID, you'll be charged for the ID change upon clicking Continue.[1]
References
About This Article
1. Open the PS menu and open the Profile page.
2. Highlight the three dots and press X twice to select Edit Profile.
3. Select theOnline ID, I Accept and Continue options.
5. Enter your password, then press X to enter your new ID.
6. Select Confirm, choose a display option, and select Confirm again.
