X
wikiHow is a “wiki,” similar to Wikipedia, which means that many of our articles are co-written by multiple authors. To create this article, 11 people, some anonymous, worked to edit and improve it over time.
This article has been viewed 48,122 times.
Learn more...
What starts out as a simple task, changing an ink cartridge, often becomes difficult and sometimes messy. If you have seen a low ink indicator, or your cartridge is more than 6 months old, then it is time to purchase a replacement printer cartridge. Replacing your printer's ink cartridge can become foolproof by simply following these instructions!
Steps
-
1Leave your old ink cartridge installed in the printer until you have obtained a replacement cartridge, otherwise your print head nozzles may dry out.
-
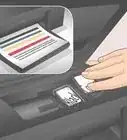
2Ink cartridges usually have a protective covering, which has sheltered them during shipment.
- If you have Epson, Canon or Brother, look for a yellow tape seal or plastic red tab that tell you to remove them. Do not remove the additional transparent plastic, or a pointed mechanism, otherwise your cartridge will leak or malfunction.
- If there is an additional piece of plastic in your ink cartridge box, this is an adapter that needs to be connected to your cartridge. Follow the included instructions in your package, and carefully connect the adapter to the compatible ink cartridge.
- If you have HP, Lexmark or Dell look for a cap and protective tape needing removal.
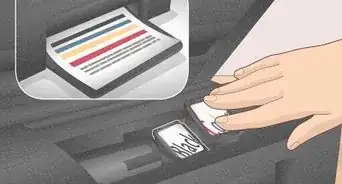
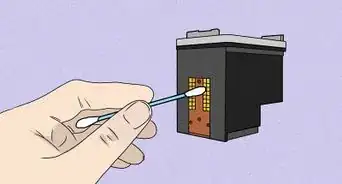
- Do not let anything touch the micro-chip, this is usually copper or green, and is sensitive to touch.
Advertisement -
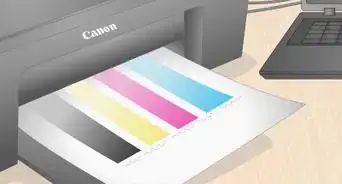
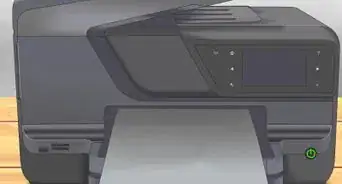
3Switch the printer's power on.
-
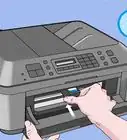
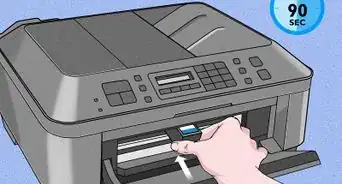
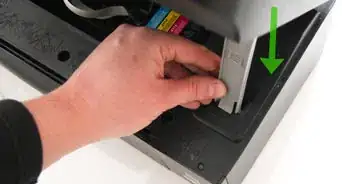
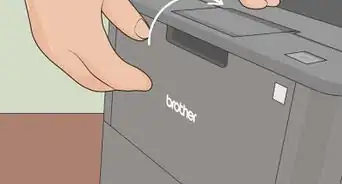
4Wait until printer is not in movement, and then open the cover to replace your cartridge.
-
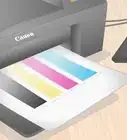
5Make sure that you are installing the cartridge in the appropriate carriage for the new color. For example, if you have a new magenta ink cartridge, replace it in the carriage intended for only the magenta cartridge.
- If your Brother cartridge does not seem to clip in where it usually fits, it will still work, some re-manufactured cartridges clip from underneath.
- Some thicker inks need to settle for 1 hour after installation before printing. If you have printed or performed a head cleaning with less than desirable results, let the cartridge settle in its new printer for 1 or 2 hours before attempting another print. Excessive print head cleanings will deplete your ink.
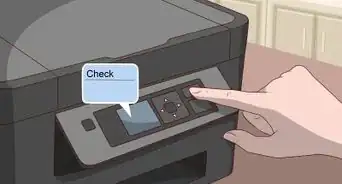
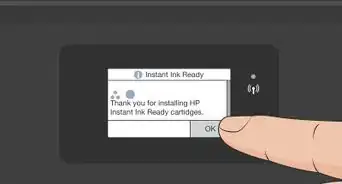
- If your new cartridge is not recognized by the printer, simply leave it in place then unplug the printer for 10 minutes. After waiting 10 minutes, hold down the power button for 30 seconds then plug the printer back in. This will clean the printer memory, allowing it to resync to the new cartridges.
-
6Close the printer cover. Lights may flash, simply let the printer perform without interruption.
-
7Finished.


Advertisement
Community Q&A
-
QuestionHow do I change the ink cartridge on an HP 8610?
 Community AnswerLook at the manual or inside your printer. It should tell you how to change it on your particular model.
 -
QuestionHow do I change the ink cartridge in my printer?
 Community AnswerOpen the front or top panels; the ink should be there. Pull down on the levers where the cartridges are, then replace them.
Advertisement
Warnings
- Trying to shake your printer cartridge is often tried by those not yet ready to replace. The problem with shaking a cartridge is that if it is put to more than a 40 degree angle, or shaken too vigorously, it may spill. Sometimes it is better to just restock.⧼thumbs_response⧽
Advertisement


About This Article
Advertisement