This article was co-authored by wikiHow Staff. Our trained team of editors and researchers validate articles for accuracy and comprehensiveness. wikiHow's Content Management Team carefully monitors the work from our editorial staff to ensure that each article is backed by trusted research and meets our high quality standards.
The wikiHow Tech Team also followed the article's instructions and verified that they work.
This article has been viewed 43,072 times.
Learn more...
This wikiHow teaches you how to replace old cartridges in an Epson printer with new ones. Removing old cartridges and installing new cartridges is pretty straightforward in all Epson printer models. Make sure to install your new cartridges immediately after removing the old ones to prevent the print head nozzles from drying out.
Steps
Removing Old Cartridges
-
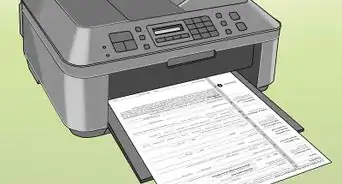
1Turn on your printer. Make sure your printer is connected to a power source and turned on before replacing your ink cartridges.
-
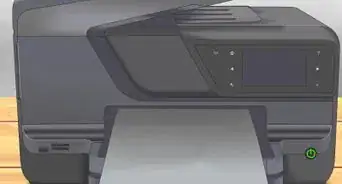
2Open the printer cover. You'll find your printer's print head and ink cartridge unit inside the printer cover.
- If you're using a printer with an integrated scanner unit, you may need to lift the entire scanner unit. In this case, make sure to lift the whole scanner unit, and not just the scanner cover.
Advertisement -
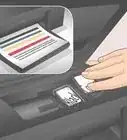
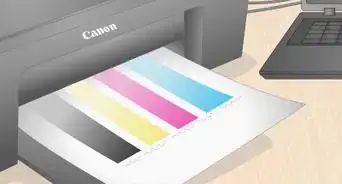
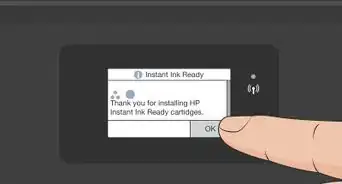
3Check the LCD screen on your printer (optional). If your printer has an LCD screen, you'll see a message on your printer's LCD screen when your cartridges are low.
- If your cartridges are low or depleted, you will need to select the cartridges you want to replace, and select OK here.
- If you're replacing a cartridge before you a see a message, open the Setup menu, select Maintenance, and select Ink Cartridge Replacement.
-
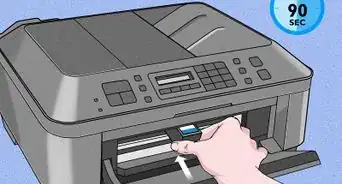
4Wait for the print head to stop at the replacement position. The print head will automatically move and stop at the replacement position.
- On some models, you may have to press and hold the maintenance button to move the print head to the replacement position. This button will look like a droplet and a paper sheet, or an upside-down triangle in a red circle.
- Do not move the print head by head. This may damage your printer.
-
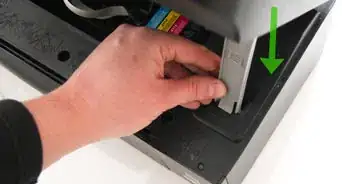
5Open the cartridge cover (if applicable). Some printer models will have a plastic cover around the print head's ink cartridge unit. In this case, open the cartridge clamp to access your ink cartridges.
-
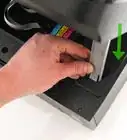
6Squeeze the tab on the back of the cartridge. You'll find this tab on the back of each cartridge. It will allow you to lift the cartridge from the print head.
-
7Lift the cartridge straight up to remove it. While squeezing the tab on the back, pull the cartridge straight up to remove it from the print head. It will slide out easily with a little wiggling at most.


Installing New Cartridges
-
1Gently shake the new cartridges before opening the package. Make sure to gently shake the new cartridges four or five times before opening the new cartridge package.
-
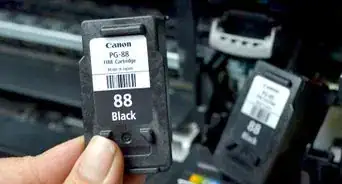
2Remove the new cartridge from the package. Open the new cartridge's packaging, and carefully remove the new cartridge.
-
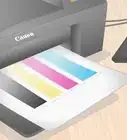
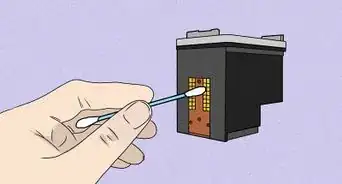
3Remove the yellow tape from the cartridge. You'll find a yellow tape on your new ink cartridges. Remove this tape before installing the cartridge in your printer.
- Depending on your printer and cartridge model, the yellow tape may be on the back, side, top or bottom of the cartridge.
- Do not remove any other labels or seals from the cartridge. This may cause ink to leak.
-
4Insert the new cartridge into the holder. Place the new cartridge on the empty cartridge socket, and push it down until it clicks into the print head.
-
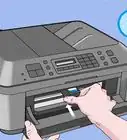
5Close the printer cover. When you're done installing your new cartridges, close the printer cover. The print head will automatically prime the new cartridges, and move to its home position.
- If you have a separate cartridge cover, make sure to close the cartridge cover before closing the printer cover.
- If you're using a printer with a scanner unit, you'll need to lower the entire scanner unit to close the printer cover.
-
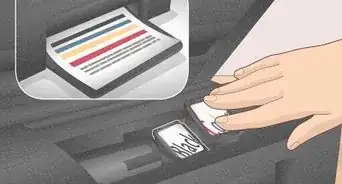
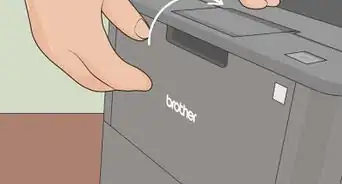
6Press the maintenance button (optional). On some models, you will have to press the maintenance button on your printer to complete the cartridge replacement process.
- The maintenance button looks like a droplet and a paper sheet, or a red, upside-down triangle in a circle.
- On some models, you may have to select Check or OK on the printer's LCD screen.


Warnings
- If your printer model has a different cartridge functionality or doesn't match up with any of the steps here, make sure to refer to your printer's user manual for your model's precise instructions.⧼thumbs_response⧽


About This Article

1. Turn on your printer.
2. Check the LCD screen or press the maintenance button.
3. Open the printer cover.
4. Squeeze the tab on the cartridge's back, and lift it up.
5. Gently shake the new cartridge, and remove it from the package.
6. Insert the new cartridge into the printer head until it clicks.
7. Close the printer cover.
8. Check the LCD screen or press the maintenance button.