wikiHow is a “wiki,” similar to Wikipedia, which means that many of our articles are co-written by multiple authors. To create this article, 12 people, some anonymous, worked to edit and improve it over time.
This article has been viewed 540,320 times.
Learn more...
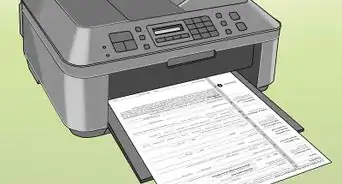
If you've ever had a printer (not one of those super old ones) that hasn't been in use for a couple of months (or even a year or two!) that won't seem to print, the reason could be because of a clogged ink cartridge.
Further, there are multiple types of cartridges with different construction, so you might need another method or even to use something different.
This article refers mostly to printers used by general home consumers classified as "Drop on Demand" (DOD).
Unclogging it isn't very complicated, but can get messy so make sure to read the tips and steps before you begin!
Steps
Water Method
-
1Find a bathroom close by that has a sink that can give you hot water. The closer the better
-
2Place some old newspapers or paper towels in the counter of the sink. We don't want ink everywhere.Advertisement
-
3Make sure your printer is plugged in and your computer has the printer drivers installed.
-
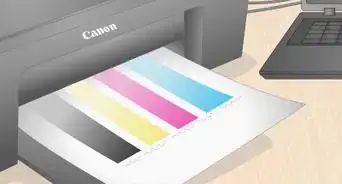
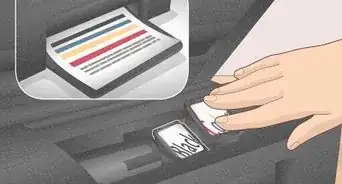
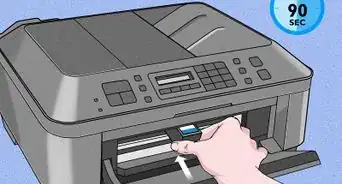
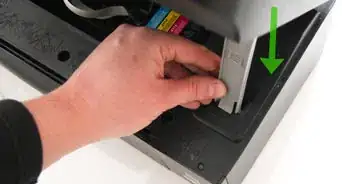
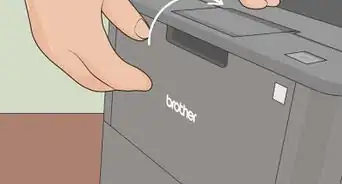
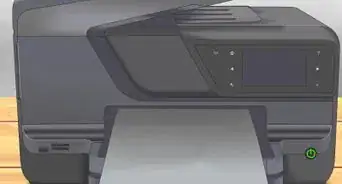
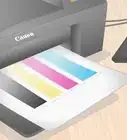
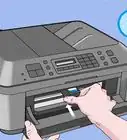
4Open the printer up to reveal the ink cartridges.
-
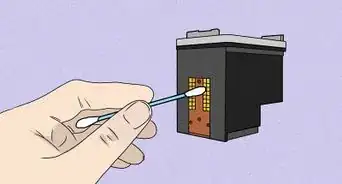
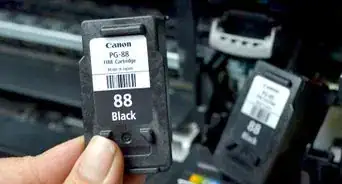
5Take out the black ink cartridge. This trick might work for a colored ink cartridge, but it's probably a better idea to use a black cartridge.
-
6Take the cartridge to the sink and put it down on the old newspaper or paper towels. Try to rest it sort of diagonally so that the part where the ink actually comes out isn't completely touching the paper towel or you could have a mess.
-
7Turn on the sink and wait until you can get very hot water.
-
8Pull that thing behind the sink handle that closes the drain and keeps water in the sink.
-
9Let the sink fill with hot water, but ONLY a little bit. No more than 3/4" from the very bottom.
-
10Place the cartridge in the sink so the part where the ink comes out is in the water. Make sure it gets past the surface of the water. Ink may (and probably will) come out, don't be alarmed!
-
11If ink comes out immediately then your cartridge isn't terribly clogged. About 5 minutes in the sink should do the trick. Otherwise, you might have to wait up to 20 minutes.
-
12Dry off the cartridge so it's no more than damp, and put it back in the printer and give it a test run.


The Vacuum Method
-
1Attach the hose to the Print cartridge nozzle , closing the gap with blue-or white tack or plasticine.
-
2For only a few seconds at a time, turn on vacuum adjusting the suction with the regulator or speed control and leave the cartridge in the vertical nozzle down position.
-
3Repeat process until the nozzle is cleared.
-
4Blot off the excess ink with toilet roll.
-
5Refit cartridge.


Expert Q&A
-
QuestionHow do you change the ink cartridge on an HP OfficeJet Pro 8600?
 Mitch HarrisMitch Harris is a Consumer Technology Expert based in the San Francisco Bay Area. Mitch runs his own IT Consulting company called Mitch the Geek, helping individuals and businesses with home office technology, data security, remote support, and cybersecurity compliance. Mitch earned a BS in Psychology, English, and Physics and graduated Cum Laude from Northern Arizona University.
Consumer Technology ExpertOpen the printer below the scan glass with the printer turned on and the cartridges will slide into view. Push them down to release them. Make sure when adding the replacement cartridge you remove any tape or other materials designed to protect the print heads. -
QuestionCan a cartridge intended for printer X be 're-tuned' for a Z make printer?
 Community AnswerNo, a cartridge for printer X could not be used in printer Z unless the two printers required the same type of cartridge to begin with.
Warnings
- When taking the cartridge out of the sink, some ink may drip out so be ready!⧼thumbs_response⧽
- While unclogging, you will be using very hot water! Be careful!⧼thumbs_response⧽
- Printer ink is messy and can sometimes be hard to remove. Wear gloves and an apron to prevent ink from getting all over you.⧼thumbs_response⧽
Things You'll Need
- An old printer or ink cartridge that hasn't been used in a while
- Gloves
- Apron
- Paper towels or newspaper
- Sink that can get you hot water.
- Hydrogen peroxide (for cleaning up)