X
wikiHow is a “wiki,” similar to Wikipedia, which means that many of our articles are co-written by multiple authors. To create this article, volunteer authors worked to edit and improve it over time.
This article has been viewed 30,264 times.
Learn more...
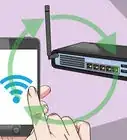
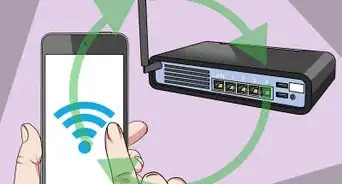
So your internet service installer just put in a new WiFi gateway too far away to run a simple patch cable for a wired connection to your existing desktop computer that wasn't designed for connecting by WiFi. No worries. By installing a simple inexpensive USB WiFi client adapter you can enable WiFi networking on your desktop without the need for any tools or serious computer skills.
Steps
-
1Most modern WiFi gateways employ Wireless 802.11 N technology. 802.11 WiFi comes in many flavors but the good news is that Wireless N adapters are all backwards compatible with the previous standards as well, so purchasing a compatible adapter is relatively simple.
-
2When purchasing, look for a WiFi adapter that makes the connection by USB and at least supports 802.11 N for your operating system. This is the easiest method for adding WiFi to your desktop. You will not have to open the PC and install any expansion cards, a simple plug in device in a free USB port is all you need.Advertisement
-
3For the best possible throughput for your gateway consider a "dual band" adapter. What that means is that in addition to being able to receive signals broadcast at the typical 2.4 Ghz WiFi band it can also receive signals at 5 Ghz if your gateway supports it. Dual band adapters are only a few dollars premium and ensure that you have something that should perform well in a variety of scenarios.
-
4One great example is the TP-Link TL-WDN4200. It supports Windows XP, Vista, 7, 8 and 8.1 in 32 and 64 bit flavors. If you are running a different operating system, make sure to check the adapter manufacturer for compatibility prior to purchase.http://www.tp-link.com/en/products/details/cat-11_TL-WDN4200.html#overview
-
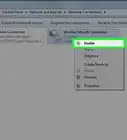
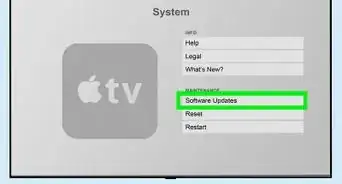
5Upon unpacking your new USB wireless adapter you will see an installation CD. Run that prior to plugging the adapter in. The CD will install the necessary software and drivers for your adapter.
-
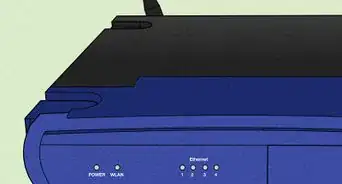
6Once the software is installed you will simply plug the adapter into an open USB port on your desktop. Make sure it is at least rated for USB 2.0 to allow enough throughput for best performance from your internet connection. (most modern desktop computers purchased in the last ten years will).
-
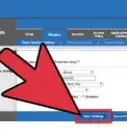
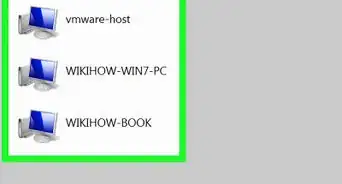
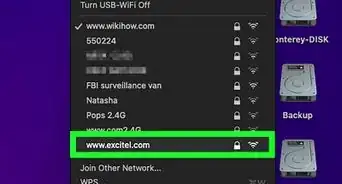
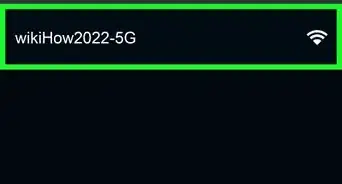
7Once plugged in you should see a list of available networks. The names are referred to as the "SSID". If you do not know the SSID for your gateway, typically it is written on a label somewhere on the gateway. Find your SSID broadcast name and select it from the list of available wireless networks.
-
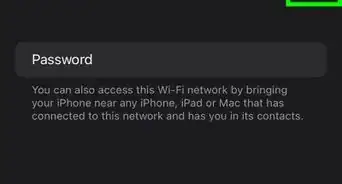
8At this point your operating system should ask you for a network key. Most internet service providers have a default WPA2 key written on a label on the gateway/router. Enter that key and check the box that says "Automatically connect" so you don't have to enter it each time you want to access your internet. If you have trouble finding your WPA2 security key, call your ISP for assistance.
-
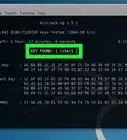
9Assuming you selected the correct network SSID and entered the proper WPA/WPA2 key from your ISP you should be able to open a browser window and confirm you are back online! If you want to see your wireless performance to the internet you can check with WWW.SpeedTest.net


Advertisement


About This Article
Advertisement