X
This article was written by Katie Double. Katie Double is a Technology Writer and Editor for wikiHow. She has over five years of experience in technical support, IT process analysis, and quantitative research. Katie loves exploring the application of various technological tools, from data analysis and visualization to music production and performance. Though originally from Denver, Colorado, she currently resides in New Zealand. She has a BA in Psychology from the University of Colorado Boulder.
This article has been viewed 17,415 times.
This wikiHow teaches you how to set up contact groups on an iPhone. This allows you to message or email a group of people at once rather than each person individually.
Steps
Method 1
Method 1 of 3:
Creating Groups Using iCloud on your Mac or PC
-
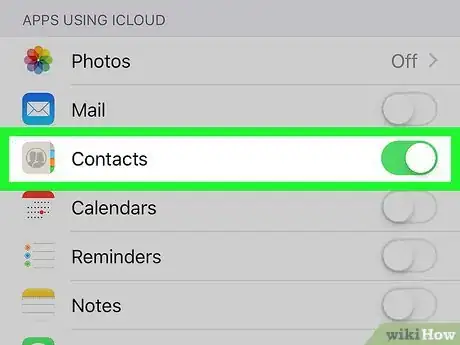
1Enable the iCloud contacts setting on your iPhone. Go to Settings, tap on your name, then tap iCloud. Make sure the Contacts slider is enabled.
-
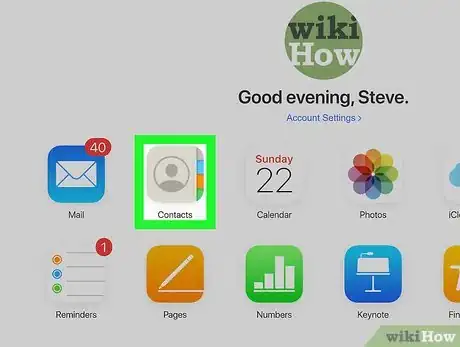
2Open a browser on your Mac or PC and go to iCloud.com. Login using your Apple ID and password.Advertisement
-
3Go to Contacts. Click the + symbol in the bottom right. Select New Group, then name your group. Click outside of the text box to save.
-
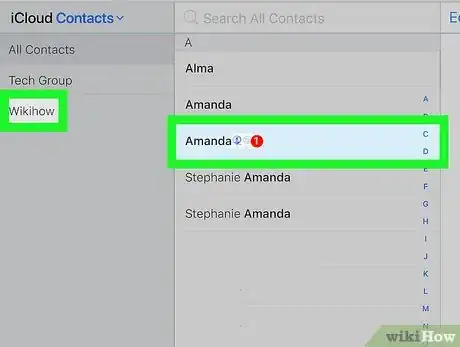
4Add contacts to the group. Go to All Contacts in the top left. Click to drag individual contacts over and drop them on to the new group.
- You can also click and hold the Cmd button on a Mac (Ctrl on a PC) as you click each contact you wish to add to the group. Then drag them over and drop them on to the new group.
-
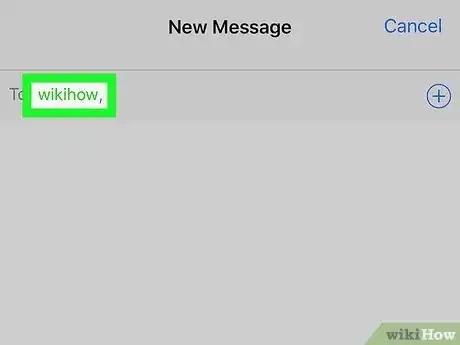
5Make sure your new contact group shows up on your iPhone. Open the Messages app and start a new message. When you start typing the name of the group, it should appear below. You can also contact the group using the Mail app.
Advertisement
Method 2
Method 2 of 3:
Creating Groups Using the Contacts App on a Mac
-
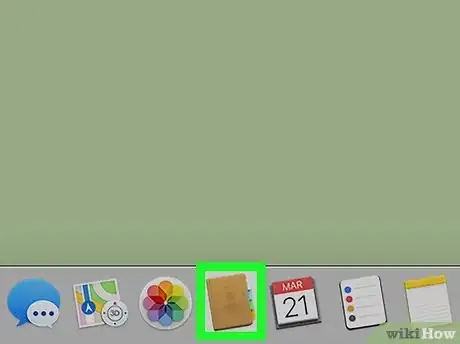
1Open the Contacts app on your Mac.
-
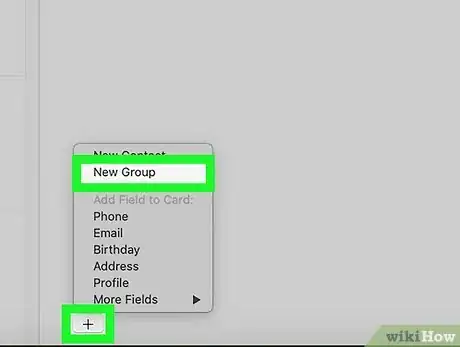
2Create a new group. Click the + button near the bottom. Select New Group, then name your group. Click outside of the text box to save.
-
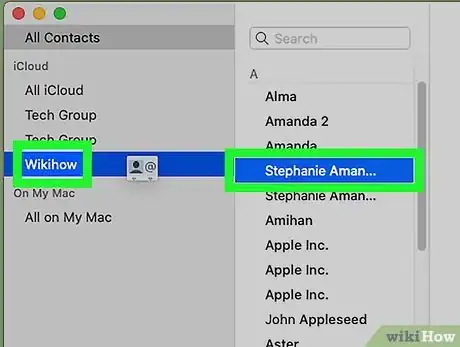
3Add contacts to the group. Go to All Contacts in the top left. Click to drag individual contacts over and drop them on to the new group.
- You can also click and hold the Cmd button as you click each contact you wish to add to the group. Then drag them over and drop them on to the new group. Or, go to File then New Group from Selection.
-
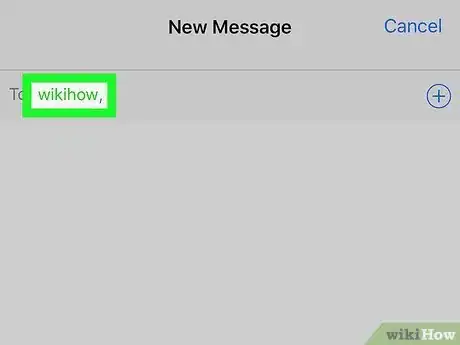
4Make sure your new contact group shows up on your iPhone. Open the Messages app and start a new message. When you start typing the name of the group, it should appear below. You can also contact the group using the Mail app.
Advertisement
Method 3
Method 3 of 3:
Creating Groups Using a Third-Party App on an iPhone or iPad
-
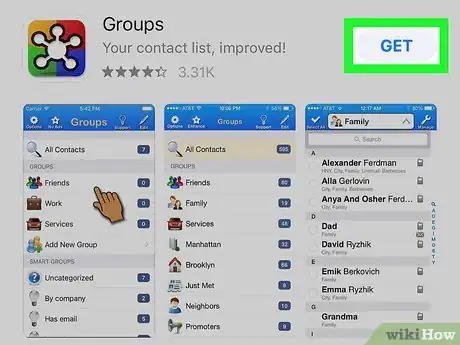
1Find a third-party app on the app store. Tap on the App Store to open, and then tap Search at the bottom. Type in your search query—try “contact groups” or “contact manager”. Tap on an app to learn more about it. Tap Get to download.
- When deciding on an app, you may want to consider factors like price and ratings. There are many good quality free apps available. “Groups” is a popular and highly rated app.
-
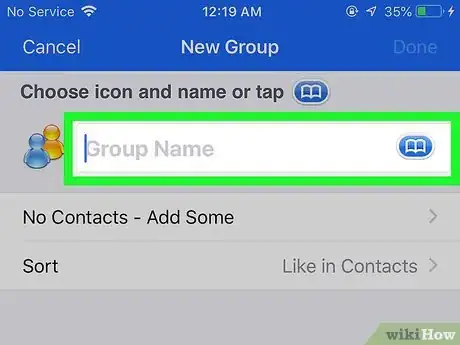
2Make a contact group on the third-party app. Each app will work slightly differently.
- For Groups, open the app and tap Add New Label. Name the group. Tap No Contacts – Add Some to add contacts to the group.
-
3Make sure your new contact group shows up on your iPhone. Open the Messages app and start a new message. When you start typing the name of the group, it should appear below. You can also contact the group using the Mail app.
Advertisement
About This Article
Advertisement
