This article was co-authored by wikiHow Staff. Our trained team of editors and researchers validate articles for accuracy and comprehensiveness. wikiHow's Content Management Team carefully monitors the work from our editorial staff to ensure that each article is backed by trusted research and meets our high quality standards.
The wikiHow Tech Team also followed the article's instructions and verified that they work.
This article has been viewed 31,225 times.
Learn more...
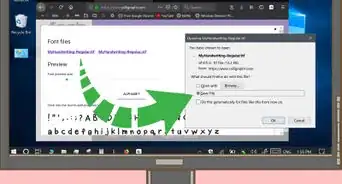
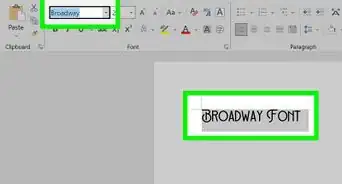
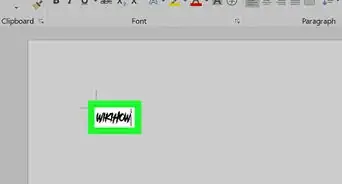
Word Art is a fun way to make text stand out with special effects. With Word Art, you can add color, shape, and style to text for a birthday card, a presentation, or a display. To create word art, you can use an online word art generator or a computer program. Word art can add variety and interest to any text in just a few short clicks.
Steps
Using an Online Word Art Generator
-
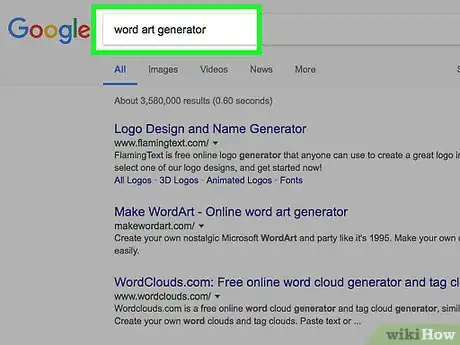
1Search for an online word art generator. Online word art generators are easy to find by searching “word art generator” in a search engine. Word art generators are often free and offer a variety of word art styles that you can apply to any text.
- Some word art generators offer more elaborate styles for a small fee. You can decide if you are happy to use the free styles offered or want to pay a little more for a particular style.
-
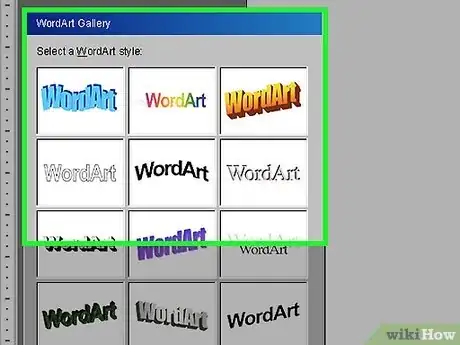
2Choose a word art style. Most online word art generators will have a gallery of word art styles that you can choose from to create your word art. Look through the gallery and click on different styles so you can see which one you like.
- You may be given a variety of word art styles, from text that flashes to text in an elaborate font or a bright color.
- Some generators require you to type in the text you want to make into word art. For example, you may type in “Happy Birthday” into the text field. You can then click on a style to see how the style looks on the text.
Advertisement -
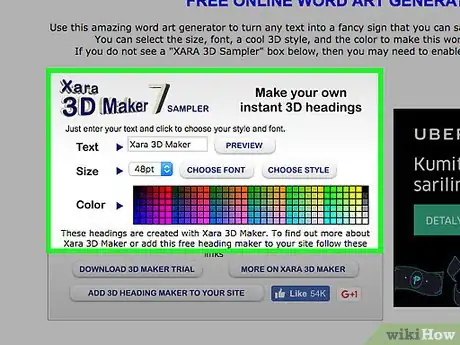
3Make your own custom word art. Some online word art generators let you make your own custom word art. You may be given the option of selecting the color, font, and animation of the text. You can choose to make the text a certain size and color as well as determine the shape of the text.[1]
- Click through the custom options for the text to select the ones you like. Have fun with the custom options and play around with different styles until you create a style that you like.
-
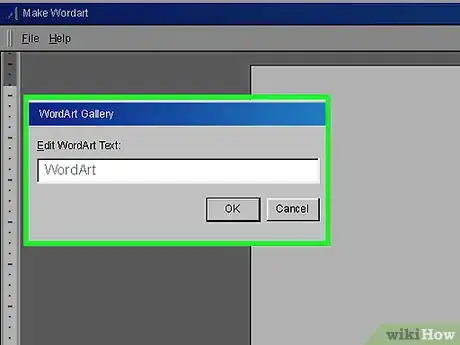
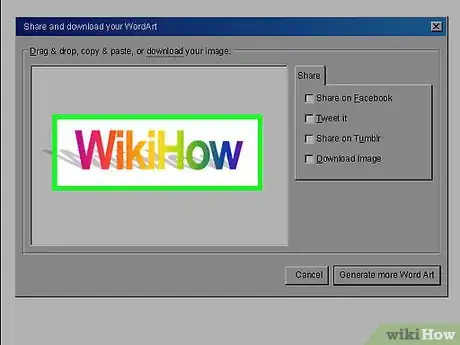
4Apply the word art style to the text. Once you have a word art style that you like, type out the text and apply the style. Most online word art generators will have a text box where you can type the text and then click on a word art style to apply it.
- Look over the text once you have applied the word art. Make sure you are happy with it. If not, you can always switch to a different word art style in the gallery or adjust the custom word art style as you see fit.
-
5Make a word art cloud. Many online word art generators allow you to create a word art cloud, where you cluster or arrange text together in a shape. Look for the word art cloud option on the generator. Often, the generator will create the cloud for you once you put in your preferences.
- You may choose a shape that reflects the intent of the word art. For example, if you are creating word art as a gift for a friend's baby shower, you may choose a shape like a stork or a baby rattle for the word art cloud.
- You can also choose a shape that you like or that looks appealing to you. For example, you may choose a heart shape or an oval shape for the word art cloud.
-
6Put the word art on an object or item, if desired. Some online word art generators give you the option of putting your word art on an object or item, such as a t-shirt or a mug. You can also make the word art into a print that you can give as a gift or frame in your home.[2]
- This option will likely cost you, as you will be paying for the cost of printing the word art on the object or item plus shipping.
Making Word Art With a Computer Program
-
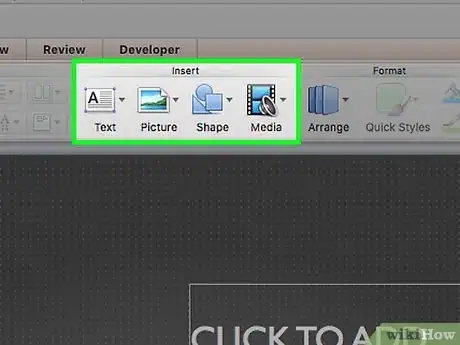
1Locate the Insert tab and then the word art section. Making word art with a computer program like Microsoft Word, Excel, and PowerPoint can be done in a few easy steps. Start by locating the Insert tab in the computer program. The Insert tab should appear on the main toolbar in the computer program. Once you open the Insert tab, you should see the word art section.[3]
- If you are using a newer version of a computer program like Microsoft Word, you can find the word art option in the Document Elements tab.
- Depending on the version you are using, word art may be called "Smartart" in Microsoft Word.
-
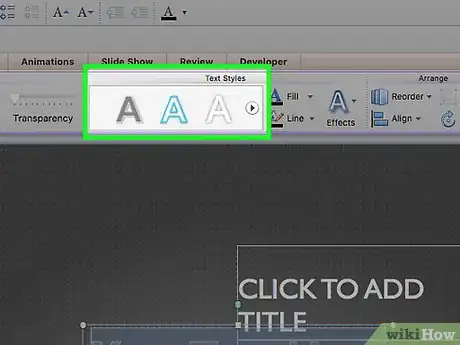
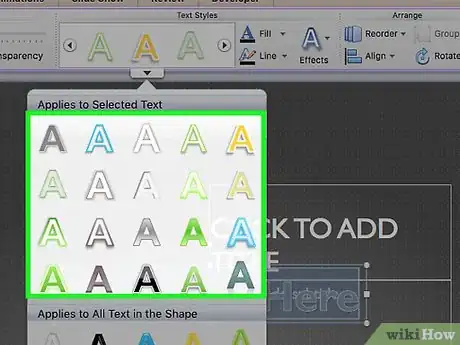
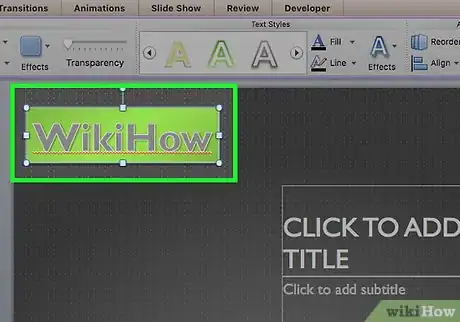
2Look through the word art styles. Click on the word art section and scroll through the styles. There should be a gallery of different word art styles, from different font colors to different font styles like bold, outline, or highlight. Look through them until you find a style you like for the text.[4]
-
3Make a custom word art style. If you do not see any word art styles that you like in the gallery or want to adjust an existing style, you can make your own word art style. Use the text options in the word art styles section to customize the text as you see fit. You can also add elements like Text Fill, Text Outline, and Text Effects to the text. This will allow you to add shadows, curves, outline, and fill in the text with specific colors.[5]
- To add a color to fill in the text, use the Text Fill option.
- To add a colored outline to the text, use the Text Outline option.
- To add a curve or shadow to the text, use the Text Effects option.
-
4Choose a style and enter in your text. Click on a word art style and then start typing your desired text to see how it looks on the page. A placeholder text box may appear on the page where you can then type in your text to apply the word art style.[6]
- You can also type out the text first, such as “Congratulations!”, then choose a word art style and highlight the text to apply the style.
- You can include symbols in the word art as well by clicking the Insert tab and then choosing a symbol to include in the word art.
-
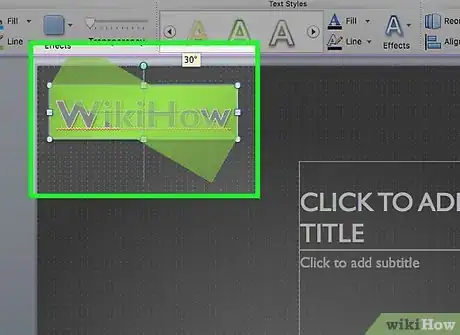
5Rotate the word art, if desired. If you’d like to rotate the word art so it appears slanted across the page, select it by clicking on it. Then, drag the circular rotation handle at the top of the box to rotate the text as desired.[7]
- You can also flip the word art or rotate it 90 degrees by clicking on the Drawing Tools Format tab. Then, click Rotate in the Arrange group and select an option. You can rotate the text right 90 degrees, rotate the text left 90 degrees, flip it vertically, flip is horizontally, as well as other options.
References
- ↑ https://tagul.com/
- ↑ https://tagul.com/
- ↑ https://support.office.com/en-us/article/Insert-WordArt-c5070583-1ebe-4dc4-a41f-5e3729adce54
- ↑ https://support.office.com/en-us/article/Insert-WordArt-c5070583-1ebe-4dc4-a41f-5e3729adce54
- ↑ https://support.office.com/en-us/article/Insert-WordArt-c5070583-1ebe-4dc4-a41f-5e3729adce54
- ↑ https://support.office.com/en-us/article/Insert-WordArt-c5070583-1ebe-4dc4-a41f-5e3729adce54
- ↑ https://support.office.com/en-us/article/Insert-WordArt-c5070583-1ebe-4dc4-a41f-5e3729adce54
