X
wikiHow is a “wiki,” similar to Wikipedia, which means that many of our articles are co-written by multiple authors. To create this article, volunteer authors worked to edit and improve it over time.
This article has been viewed 22,309 times.
Learn more...
Sometimes you go to a museum and you get inspired and want to create an exhibit of your own...Or you might have some interesting artifacts you might want to display. No sweat.
Steps
Method 2
Method 2 of 6:
Cataloging and Labeling
-
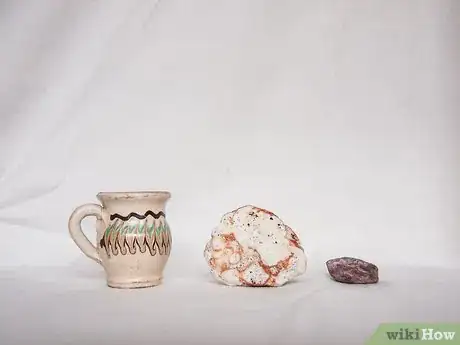
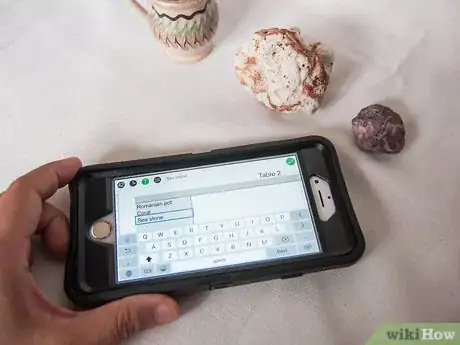
1Be sure to label them. Sometimes you can lose track of your specimen's information, such as where and when it was found. It is good idea to keep track of your specimen in a catalog or database. Handwritten catalogs are usually messy and unprofessional. Use Microsoft Excel or Google Sheets to create one of these. Put in the object's discovery date and place, if a fossil or artifact: age, and some interesting facts.
-
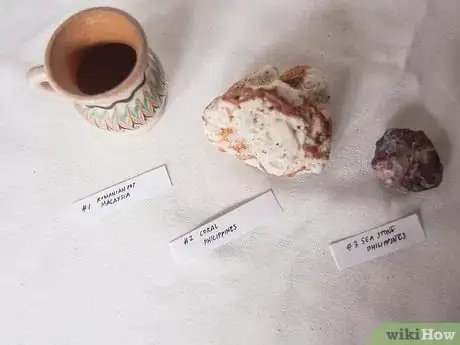
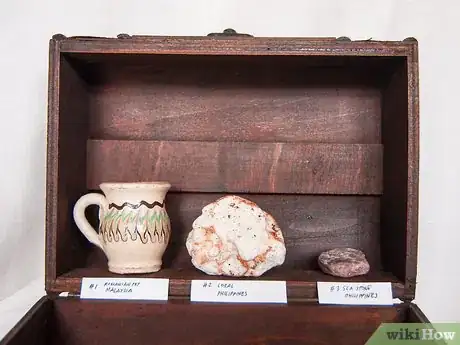
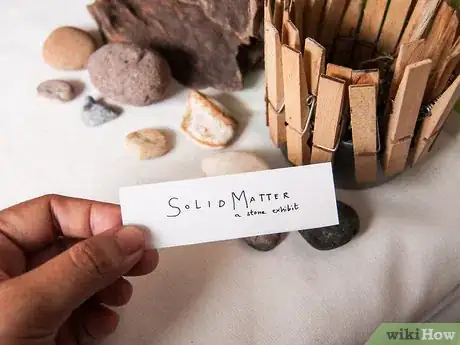
2If you are going to put your specimen on display, create labels. As with the catalog, it is not a good idea to have your labels handwritten. On your label include the object's catalog number, general keyword, and location of discovery.
Advertisement
Method 5
Method 5 of 6:
Creating a Diorama for Your Exhibit
-
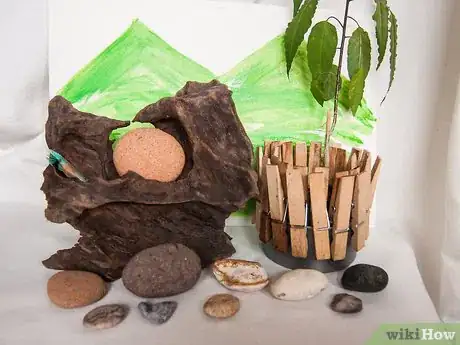
1Once you know your theme for you exhibit you could create a diorama. Maybe even put some of the objects in the diorama.
-
2The first step of creating you diorama is the animals or people. For animals you can buy replica or even real skeletons to use. Then place a thick layer of clay all over the skeleton and texture it to resemble skin and muscle. You could use real animal hair for fur.
-
3The second step is to create rocks and plants. For rocks, sculpt plasticine clay and paint it to look like the real thing. Doing this or using real plants, would be good for trees and vegetation.
-
4The final step is to paint a background. If the diorama is at the center of you exhibit and there is not wall, you can skip this step. For the background use a large removable canvas and acrylic or spray paint. Paint mountains, more trees, rocks, and other animals in the background.
Advertisement
Method 6
Method 6 of 6:
Opening Your Museum
-
1The first step of this last section is to prepare your exhibit. Hang informative signs, set up you diorama, and put out your items for display.
-
2The next step is to figure out how much admission will be. You will need to earn enough to run you museum and to make a profit, print tickets, and possibly pay your staff.
-
3Hire staff. You may need catalogers, exhibit design and preparation helpers, and docents. You may need to pay them.
-
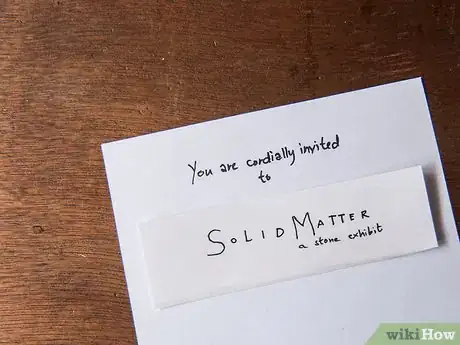
4Invite your friends and family to your museum. Maybe give people special memberships. You could even go a step farther and open you museum to the public!
Advertisement
Community Q&A
-
QuestionHow big does a museum have to be?
 CrazyGirl4Community AnswerIt can be any size! Your museum could even be an unused trash can. I used a garage, but you could use a cardboard box for a simple, one exhibit museum.
 -
QuestionWill I need to always be looking around my museum in case somebody tries to steal something?
 Community AnswerIf you're just opening a museum for friends and family, you shouldn't have to worry too much, because they're probably trustworthy. If you're opening your museum to the public, you will probably need to hire a security guard.
 -
QuestionWhat do I do if I only have one thing to display in my museum?
 Candace RichardsCommunity AnswerGo outside and find some weird looking rocks or find mud or clay and make your own weird shaped rock. And you could make pottery and when it dries, smash it and take 1 or 2 pieces and act like it was found In the ground! (Put dirt on it to make it look real and designs with paint before you smash it). Another option is to visit a charity store to see what cheap collectibles you could find to add to your museum. Remember, the museum doesn't have to be ancient, it can from any era you wish to document.
Advertisement
About This Article
Advertisement
