wikiHow is a “wiki,” similar to Wikipedia, which means that many of our articles are co-written by multiple authors. To create this article, volunteer authors worked to edit and improve it over time.
Learn more...
By using the element of art called value, even a beginner artist can make a drawing look realistic and three-dimensional. Value refers to how light or dark a color (or hue) can be. You can often see this illustrated as a value scale that goes from dark to light. When drawing a sphere, you want to illustrate all of the tonal values to create depth to your drawings. With this depth, comes realism. Read through this lesson to see how you can not only create a realistic sphere as a beginner artist, but also how to add interest and contrast to your drawing by adding a patterned background to your artwork. This is an ideal upper elementary art lesson, a middle school art lesson, or even a high school art lesson. Value, highlights, midtones, core shadow, cast shadow and reflected light are all topics covered here.
Steps
-
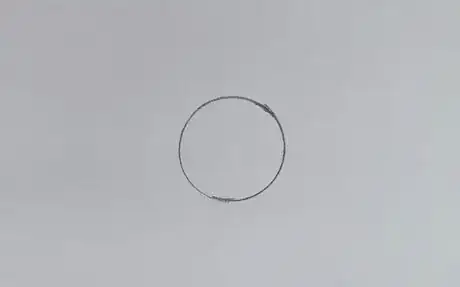
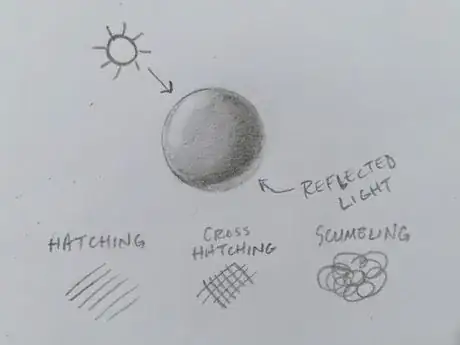
1Draw or trace a circle onto your paper. Tracing the bottom of a drinking glass or coffee mug creates an ideal size.
-
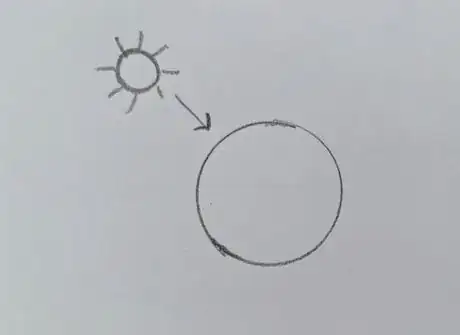
2Consider your light source. For a drawing, your light source can be real or imagined. The preferred method is to draw from life (shine a light on a sphere/ball and draw what you see), but you can imagine your light source also. Either way, take note of the angle of the light and which side of the sphere that the light is hitting.Advertisement
-
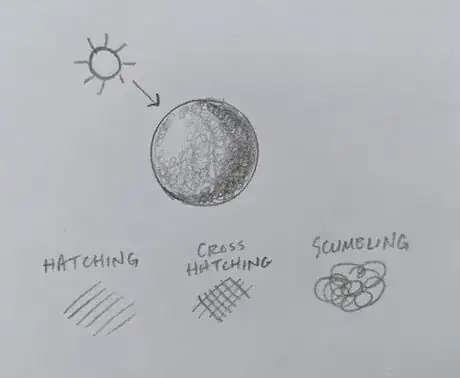
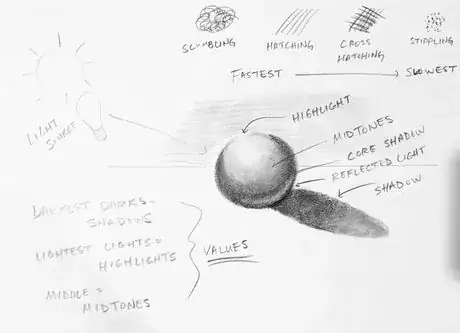
3Begin shading your sphere. Apply your graphite in several layers. Make many different passes to darken the darkest parts of your sphere, less graphite for the midtones and very little in the highlight areas of your sphere. Graphite can be applied to your sphere using several methods, including hatching, cross-hatching, stippling or scumbling. The darkest darks (shadows) will be furthest from the light source, while the highlight will be the closest.
-
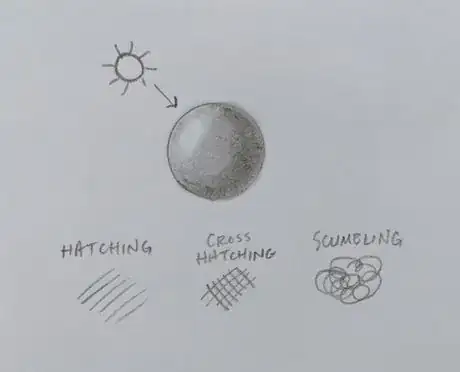
4After you have applied all the graphite that you need to your circle, begin to smudge your shadows and midtones by rubbing each area in small circles. Avoid smudging with your fingers as the natural oils in your skin will have a negative effect on your drawings. Instead, wrap the finger you are smudging with in a Kleenex/tissue. You could also use a blending stump if you have one handy. Your goal here is to smooth out the marks you made in step 3. Try for a gradual gradient from dark to light. You can leave the brightest part totally uncolored for a bright, white highlight.
-
5Use an eraser to remove graphite to make your highlight the brightest part of your drawing if your highlight is not obvious enough. The highlight should look white, while the midtones are a medium gray and shadows are nearly black.
-
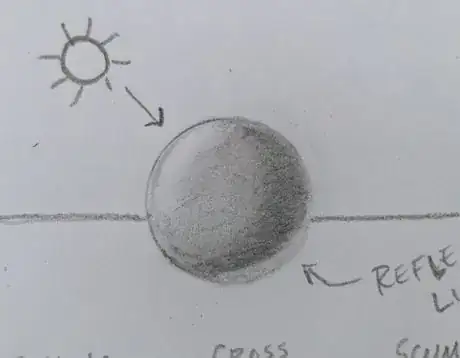
6Use an eraser to remove a thin sliver of your core shadow near the bottom of the sphere. This will represent reflected light hitting your sphere. Reflected light happens when light bounces off of a surface, like a tabletop, and hits the sphere.
-
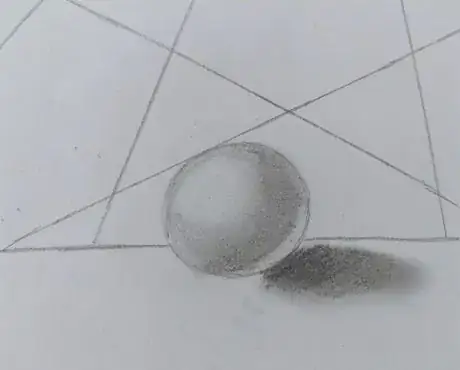
7Draw a horizontal line across your paper to give your drawing a horizon line (like it is sitting on the ground or a table top).
-
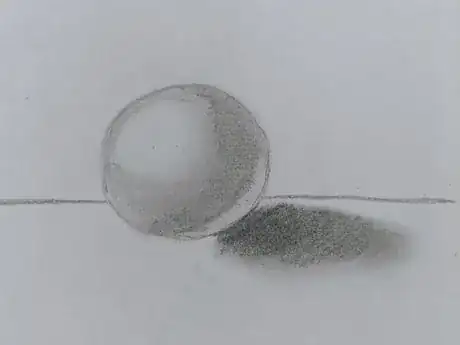
8Add a cast shadow that extends from the shadow side of your sphere. The cast shadow is darkest near the sphere and lighter as it moves away.
-
9Smudge your cast shadow in the same way that you did the sphere. Your sphere is now complete.
-
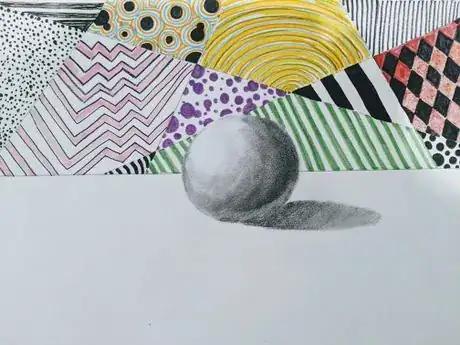
10Use a ruler to draw 3-4 randomly placed diagonal lines across your paper. These lines should only be drawn in the area of your paper ABOVE the horizon line. Leave everything below the horizon line empty. The only thing we want to see below the horizon line are the parts of your sphere and cast shadow.
-
11Inside the individual shapes that were created by your randomly drawn diagonal lines, you will fill each shape with a different type of line, shape and/or pattern. It is important that each shape is filled completely.
-
12Erase any stray lines or smudge marks.
Things You'll Need
- Drawing paper
- Drawing Pencil (can be a regular #2 pencil, but a 4B or 6B would be better)
- Tissues or Blending stump
- Eraser (preferably a kneaded eraser)
