X
wikiHow is a “wiki,” similar to Wikipedia, which means that many of our articles are co-written by multiple authors. To create this article, volunteer authors worked to edit and improve it over time.
This article has been viewed 36,889 times.
Learn more...
If you're using Blender 2.77, there are two options for cutting objects with the Knife Project Tool. You can cut an object with or without cutting through it. Either way, it isn't hard to do.
Steps
Part 1
Part 1 of 2:
Setting Up the Object
-
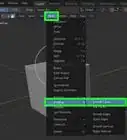
1Add a new cube by pressing ⇧ Shift+A » Mesh » Cube.
-
2Continue to add a new circle by pressing ⇧ Shift+A » Mesh » Circle.Advertisement
-
3Press the R key, hit the X key and type 90 to rotate the circle 90 degrees around the x-axis.
-
4Switch from the Perspective View Mode (persp) to the Orthographic View Mode (ortho). You can do this by pressing the Numpad 5 key.
-
5Press the Numpad 1 key to view from the front of the cube.
-
6Press G to move the circle to the center of the cube. Then press S to scale the circle.
-
7Press A to deselect all visible objects in scene. Hold down the ⇧ and right click on the circle first. Then right click on the cube.
-
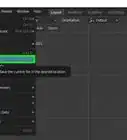
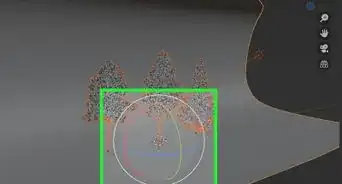
8Switch from Object Mode to Edit Mode by pressing Tab ↹. In the Tool Shelf panel, select Tool » Knife Project. Press T to open the Tool Shelf panel if you don’t see it.


Advertisement
=== Making the Cut ===
Method 1: Using Cut-Through


Part 2
Part 2 of 2:
Method 2: Using the Cut Through Tool


References
About This Article
Advertisement