Few things bring more cheer around the holiday season than a lavishly decorated Christmas tree. And while it’s easy to toss ornaments on a tree and call it a day, following just a few pro tips can give you a tree that looks professionally designed and exceptionally festive. Here’s a handy guide that will show you how to decorate a Christmas tree like a professional, from creating a theme to picking the perfect topper!

1

Choose a theme for your tree.

  1. A great tree has a theme that ties all the decorations together. Before choosing ornaments and decorating your tree, think about what you want the final product to look like. Your theme could be a hobby, an aspect of the holiday that you enjoy most, your favorite ornament, an aesthetic style, or an overall color scheme. Once you decide, you can find decorations that fit the central theme.
    • For example, a Christmas tree theme could be “rustic cheer,” “music,” “art deco tree,” or “winter wonderland.”
    • Even if your theme isn’t based on a color scheme, make sure you have one. Your tree will look more polished if it has a set palette. Pick the main color, and then a couple of secondary colors to complement it.
    • You could pick a neutral scheme with lots of classic white, silver, and gold. For a pop of color, try adding some blue, green, or red to the mix.
    • If you’re not sure how your theme will tie together, create a mood board that has everything you want to use. You can get a better idea of what your tree will look like and what you’ll need to pull the design off.
  2. Advertisement
2

Fluff and shape the tree.

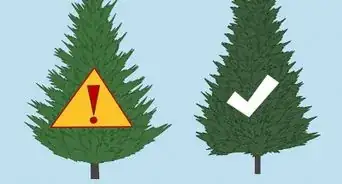
  1. Fluffing an artificial tree will make it look more lifelike. Separate all of the tips on each branch, and position them in different directions to give the tree a fuller look overall. Then, look your tree up and down, starting at the bottom, for any large gaps between branches. Bend tree branches into place as you find these gaps to fill them up.[1]
    • Wear gardening gloves when you fluff your tree to protect your hands.
    • Consider looking up pictures of the species that your artificial tree is based on. You'll then know what it should look like and which directions you should bend its branches.
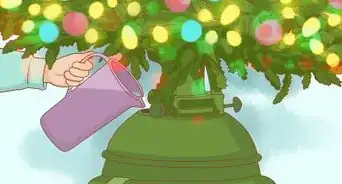
    • The best way to keep a real tree looking fluffy is by giving it plenty of fresh tap water each day for nourishment and keeping it away from radiators and other heat sources which drain the tree of its moisture.[2]
3

String the Christmas tree lights.

  1. Start stringing lights at the bottom of the tree and work your way up. Weave your string lights up and down between the main branches, keeping them close to the trunk. When you reach the top of the tree, move back down, weaving another layer of lights between the branches. This time, place your lights closer to the outside of the tree. This will light your tree up from the inside out![3]
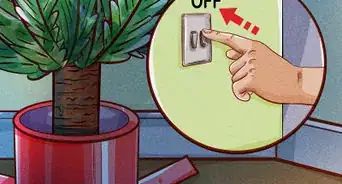
    • Make sure your lights work properly before stringing them on the tree.
    • Select your lights based on which wire will blend in best with the tree; most string lights come with dark green, black, or white wire strands.
    • You can use strands of clear (white) or multi-colored lights according to your preference and theme. Mix and match, too; an inner layer of clear lights and an outer layer of colored lights will make your tree shine.
    • The average tree has about 100 lights for every vertical foot of tree. Double this to 200 per foot if you’re looking to dazzle, or reduce it to 50 per foot for a minimalist look.
  2. Advertisement
4

Add ribbon or a garland.

  1. You can use anything from a thinly beaded garland to a thick ribbon. Garland decor doesn’t have many rules, so long as you use something that fits your theme. To string a garland, start at the top of the tree this time and work your way down, spacing the garland evenly and letting it hang loosely from the major branches of the tree.
    • In terms of quantity, aim for about two strands of garland for every vertical foot of tree.
    • Wired ribbons make a popular garland because they’re easy to bend into loops, rolls, and any other shape you might want.
    • As with lights, feel free to mix and match. Pair up ribbons of different widths and textures to get a more eye-catching look for your tree.
5

Hang your ornaments next.

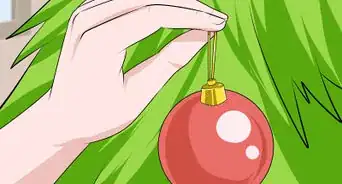
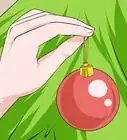
  1. Start with your favorite ornaments and then go from largest to smallest. It pays to be a little strategic about ornament placement: place your favorite ornaments (especially ones that enhance your theme) in the most visible spots around the tree. Follow up with larger ornaments, spacing them evenly around the tree, and then fill in the rest of the space with small to medium ornaments.
    • Generally, it’s easier to hang heavy ornaments close to the top of the tree where the thickest branches are.
    • Hang some ornaments closer to the trunk and others on outer branches to create a sense of depth to your tree.
  2. Advertisement
6

Balance your decorations.

  1. Make sure the tree looks uniform rather than uneven and patchy. A polished and pretty tree will have a balanced display of lights, ornaments, and other decor. Divide your tree into thirds (top, middle, and bottom) and decorate one section at a time, starting at the top, and check your work as you go. This helps you ensure that no two same ornaments are next to each other and everything is evenly-spaced.[4]
7

Cluster ornaments to add texture.

  1. Grouping different ornaments will add texture to the tree. Use 3 or 4 types of ornament (not counting your unique ornaments) to decorate the tree—they can differ in size, style, and color, so long as they fit your theme. Hang one of each in a small cluster, and continue hanging your ornaments in contrasting clusters all around the tree. This will give your tree some extra flair while making sure everything is balanced and visually pleasing.
  2. Advertisement
8

Fill the space between decorations with tree picks.

  1. Tree picks add a touch of elegance without overpowering the other decor. A tree pick is a small accent piece that you can attach to a tree by tucking the pick’s stem into a branch, and they’re handy for filling up empty spots on the tree that your other ornaments and garlands haven’t covered. Alternatively, they’re perfect for adding a splash of color to the tree![5]
    • Tree picks come in a wide range of styles, generally nature-themed, including glittery twigs, branches, feathers, berries, and pinecones.
    • You can even bunch a few picks together using floral wire to create more eye-catching spots around the tree.
    • If you have leftover tree picks, you can add them to wreaths and garlands around the house, which will tie the tree's theme together even more.
9

Add florals and other accents.

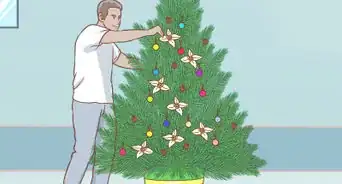
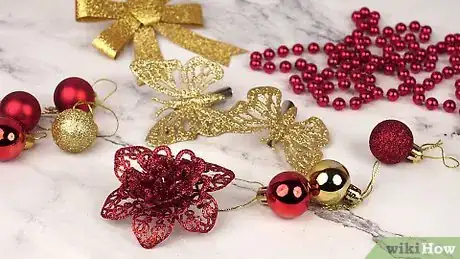
  1. Make your tree stand out with a few well-placed accent pieces. Florals, such as attachable poinsettia ornaments and other Christmas-themed blooms, are popular choices for this; other tree accents could include bird ornaments with nests or large snowy pinecone ornaments. Accent pieces are useful, too, as they fill in gaps while also adding a lot of visual appeal to your tree!
  2. Advertisement
10

Add a tree topper.

  1. The right tree topper completes your tree visually. When selecting a tree topper, make sure that its color fits the color scheme you’ve picked out for your tree. While the classic tree topper options are a star or angel, you have far more freedom: you could top your tree with a large bow, a floral bouquet, or some other design that fits the theme you’ve chosen.[6]
    • If nothing on the market appeals to you, consider making a tree topper at home. Custom toppers add a little personality to your tree and give you more freedom in choosing themes and colors.
11

Finish the look with a tree skirt.

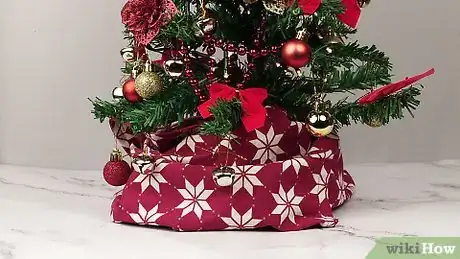
  1. Tree skirts protect your floors and balance out the look of your tree. They cover the stand that holds your tree up, while also picking up fallen pine needles if you have a real tree. Pick a tree skirt that matches your theme and think outside the box! Tree skirts are typically made of fabric, but they can also be made from other materials such as wicker or galvanized metal.
    • You can give your tree skirt some extra embellishment by adding decorations to it.
    • Lay down some white fabric and set up a family of snowman decorations to create a winter wonderland, or create a miniature village around the tree.[7]
  2. Advertisement

Community Q&A

  • Question
    What size tree is best?
    Community Answer
    Community Answer
    It depends on the size the house and room where you plan to display it.
  • Question
    Do ornaments need to go all around the tree?
    Community Answer
    Community Answer
    You can put the ornaments wherever you'd like on the tree.
  • Question
    Would big ornaments go well on a small tree?
    Community Answer
    Community Answer
    If you have a smaller tree, smaller ornaments are better. They look better, and have lower chances of weighing down the branches and breaking them.
Advertisement

About This Article

Glenn Carreau
Co-authored by:
wikiHow Staff Writer
This article was co-authored by wikiHow staff writer, Glenn Carreau. Glenn Carreau is a wikiHow Staff Writer, currently based in Los Angeles. With over four years of experience writing for several online publications, she has covered topics ranging from world history to the entertainment industry. Glenn graduated with honors from Columbia College Chicago, earning a B.A. in Interactive Arts and Media and a minor in Professional Writing. Today, Glenn continues to feed her lifelong love of learning while serving wikiHow's many readers. This article has been viewed 185,605 times.
4 votes - 100%
Co-authors: 58
Updated: December 27, 2022
Views: 185,605
Article SummaryX

Before adding lights to your Christmas tree, test your lights to make sure they work. Then, starting from the top, wrap the lights around your tree. Next, wrap the bottom of the tree in plastic to catch any falling needles and cover the plastic with a festive skirt to brighten up the tree. When hanging your ornaments, put heavy ones further up the branch as the tree is stronger closer to the trunk. Add tinsel once you’ve hung the ornaments and finish by placing a star on top. If you want to learn how to make your Christmas tree look more traditional or modern, keep reading the article!
Did this summary help you?
Advertisement