This article was co-authored by Claire Donovan-Blackwood. Claire Donovan-Blackwood is an Arts & Crafts Specialist and CEO of Heart Handmade UK, a site dedicated to helping people live a happy, creative life. With over 13 years of experience, Claire uses art as a form of therapy and focuses on mindfulness in the making of art. She makes crafting easy and accessible for those she works with. Claire received her B.A. in Photography & Visual Imagery from The University of Huddersfield.
This article has been viewed 54,363 times.
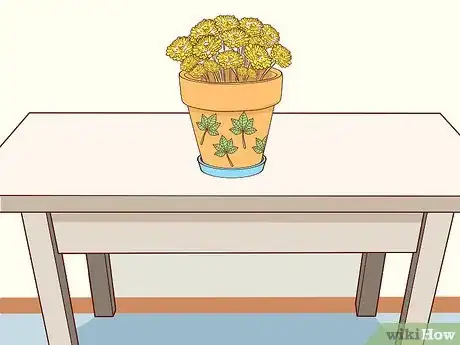
Flower pots are a great way to display your favorite plants on your patio, balcony, and window sill. Instead of buying a fancy one, why not make your own using decoupage glue and pretty, patterned paper? With the right preparations, you can make it waterproof too! You can also use the pot to store craft supplies on your desk, such as pens and pencils.
Steps
Preparing the Pot
-
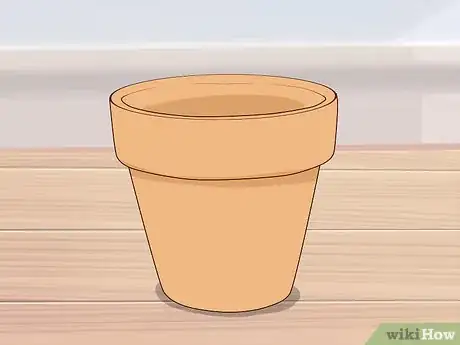
1Choose a terra cotta pot. You can use any size of terra cotta pot for this. If you plan on putting a plant into your pot, it must have a drainage hole at the bottom. It would be a good idea to pick up a matching saucer for it as well. You won't be decoupaging the saucer, but you can paint the outside to match your pot.
-
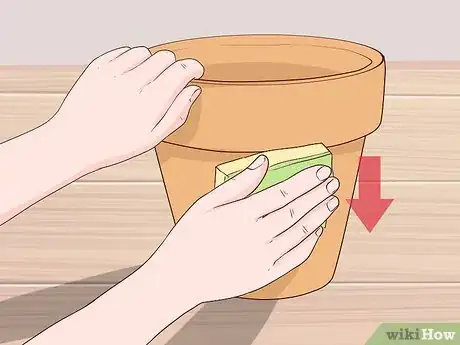
2Wipe the pot down with a damp sponge. Even if you bought your pot brand-new, it may still be covered in dust. This can prevent the paint and glue from sticking. Wipe the entire pot, inside and out, with a damp sponge, then set it out to dry.
- If the pot has any rough edges, buff them away with some sandpaper. Be sure to wipe the pot down again when you are done.[1]
Advertisement -
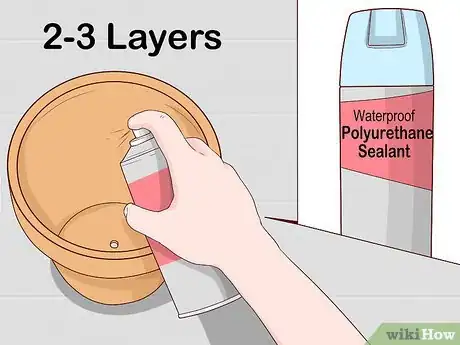
3Coat the inside of the pot with 2 to 3 layers of waterproof polyurethane sealant. You can use the spray-on kind or the brush-on kind. Let each coat dry before applying the next one. How long it takes for each coat to dry depends on the type of sealant you are using. If you plan on putting a plant into the pot, it would be best to use an oil-based sealant. If you'll be using the pot as a decoration or to hold craft supplies, you can use a water-based sealant.[2]
- The sealant is important, especially if you'll be adding a plant. It will keep moisture from sinking into the pot and causing the paint/glue to bubble.[3]
-
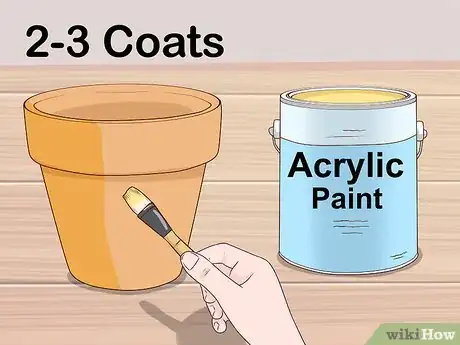
4Paint the outside of the pot with 2 to 3 coats of acrylic paint, if desired. You don't have to paint the pot at all if you don't want to, but it will give your design a nicer background. Once again, let each coat of paint dry before applying the next one.[4] Acrylic paint dries quickly, so you'll only have to wait 15 to 20 minutes between each coat. When you are done painting, let the pot dry completely.
- You can paint the pot any color you want, but something that matches the background of your paper will work the best.[5]
Decoupaging the Pot
-
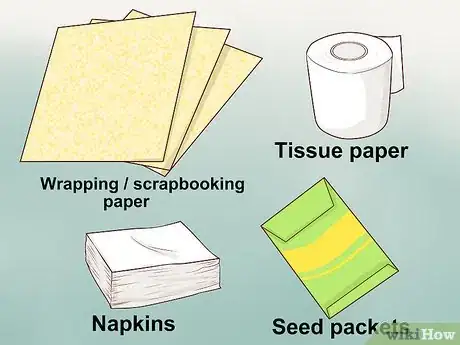
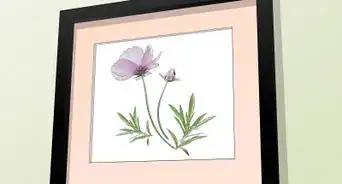
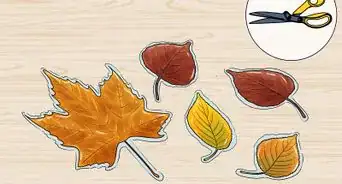
1Choose paper with a pretty design on it. Wrapping paper, scrapbooking paper, tissue paper, and napkins make great choices. Seed packets also work well.[6] If you can't find any paper that you like, cotton fabric is a great alternative. Choose something with shapes that are easy to cut out, such as birds or flowers.
- You can use any design you want to decorate it, but something nature-themed would look the best on a flower pot.
- How much paper you need depends on how big your pot is and how much of it you plan to cover up. You can cover your entire pot with paper, or you can add just a few designs on it.[7]
-
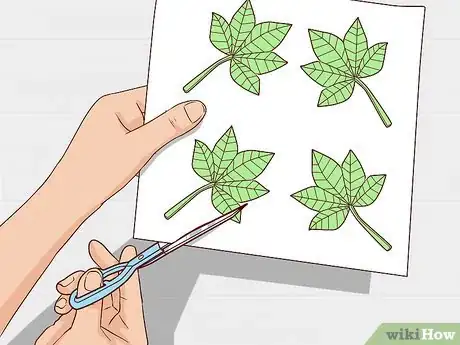
2Cut your paper into individual shapes or designs. For example, if your paper has birds on it, cut the birds out, and leave the background alone. You can also carefully tear around the shapes instead. This will give you a more rustic touch. It will also make it easier to overlap the edges if you plan on covering the entire pot.
-
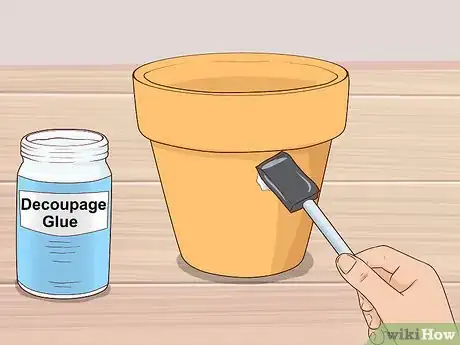
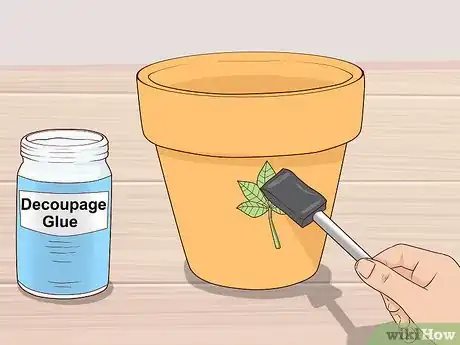
3Paint a patch of decoupage glue onto your pot where you want the image to go. The patch needs to be a little bigger than the first image you will be laying down. You can apply the glue using a paintbrush or a foam brush.
- You can use any type of decoupage glue, such as Mod Podge. The finish does not matter because you will be sealing the pot later on.
EXPERT TIPClaire Donovan-Blackwood is an Arts & Crafts Specialist and CEO of Heart Handmade UK, a site dedicated to helping people live a happy, creative life. With over 13 years of experience, Claire uses art as a form of therapy and focuses on mindfulness in the making of art. She makes crafting easy and accessible for those she works with. Claire received her B.A. in Photography & Visual Imagery from The University of Huddersfield.Arts & Crafts Specialist
 Claire Donovan-Blackwood
Arts & Crafts SpecialistMake sure you use a glue that is not water-based. Otherwise, the glue will reactivate when you water the plant and become tacky again. Then, apply paper or fabric to the pot and smooth it out so that there are no bubbles. After it’s dry, finish the pot with a coat of varnish.
-
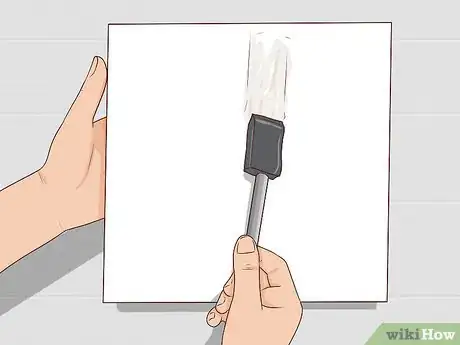
4Paint the back of your paper with decoupage glue, if needed. Flip your cut paper over and paint the back with a thin coat of decoupage glue.[10] You can skip this step if you are using thin paper, such as tissue paper or napkin. This is because the glue that's already on the paper will seep through it.
-
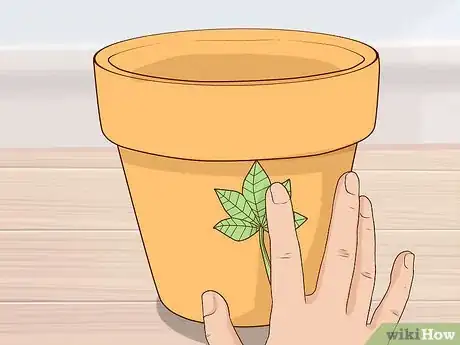
5Press the paper against the wet glue. Use your fingers or a clean foam brush to smooth the paper down. Start from the middle and work your way outwards towards the edges.
- If you are using a napkin, you will need to peel away the blank, back layer first.[11]
-
6Apply more decoupage glue over the image. Paint the glue on in thin layers, starting from the center of the image. Extend the glue just past the image and onto the pot. The brush will help smooth down the edges, and seal them against the pot.
-
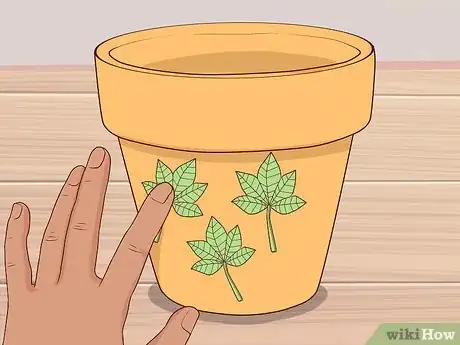
7Continue gluing more images to the pot. You can glue down just one image, or several. You can even overlap images for a collaged effect. If you choose to overlap images, it might be a good idea to let the first layer dry. This will prevent things from getting too soggy.
- You can cover the upper rim of the pot if you want to, but don't put anything inside the pot.
- Leave the bottom of the pot blank.
Finishing the Pot
-
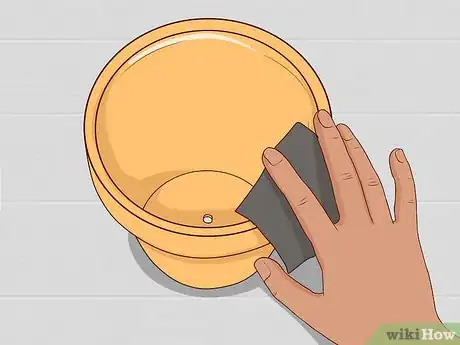
1File away any unevenness, if needed. Take a close look at the top and bottom of your pot. If there are any rough, uneven edges leftover from the decoupage, file them down with a piece of fine-grit sandpaper or a nail file.[12]
-
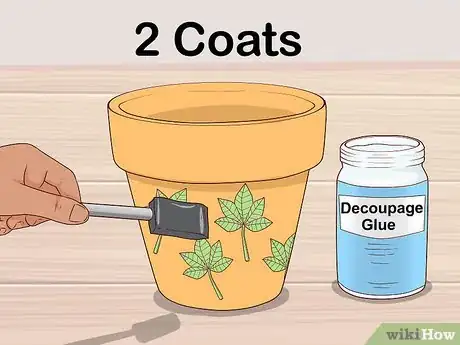
2Cover the pot with two coats of decoupage glue. Let each coat dry before applying the next one. Also, make sure that you extend the glue just past the bottom and top edges of your pot. This will help seal the designs in further. Wait for the pot to dry completely before moving on.[13]
-
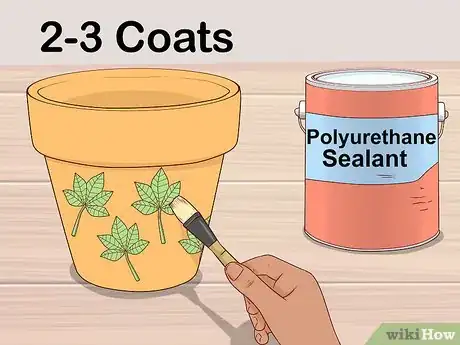
3Seal the pot with 2 to 3 coats polyurethane sealant for added protection. Once more, allow each coat to dry fully before applying the next one. A water-based sealant would be best here, as an oil-based one may add a yellowish tint to your pot.[14] For something more durable, use the type of varnish meant for boats.[15]
- This will be your last coat, so use a finish that you like: matte, satin, or glossy.
- You only have to do this if you will be putting soil into the pot. If you'll be using the pot as decoration, you don't need this extra coat.
-
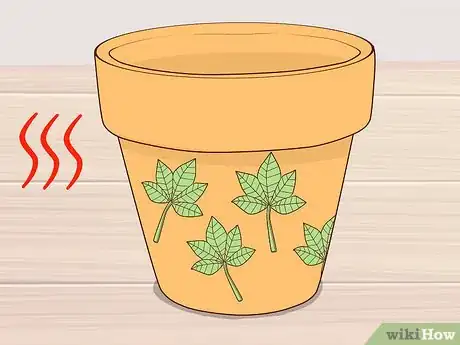
4Allow the pot to dry completely. Overnight is best, but it would be best to check the label on your bottle of sealant. Some types of sealers have a curing time as well, which can take a few days. If you use your pot before everything has finished drying or curing, the surface may turn tacky.
-
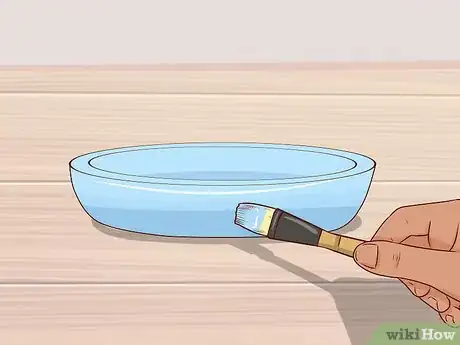
5Paint and seal the saucer, if desired. If you picked up a saucer for your flower pot, you can paint it as well. Only paint the outside edges, not the inside or bottom. Even with a waterproof sealer, the saucer will pick up too much water. This may sauce the finish to warp.
- Use colors and patterns that match your decoupaged pot.
-
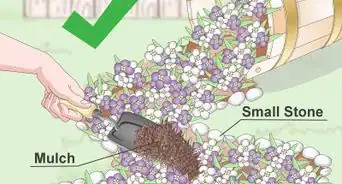
6Use the flower pot. If you plan on putting a plant into it, line the bottom with a coffee filter, a scrap of fabric, or a piece of window screening. This will help keep the dirt from falling through the hole at the bottom. You can also use the flower pot as a pencil holder on your desk, or as a piece of decoration.
Community Q&A
-
QuestionCan I use varnish instead of polyurethane sealant?
 T. ChinsenTop AnswererThe basic difference between varnish and polyurethane is that a varnish is a thicker layer than polyurethane. Both work as a sealant to a surface. The key to a successful sealant application is to get the surface clean and dry. There are online comparisons to the specific differences if you have issues with the material content of the sealant.
Warnings
- You must let each layer dry and cure completely. If you don't, the finish may turn out bubbly or tacky.⧼thumbs_response⧽
Things You'll Need
- Terra cotta pot
- Waterproof polyurethane sealer
- Decoupage glue (ie: Mod Podge)
- Paintbrush or foam brush
- Scissors
- Patterned paper or napkins
References
- ↑ http://www.patriciaspots.com/howtopaintapot.htm
- ↑ http://www.patriciaspots.com/howtopaintapot.htm
- ↑ http://www.patriciaspots.com/howtopaintapot.htm
- ↑ http://www.patriciaspots.com/howtopaintapot.htm
- ↑ https://www.youtube.com/watch?v=UrJonfsXWf0
- ↑ http://www.familycorner.com/homegarden-crafts/decoupage-clay-flower-pot.html
- ↑ http://www.creativehomemaking.com/holidays/flower-pot.shtml
- ↑ http://www.familycorner.com/homegarden-crafts/decoupage-clay-flower-pot.html
- ↑ https://www.youtube.com/watch?v=UrJonfsXWf0
- ↑ http://www.familycorner.com/homegarden-crafts/decoupage-clay-flower-pot.html
- ↑ https://www.youtube.com/watch?v=UrJonfsXWf0
- ↑ https://www.youtube.com/watch?v=UrJonfsXWf0
- ↑ http://www.creativehomemaking.com/holidays/flower-pot.shtml
- ↑ http://www.patriciaspots.com/howtopaintapot.htm
- ↑ https://www.youtube.com/watch?v=UrJonfsXWf0
- ↑ http://town-n-country-living.com/decoupaged-flower-pots-transform-grocery-plants.html
