This article was co-authored by wikiHow staff writer, Megaera Lorenz, PhD. Megaera Lorenz is an Egyptologist and Writer with over 20 years of experience in public education. In 2017, she graduated with her PhD in Egyptology from The University of Chicago, where she served for several years as a content advisor and program facilitator for the Oriental Institute Museum’s Public Education office. She has also developed and taught Egyptology courses at The University of Chicago and Loyola University Chicago.
This article has been viewed 57,419 times.
Learn more...
Dried orange slices can make a tangy, chewy snack or an excellent garnish for tea, ice water, or cocktails. Dried orange peels subtly boost the flavor and fragrance of a wide variety of dishes. If stored properly, these dehydrated delicacies can last for months or even years! Use a dehydrating machine or a household oven to dry out orange slices, or dehydrate orange peels naturally in the sun.
Steps
Using a Dehydrator
-
1Wash your oranges. Before you dehydrate your oranges, wash them thoroughly with water and an organic fruit and veggie wash.[1] You can buy a commercial wash, or make your own:
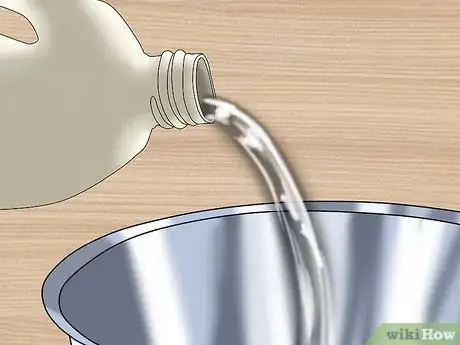
- Mix ½ cup (120 ml) distilled white vinegar with 2 cups (0.5 liters) of water. Soak your oranges in this solution for 5-15 minutes, then rinse with water.
-
2Slice your oranges. Without removing the peel, cut your oranges into thin slices with a sharp knife or electric food slicer.[2] Slice straight through the oranges crosswise to create circular “wheels.” Thinner slices will dehydrate more efficiently. Aim for slices that are about a quarter of an inch (0.6 cm) thick at most.Advertisement
-
3Load your oranges into the dehydrator trays. Fit as many slices as you can onto each tray without stacking or overlapping the slices. If you like, you can remove the peels from some of the slices and dehydrate at the same time for use in herbal teas or as seasoning.[3]
-
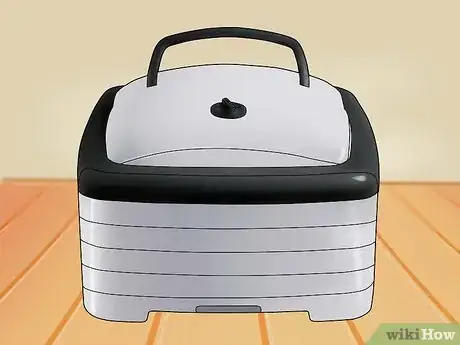
4Dehydrate for 5-12 hours. The time and temperature required for complete dehydration may depend on your dehydrator, the thickness of your orange slices, and your personal preference. Dehydrate for 5-12 hours at 115°-135° F (46°-57° C), or until the slices are hard and brittle.
-
5Store your orange slices in an airtight container. A vacuum-sealed mason jar is a good option for storing dehydrated orange slices.[4] Keep the jar in a cool, dark place. Your dehydrated slices should keep for at least a month with proper storage.
- While dehydrated oranges should keep for a long time in a tightly-capped glass jar, vacuum sealing can keep them extra fresh. Inexpensive vacuum jar sealers can be purchased at most department stores.
Drying Oranges in Your Oven
-
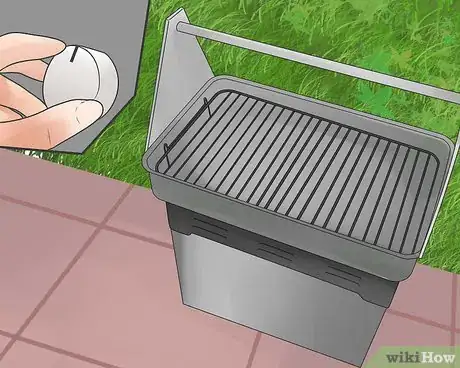
1Pre-heat your oven. To dry oranges in the oven without burning them, you will need to cook them on the lowest possible heat. On most household ovens, this is around 200° F (93° C).[5]
-
2Cut the tops and bottoms off your oranges. Use a sharp knife to pare away the ends of the oranges. Do not peel the orange before paring.[6]
-
3Slice your oranges into wheels. Use a sharp knife or food slicer to cut your oranges into thin slices, 1/8-1/4 of an inch (0.3-0.6 cm) thick. If you want to use the slices as garnish for beverages, leave the peel on.[7] If you are planning to snack on the orange slices, you may wish to pare off the peel before slicing.[8]
-
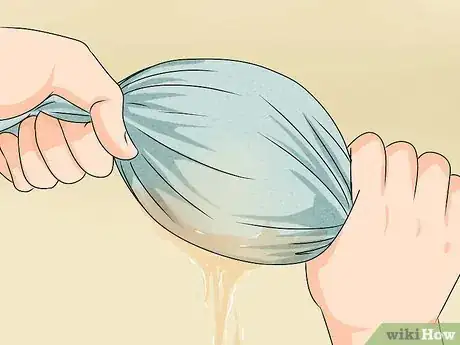
4Press the slices gently between two dish towels. Lay out the slices in one layer on a clean, dry dish towel. Lay another clean, dry towel on top, and press gently to soak up some of the juice.[9]
-
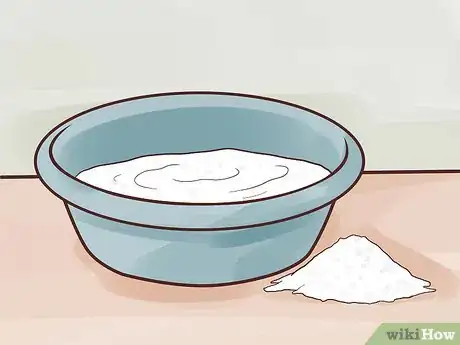
5Dip one side of each slice in sugar for a sweeter taste. If you’d like to make your dried slices a little less tart, dip one side in a little sugar before dehydrating. If you’re using four large oranges, you will need about half a cup (120 ml) of sugar. Pour the sugar into a shallow bowl or small plate for easy dipping.[10]
-
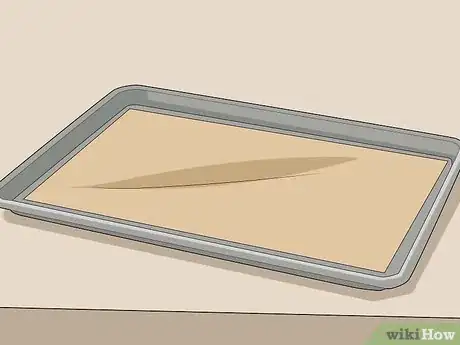
6Place the slices on a baking sheet lined with parchment paper. Lay the orange slices out in a single layer on the parchment paper. If you dipped your slices in sugar, place them sugar-side down. Do not allow your slices to overlap.[11]
-
7Add a little salt and pepper, if desired. You can add complexity to the flavor of the slices by sprinkling on a little sea salt. A little bit goes a long way. If you’re using four large oranges, you don’t need more than about 1 teaspoon (5 ml) of sea salt. Add black pepper to taste for a little extra kick.[12]
- If you’ve dipped the other side of the slices in sugar, you can still add a tiny pinch of sea salt and pepper. The salt, pepper, and sugar will complement each other and the natural tanginess of the orange.
-
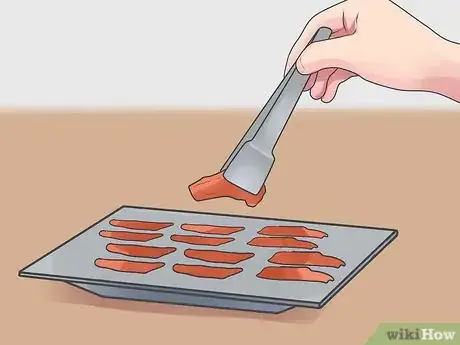
8Leave the oranges in the oven for several hours. With the oven set to 200° F (93° C), place the baking sheet with the orange slices in it on a low rack.[13] The length of time you keep the slices in the oven will depend on how dried out you want them to be.
- For a sticky, chewy snack, leave the oranges in the oven for about three hours. Take them out while they still feel a little tacky or syrupy on top.[14]
- For completely dry, brittle orange chips, leave the slices in the oven for around 12 hours. Check on them every few hours to make sure they are not getting burnt or overcooked.[15]
- You may wish to leave your oven door slightly ajar during cooking to vent steam and prevent overheating.[16]
- Do not leave your oven unattended while dehydrating the orange slices.
-
9Store your oranges in a cool, dry place. If you've made gooier, less dehydrated oranges, store the slices in an airtight container in layers separated by wax paper. If refrigerated, they should keep for several months.[17] Brittle orange chips will keep for about a month in an airtight glass jar.[18]
- For extra freshness, use a vacuum jar sealer or pack the slices in plastic with a vacuum sealing machine.
Making Sun-Dried Orange Peels
-
1Select an orange with a thin peel. Mandarin oranges or tangerines are good choices for this project. Different types of orange peels will produce different flavors or aromas, so don’t be afraid to experiment until you find your favorite![19]
-
2Wash and dry the oranges. Carefully wash the oranges with water and a fruit and veggie wash. When they are thoroughly clean, pat them dry with a clean dish towel.[20]
-
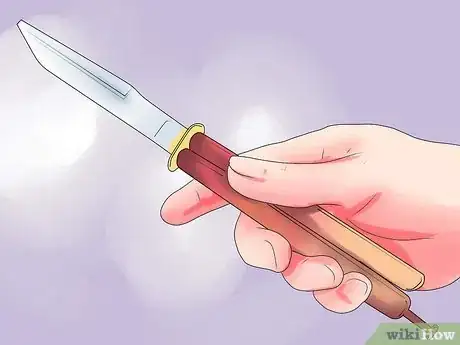
3Make incisions in the peel with a sharp knife. Starting at the top and center of the orange, run a knife along the peel from the top of the orange to close to the bottom.[21] Do this three or four times to create even sections for easy peeling. Try not to cut into the flesh of the orange.
-
4Carefully remove the skin. Once you have made incisions in the skin, carefully peel it off, starting at the top. Try to keep the peel as intact as possible.[22]
-
5Place the peels on an elevated drying rack. Spread out the peels on a drying rack made of stainless steel mesh, Teflon-coated fiberglass, or plastic. Elevate the rack on blocks to promote air circulation underneath the peels, and to keep them off the ground, which may be damp. Put the rack in a place that will get plenty of direct sunlight throughout the day.[23]
-
6Put a sheet of aluminum foil or tin under the rack. A reflective sheet placed under the rack will help boost drying temperatures and dehydrate your peels more efficiently. Placing the rack on a hot concrete driveway can also be effective.[24]
-
7Leave the peels in the sun for at least three days. Keep the peels in direct sunlight for three days or until they are completely hard and dry.[25] Take the peels in at night to protect them from condensation, then set them out again in the morning.[26]
- To get your peels to dry out properly, you will need temperatures of at least 86° F (30° C) and a humidity level of no more than 60%.[27]
-
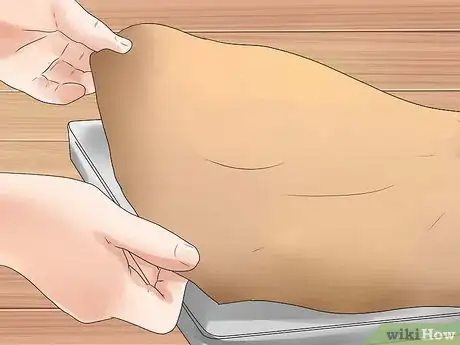
8Protect your peels with cheesecloth while they dry. A layer of cheesecloth over the orange peels will let sunlight in, but keep birds, insects, and other critters out.[28] Tuck the edges of the cheesecloth under the tray to keep it from blowing away.
-
9Store your orange peels in an airtight container. Put your dried peels in a tightly sealed glass jar and store them in a cool, dark place. If stored properly, sun-dried orange peels can be kept for several years. The older the peels, the more intense the aroma and flavor.[29]
Things You’ll Need
- Oranges.
- Fruit and veggie wash.
- Dehydrator or household oven.
- Sharp knife.
- Electric food slicer (optional).
- Baking sheet.
- Parchment paper.
- Glass jars or other airtight containers.
- Granulated sugar.
- Sea salt.
- Black pepper.
- Fruit drying racks.
- Cinder blocks.
- Aluminum foil or a sheet of tin.
- Cheesecloth.
References
- ↑ http://selfreliantschool.com/how-to-dehydrate-citrus-slices/
- ↑ http://selfreliantschool.com/how-to-dehydrate-citrus-slices/
- ↑ http://selfreliantschool.com/how-to-dehydrate-citrus-slices/
- ↑ http://selfreliantschool.com/how-to-dehydrate-citrus-slices/
- ↑ http://imbibemagazine.com/how-to-dehydrate-citrus-for-cocktail-garnishes/
- ↑ https://blog.williams-sonoma.com/dried-oranges/
- ↑ http://imbibemagazine.com/how-to-dehydrate-citrus-for-cocktail-garnishes/
- ↑ https://blog.williams-sonoma.com/dried-oranges/
- ↑ https://blog.williams-sonoma.com/dried-oranges/
- ↑ https://blog.williams-sonoma.com/dried-oranges/
- ↑ https://blog.williams-sonoma.com/dried-oranges/
- ↑ https://blog.williams-sonoma.com/dried-oranges/
- ↑ https://blog.williams-sonoma.com/dried-oranges/
- ↑ https://blog.williams-sonoma.com/dried-oranges/
- ↑ http://imbibemagazine.com/how-to-dehydrate-citrus-for-cocktail-garnishes/
- ↑ https://blog.williams-sonoma.com/dried-oranges/
- ↑ https://blog.williams-sonoma.com/dried-oranges/
- ↑ http://imbibemagazine.com/how-to-dehydrate-citrus-for-cocktail-garnishes/
- ↑ http://en.christinesrecipes.com/2013/10/homemade-dried-mandarin-peels.html
- ↑ http://en.christinesrecipes.com/2013/10/homemade-dried-mandarin-peels.html
- ↑ http://en.christinesrecipes.com/2013/10/homemade-dried-mandarin-peels.html
- ↑ http://en.christinesrecipes.com/2013/10/homemade-dried-mandarin-peels.html
- ↑ https://nchfp.uga.edu/publications/uga/uga_dry_fruit.pdf
- ↑ https://nchfp.uga.edu/publications/uga/uga_dry_fruit.pdf
- ↑ http://en.christinesrecipes.com/2013/10/homemade-dried-mandarin-peels.html
- ↑ https://nchfp.uga.edu/publications/uga/uga_dry_fruit.pdf
- ↑ https://nchfp.uga.edu/publications/uga/uga_dry_fruit.pdf
- ↑ https://nchfp.uga.edu/publications/uga/uga_dry_fruit.pdf
- ↑ http://en.christinesrecipes.com/2013/10/homemade-dried-mandarin-peels.html




-Step-8.webp)


