X
wikiHow is a “wiki,” similar to Wikipedia, which means that many of our articles are co-written by multiple authors. To create this article, 13 people, some anonymous, worked to edit and improve it over time.
This article has been viewed 99,846 times.
Learn more...
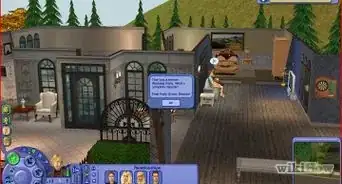
If you want to rework your Sims' floor plan in Sims 2, you may need to delete a few walls. The process is easy and intuitive, once you get started. First, you'll need to get into build mode – then, you can use the hammer tool or the "Walls" category to delete any section of wall that you don't need.
Steps
Method 1
Method 1 of 3:
Using the "Walls" Category (on a PC)
-
1Open Build Mode. It's the third button on the lower left section of the screen, with a saw and paint roller icon.
- You can also open Build Mode by pressing F3 on your keyboard.
-
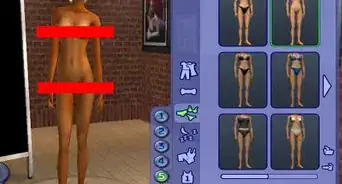
2Select the "Walls" category. While in Build Mode, find and select the "Walls" category. It should be clearly marked with a stylized wall-like icon.
- You don't need to choose between the wall tool or the room tools. When deleting walls, they all work the same.
Advertisement -
3Hover your mouse over the wall you want to delete.
-
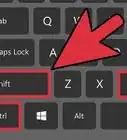
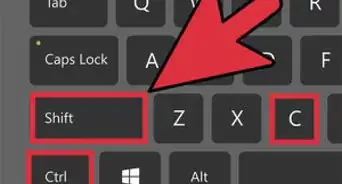
4Hold down Ctrl on your keyboard (⌘ Cmd on Mac). This will activate the wall-deletion function.
-
5Click and drag to remove wall sections. While holding down Ctrl or ⌘ Cmd, click and drag your mouse in the direction of the wall(s) that you want to delete, like you would when building a wall. The walls should disappear where you drag your cursor. When you're done, release the mouse button to delete the wall. Then release Ctrl or ⌘ Cmd.


Advertisement
Method 2
Method 2 of 3:
Using the Sledgehammer Tool (on a PC)
-
1Open Build Mode. Build Mode is the third button on the lower left section of the screen, with a saw and paint roller.
- Pressing F3 on your keyboard will also open Build Mode.
- The sledgehammer tool will delete walls in Buy Mode, too.
-
2Find the Sledgehammer tool. It's the hammer icon between the leftmost portion of the UI and the Build Mode tools. If you can't find it, press J to automatically select the tool.
- The sledgehammer tool was introduced in Pets. If you don't have Pets or later expansion packs, you'll need to use the wall-deletion tool instead.
-
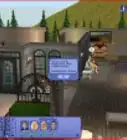
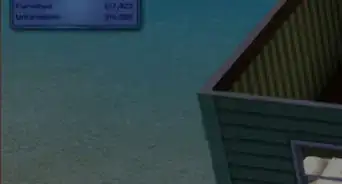
3Click the wall(s) you want to delete. With the sledgehammer tool active, click on the wall, and it should disappear.
- Make sure not to click on anything on the wall, like windows or wall decorations, or you'll delete the decoration rather than the wall.
- The sledgehammer tool only lets you delete one section of wall at a time.


Advertisement
Method 3
Method 3 of 3:
Removing Walls on Playstation 2
-
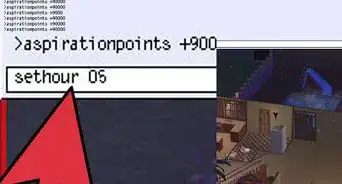
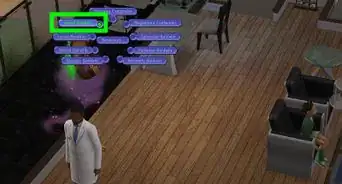
1Select "Walls and Fences". Scroll over to the tab for the Build mode part of the catalog. Hit the X button to select the Walls and Fences section.
-
2Now hit the Square button. This opens the removal wall and fencing tool.
-
3Place the wall tool where you need it. Now that you have the wall tool available, move it to one of the corners of the wall or the spot you wish to remove.
-
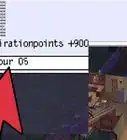
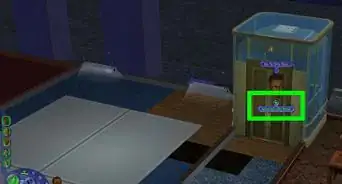
4Stretch the wall tool to cover the entire section you want to delete. First, press the X button. Then, stretch this wall tool out to cover the area you wish to remove by using your Left Analog stick till you have sufficiently covered the amount you want to remove.
- Notice that it has all X's on it and that it is green. This means you have selected to remove a wall or a fence and it is allowing you to do so].
-
5Delete the wall. Press the X button again to remove the wall section. Just hit the Triangle button to exit.


Advertisement
Warnings
- Be careful using the hammer tool. It can delete more than just the wall.⧼thumbs_response⧽
Advertisement


About This Article
Advertisement