This article was co-authored by wikiHow Staff. Our trained team of editors and researchers validate articles for accuracy and comprehensiveness. wikiHow's Content Management Team carefully monitors the work from our editorial staff to ensure that each article is backed by trusted research and meets our high quality standards.
There are 15 references cited in this article, which can be found at the bottom of the page.
This article has been viewed 78,333 times.
Learn more...
Finding fossils can be an adventurous and exciting hobby! Each discovery is a window into an ancient world, and you can often take a piece of that mystery home with you. Start by finding fossil sites to visit. Make sure to bring the proper tools for the type of fossil hunting you'll be doing, and then set off on your adventure!
Steps
Finding a Site
-
1Decide what kinds of fossils you want to hunt for. Different sites are going to have different kinds of fossils. For instance, one site might be heavy in plant life, while another area might have a lot of fish. If you're looking for a specific type of fossil, pay attention to any information listed about the sites you're looking at, as they'll usually let you know what you can find there.[1]
- Many sites are also classified by era. For instance, several sites in Virginia along the Potomac River have Miocene era fossils.
-
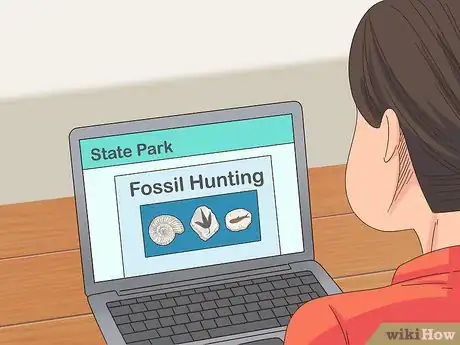
2Look for state parks that offer fossil hunting. While you may be required to get a permit, some state parks allow and even encourage fossil hunting. Check on your government's state park website to see if there are any in your area.[2]
- If you can't find what you're looking for by browsing the site, use the contact page to ask about state parks with fossil sites.
Advertisement -
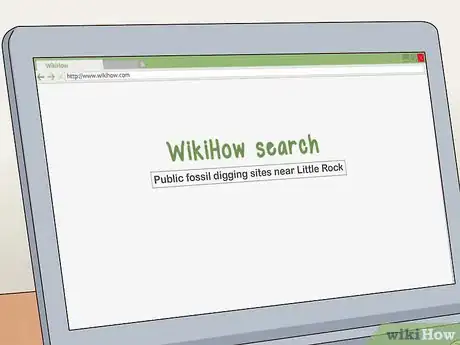
3Check your area for designated fossil sites open to the public. Many fossil sites are not located in parks. Instead, they are standalone sites. Do a quick internet search to see if there are any in your area.[3]
- For instance, you might search "public fossil digging sites near Little Rock, Arkansas."
-
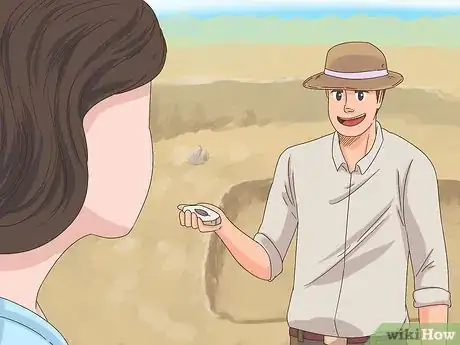
4Talk to your local natural history museum. Your natural history museum will likely be connected with paleontologists who go on digs around your area. They can give you tips on where to look or when there will be guided tours.[4]
- Ask at the help desk about guided tours.
- You might also find you have a local geological survey group that hosts guided digs.[5]
-
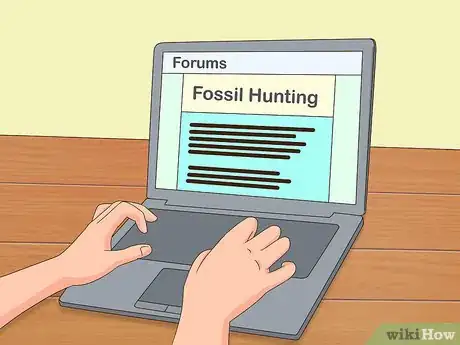
5Look on local fossil hunting forums or social media groups. While big sites will have good advertising, you can find many smaller sites just by checking in with local enthusiasts. Search social media for fossil-hunting groups or use a search engine to find forums about fossil hunting in your area.[6]
- For instance, you might learn that people find fossils just by walking along a local river.
Visiting a Site
-
1Bring supplies with you. While some sites have supplies on hand, others will leave you to your own devices. Call ahead to see what supplies your site offers, so you know what you need to bring.[7]
- If you're searching in a river, bring a sifting pan and bucket.
- For a fossil pit, bring a bucket of water or a spray bottle, as well as a toothbrush, to clean up the fossils you find. You may also want a small shovel.
- With shale sites, bring safety glasses and gloves, as well as a hammer and chisel if the site doesn't offer them.
- It's also good to have a vest or apron with pockets, snacks and water, sunscreen, an umbrella, and knee pads.
-
2Pay the fee. Many maintained fossil sites charge a fee for you to dig there. Often, the fee is nominal, such as $5 USD a person. However, some places do charge by the hour, so be sure to check ahead of time.[8]
- If the area isn't public land but it's not an official site, check with the land owner before hunting for fossils.
-
3Check for guided digs if you're new to fossil digging. At many sites, you can just go out and dig on your own. However, if you've never dug for fossils before, you might want to go on a guided dig. The guides will show you how to dig, as well as what you're looking for.[9]
- Plus, they'll help you identify anything you find.
- Some sites even offer nighttime guided tours in particularly hot areas.
- Check on minimum ages for digs if you have kids in your group.
Searching for Fossils
-
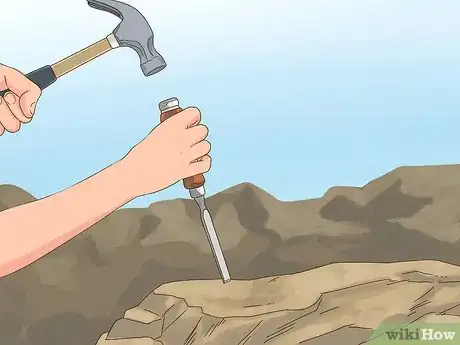
1Split shale to find fossils. Place a thin chisel on the flat top of shale near the edge. Tap the chisel lightly with a hammer, then move along the edge in either direction. Tap the chisel again. Keep moving along the same line near the edge, until a thin slab of shale falls off that side.[10]
- Shale is composed of many fine layers, originally formed by sediment settling on the bottom of a lake or river. It typically breaks easily and is smooth to the touch. Because it's made up of layers, it usually has defined edges, not rounded ones. It can be almost any color, but reddish clay-type shale is common.[11]
- The "flat top" is generally the thinnest edge with a flat area.
- Check the slab to see if you found any fossils!
- If you didn't find a fossil, keep working on the rock, breaking of thin slabs of shale each time. The thinner you can go, the better.
-
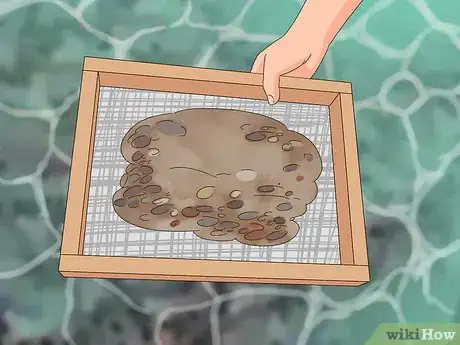
2Sift through river sand to find fossils. Wade into the water, and scoop a handful or trowel-ful of river gravel into your sifter. Place the sifter under the water to rinse off the excess dirt. Sort through what's leftover for fossils.[12]
- Most fossils will be black and hard. Some will be shiny. Watch for anything that looks like it has a pattern or a shape!
- You can also use a colander to sift.
-
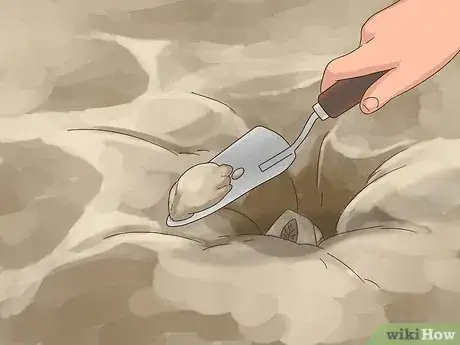
3Unearth fossils by digging in clay and sand. Use a small shovel to gently break up the dirt. As you do, look for small fossils, which can be anywhere from the size of a corn kernel up to the size of a golf ball. Bones mammals and reptiles can be much, much larger, of course. If you find a chunk you think might be a fossil, use some water to rinse it off.
- Most maintained sites will dig up or turn over big sections of earth that you can dig through with a small trowel.
- You can also rinse fossils off by the bucket. Take a small bucket of clay, and rinse it off in a river or with a hose. Pour out the mud over a colander or sift, letting the clay run through and leaving behind rocks and (possibly!) fossils.[13]
-
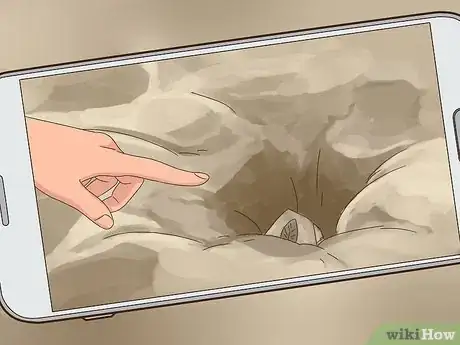
4Document where you found the fossil. It's good practice to keep records of where you find fossils if you're out on your own. The easiest way to do that is to take a photograph. When taking the photo, use your finger to point out where you found the fossil, and take the photo from multiple angles.[14]
- It's also good to write down the specific location, including the bed name if it has one.
- Put a label on the bottom of your fossil once you get home, then reference that label in your notes.
- Keeping track of details like this can also help when trying to date the fossil.
-
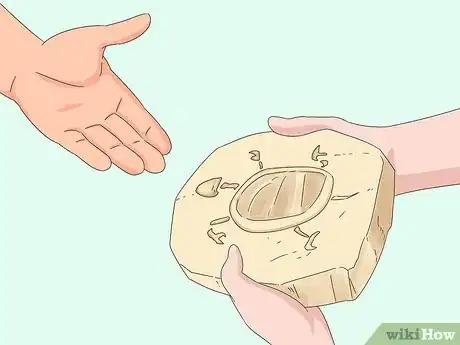
5Hand back any rare finds. While you'll likely be able to keep more common fossils, such as many fish and plant fossils, you may be asked to give up rare finds. Rare finds, such as mammals, birds, reptiles, and turtles, will usually go to a museum.[15]
Community Q&A
-
QuestionWho do I call if I find a major fossil?
 Community AnswerContact your local natural history museum or the archaeology department of a college/university in your area.
 -
QuestionHow do you find fossils in the playground?
 JLuckenbillCommunity AnswerWhile it's unlikely that you'll just stumble on a fossil on the playground, it is possible. The key is to keep your eyes open! Also, digging may help, if your school allows it. You may even find a fossil in the rocks if your playground has small pebbles under it's playground equipment for cushioning falls.
 -
QuestionWhat regions of the United States are best for finding dinosaur fossils?
 JLuckenbillCommunity AnswerDeserts are good areas for finding dinosaur fossils, mostly because the soil typically isn't covered by plant life. The western part of the United States is particularly good for finding dinosaurs.
Warnings
- Watch for poisonous snakes and other hazards.⧼thumbs_response⧽
- It is unlawful to trespass on private property, so if you do not know who owns the land, find out and get permission before do any exploring.⧼thumbs_response⧽
- Limit your exploration to your skill level. Do not go in dangerous terrain alone, and always take proper equipment.⧼thumbs_response⧽
- In the USA, when digging in developed areas, and especially in your own yard, always call 811 before you dig. The city will come out and mark your utility lines for free, saving you from damage, injury, and fines. See http://www.call811.com for details.⧼thumbs_response⧽
References
- ↑ http://mentalfloss.com/article/50997/10-states-fossil-hunting-sites-public
- ↑ https://roadtrippers.com/trips/20150022
- ↑ http://mentalfloss.com/article/50997/10-states-fossil-hunting-sites-public
- ↑ https://sciencing.com/fossil-hunting-oklahoma-6364739.html
- ↑ https://www.dmr.nd.gov/ndfossil/digs/
- ↑ https://sciencing.com/fossil-hunting-oklahoma-6364739.html
- ↑ https://roadtrippers.com/trips/20150022
- ↑ https://www.oregonpaleolandscenter.com/wheeler-high-school-fossil-beds
- ↑ https://roadtrippers.com/trips/20150022
- ↑ https://www.youtube.com/watch?v=bViXlYFRjqw&feature=youtu.be&t=13
- ↑ https://miningmatters.ca/school-programs/students/rock-and-mineral-identification-guides/rock-identification-guide
- ↑ http://canoeoutpost.com/peace/upload/pdf/howtofossilhunt.pdf
- ↑ https://paleobiology.si.edu/fossiLab/projects.html
- ↑ http://www.discoveringfossils.co.uk/fossil-hunting-guide/
- ↑ https://www.nationalgeographic.com/travel/intelligent-travel/2010/10/12/dig_your_own_fossils/

