X
This article was co-authored by Amber Rose. Amber Rose is a Licensed Cosmetologist and the Founder and Owner of Quality Style Weaves and Braids Salon in Orlando, Florida. With over ten years of experience, Amber is experienced in twists, braids, weaves, cutting, styling, and conditioning treatments. She specializes in hair growth for all hair types.
This article has been viewed 23,926 times.
Braids and buns are all the rage. What's better than merging them together into braided buns? The style possibilities are limitless. You can do the iconic braided buns that Princess Leia wore in Star Wars. You can also go for the more elegant single bun, made up of two French/Dutch braids or two rope braids.
Steps
Method 1
Method 1 of 3:
Making Space Princess Buns
-
1Pull your hair up into two pigtails. Part your hair down the center first. Next, pull the hair on each side into a pigtail, and secure it with a hair tie. For a more modern look, position them on the top of your head. To emulate a certain space princess, place them just above your ear.
-
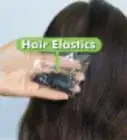
2Braid each pigtail and secure with a hair tie. Try to use a smaller or thinner hair tie if you can. This will help reduce bulk. If you have thin hair, consider teasing your hair first. This will give your braids more volume.[1]Advertisement
-
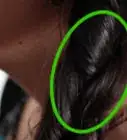
3Gently pull the braids apart for extra volume. Use your fingers to gently tug on the loops making up the braid. This will make your braided buns look fuller.[2] If you have very thick hair, you can probably skip this step.
-
4Wrap one braid around the base of the pigtail in a spiral. You can wrap it towards or away from the hairline. Be sure to tuck the end of the braid under the bun so that it is not visible. Hold the bun steady with your hand as you prepare for the next step.
-
5Secure the bun to your head using bobby pins. Make sure that you keep the end of the braid tucked under the bun as you pin everything in place.
-
6Repeat the process on the other side. Make sure that you wrap the braid in the same direction as the first bun, either towards or away from the hairline. Secure the bun with bobby pins.
-
7Finish it off. At this point, you are ready to rock your style. If you spray the buns with hairspray from extra hold. If you'd like, you can also pull out a few wisps of hair at your temples, and curl them with a curling iron.[3]
Advertisement
Method 2
Method 2 of 3:
Making a French or Dutch Braided Bun
-
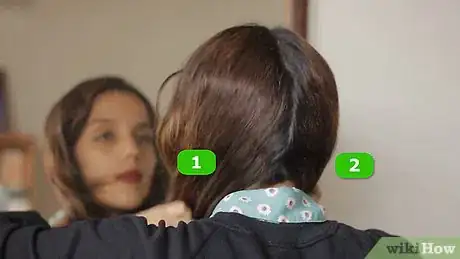
1Part your hair down the center. You will be creating two Dutch or French braids, one on each side of your head, then twisting them into a bun.
-
2Start a French braid or Dutch braid on one side.[4] It does not matter which side you start on. You will be braiding the other side of your hair later. If you'd like, you can secure the other side with a clip or a hair tie to keep it out of the way.
- A French braid blends into your hair. You cross the strands of hair over each other.
- A Dutch braid sticks out. You cross the strands of hair under each other.
-
3Keep braiding until you reach the nape of your neck. Do a regular braid for two more cross-overs, then secure it with a hair tie. The color of the hair tie does not matter. It is only temporary, and you will be taking it out later.[5]
-
4Repeat the process on the other side of your head. You do not need to tie this braid off, but hold onto it tightly.
-
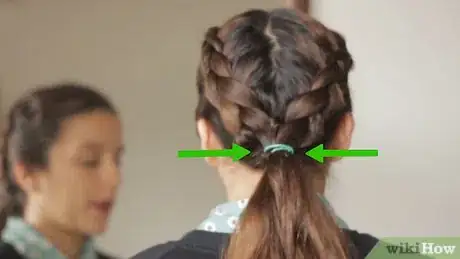
5Gather both braids into a ponytail. Remove the hair tie from the first braid, and use it to tie everything together into a low ponytail.[6]
-
6Twist the ponytail into a bun. Twist the ponytail into a rope first, then wrap it around the base into a bun. Tuck the end of the ponytail under the bun, and hold it securely.[7]
-
7Secure the bun with bobby pins. Start pinning the bun in place at the top, then work your way down the sides and bottom.
-
8Finish it off. If you want extra volume, use your fingers to gently tug on the loops making up the French or Dutch braids. When you are done, give your braids and bun a spritz with hairspray.[8]
Advertisement
Method 3
Method 3 of 3:
Making a Rope Braided Bun
-
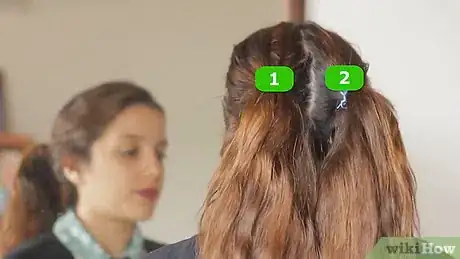
1Pull your hair up into two ponytails.[9] Part your hair down the center first, then pull each half up into a ponytail. They should be close together, to either side of the hairline, and about 1 to 2 inches (2.54 to 5.08 centimeters) apart. You need them close because you will be twisting them into one bun.
-
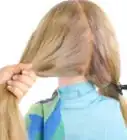
2Twist your ponytails into rope braids.[10] Divide your first ponytail into two sections. Twist each section into a rope. Next, twist the two ropes into a thicker rope; make sure that you are twisting in the opposite direction. Secure the rope with a hair tie. Repeat this step for the other ponytail.
- Use clear elastics, if you can.
- If your hair is thin, you can muss up the rope braids with your fingers for extra volume.
-
3Wrap the right braid into a bun around both ponytails. Wrap the braid going counter-clockwise. Pull it over the left braid, then under it. Keep doing this until you run out of hair. Leave the center empty, like a doughnut.[11]
- Secure the bun with bobby pins as you go.
-
4Secure the bun. Tuck the end of the braid under the left braid. Secure it with more bobby pins.
-
5Wrap the left braid into a bun. Make sure that you go counter-clockwise, as before. This time, however, wrap it into a spiral in the center of the "doughnut" or ring. Secure it with more bobby pins as you go. Be sure to tuck the end of the braid out of sight.[12]
-
6Finish it off. Tuck in any loose pieces with more bobby pins. You can also opt to leave them alone for a messier look. When you are done, spray your bun with hairspray.
Advertisement
Community Q&A
-
QuestionWill this hairstyle stay while I'm sleeping if I have curly hair?
 Community AnswerIt depends on whether or not you toss around much when you sleep. These buns will probably be very disheveled if you wear them to bed. It is best to wrap a scarf around your head when you sleep, to protect your buns from falling out.
 -
QuestionIs there something I can use instead of hairspray?
 Community AnswerUse some mousse while your hair is still wet. Hairspray is the best option, though.
 -
QuestionCan I do them without plaits?
 Community AnswerSure. Just twist the hair instead of plaiting the hair, and wrap it the opposite way you twisted.
Advertisement
Things You'll Need
- Hair ties
- Bobby pins
- Brush
- Hairspray
References
- ↑ https://www.youtube.com/watch?v=Pu5W7DejuII
- ↑ https://www.youtube.com/watch?v=Pu5W7DejuII
- ↑ https://www.youtube.com/watch?v=Pu5W7DejuII
- ↑ http://www.seventeen.com/beauty/hair/how-to/a22062/braid-bun-hairstyle/
- ↑ http://www.seventeen.com/beauty/hair/how-to/a22062/braid-bun-hairstyle/
- ↑ http://www.seventeen.com/beauty/hair/how-to/a22062/braid-bun-hairstyle/
- ↑ http://www.seventeen.com/beauty/hair/how-to/a22062/braid-bun-hairstyle/
- ↑ http://www.seventeen.com/beauty/hair/how-to/a22062/braid-bun-hairstyle/
- ↑ http://thebeautydepartment.com/2012/09/double-rope-braid-bun/
About This Article
Advertisement
