This article was co-authored by Lydia Shedlofsky, DO. Dr. Lydia Shedlofsky is a Resident Dermatologist who joined Affiliated Dermatology in July of 2019 after completing a traditional rotating internship at Larkin Community Hospital in Miami, Florida. She earned a Bachelor of Science in Biology at Guilford College in Greensboro, North Carolina. After graduation, she moved to Beira, Mozambique, and worked as a research assistant and intern at a free clinic. She completed a Post-Baccalaureate program and subsequently earned a Master's Degree in Medical Education and a Doctorate of Osteopathic Medicine (DO) from the Lake Erie College of Osteopathic Medicine.
There are 7 references cited in this article, which can be found at the bottom of the page.
wikiHow marks an article as reader-approved once it receives enough positive feedback. This article received 32 testimonials and 95% of readers who voted found it helpful, earning it our reader-approved status.
This article has been viewed 1,051,585 times.
A good facial leaves your facial skin smooth, bright, and flushed. It's fun to get a facial at a spa, but you can get the same great results in the comfort of your home without spending any money. Start by thoroughly cleansing and exfoliating your skin, then use a steam treatment and mask to draw impurities from your pores. Finish with toner and moisturizer to help your skin look beautifully soft and refreshed.
Steps
Cleansing and Exfoliating Your Face
-
1Pull your hair back from your face. Use a headband, hair band, or bobby pins to pull back your hair and bangs so your face is fully exposed. You don't want it to get in the way during your facial.
-
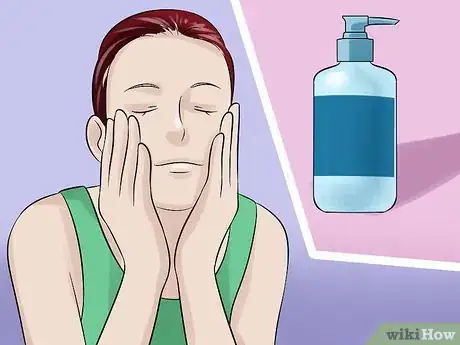
2Wash your face with gentle cleanser. Use your favourite facial cleanser to remove make-up and wash your face. Use warm water, instead of cold or hot, since warm water is the best temperature for delicate facial skin.
- Be sure to remove all of your make-up before you continue with the facial.
- If you're in the mood to try something new, use the oil cleansing method to wash your face. Apply almond, jojoba or olive oil to your face, then wipe it away with warm water. This is an excellent way to remove make-up without damaging skin.
Advertisement -
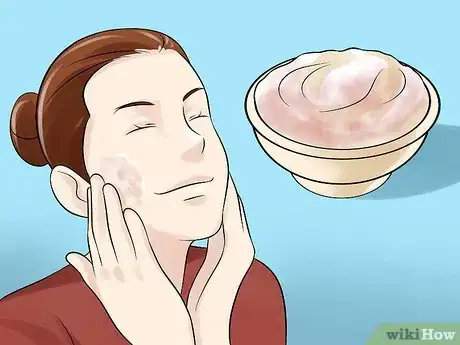
3Use a facial scrub or another exfoliant. Dead skin cells build up on the face and leave it looking a little dull. Ex-foliating your skin to brighten it up is an essential part of any facial routine. Use your favourite facial scrub to gently rub away the dead skin. If you don't have a scrub, you can make your own. Try these simple combinations:[1]
- 1 teaspoon sugar, 1 teaspoon honey, and 1 teaspoon milk
- 1 teaspoon ground oatmeal, 1 teaspoon honey, and 1 teaspoon olive oil
- 1 teaspoon ground almonds, 1 teaspoon honey, and 1 teaspoon water
-
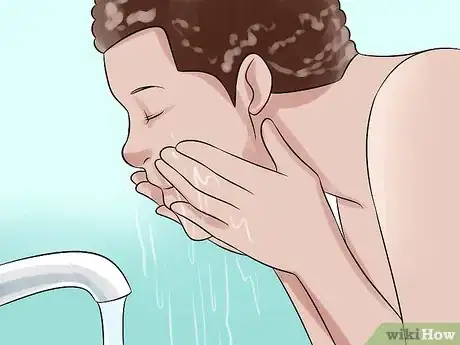
4Rinse your face and pat it dry. Give your face a final rinse to remove all traces of your facial scrub. You may need to use a washcloth dipped in warm water to remove scrub from around your eyes and nose. Finish by patting your face dry with a soft towel.
-
5Give yourself a facial massage. Massage increases circulation, leading to brighter, healthier skin. Now that your face is clean, give yourself a massage before moving to the next phase of your facial. Use your forefinger and middle finger to massage your face in a gentle circular motion.[2]
- Massage your forehead, starting in the middle and moving down to the temples.
- Massage your nose and cheeks.
- Massage your lips, chin, and jaw.
Purifying Your Pores
-
1Do a steam treatment. Boil a small pot of water on the stove. Turn off the heat and stand over the pot with a towel draped over your head, so that the steam coming from the water will be trapped around your face. Steam your face for five minutes or so, making sure to come up for air when you need to. Steaming helps to open your pores in preparation for a facial mask, which draws out impurities.[3]
- For a more luxurious experience, add some essential oils to the water. You'll get a steam and aromatherapy treatment in one. Try a few drops of lavender, lemongrass, rose, or grapefruit essential oil to lift your spirits.
- If you don't have essential oils, throw a few herbal tea bags into the water. Chamomile, chai and peppermint tea all have aromatic herbs.
-
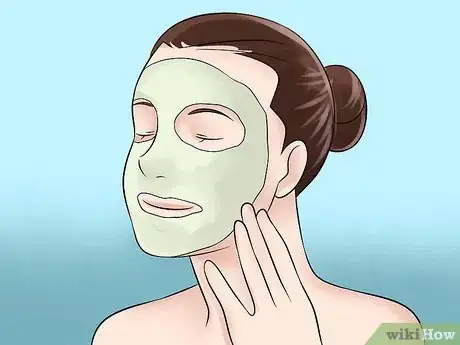
2Make a facial mask. Next up is a facial mask, which will draw out impurities (like dirt and dead skin) from your pores. You can buy a facial mask product from the store, but it's easy and fun to make your own at home. Try one of the following masks:[4]
- For dry skin: mix 1 mashed banana and 1 tablespoon honey
- For medium skin: mix 1 tablespoon aloe and 1 tablespoon honey
- For oily skin: mix 1 teaspoon cosmetic clay and 1 teaspoon honey
- For any type of skin: use plain honey, which has antibacterial and moisturizing properties perfect for any skin type
-
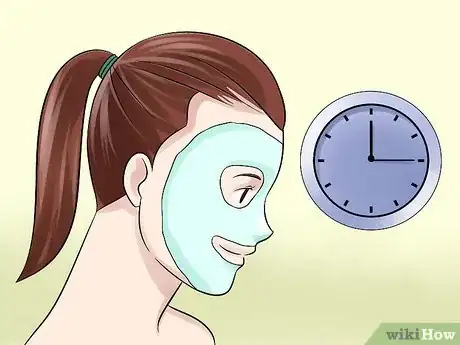
3Apply the mask for 15 minutes. Smooth it over your skin, then wait for it to do its magic. In the meantime, why not give yourself an eye treatment? Lie back and place two cool cucumber slices over your closed eyes. If you don't have cucumbers, two chilled tea bags work just as well.
-
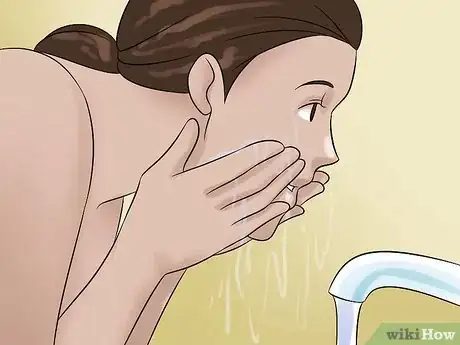
4Rinse your face and pat it dry. Use warm water to remove all traces of the facial mask. Be sure to remove the honey from around your eyes and nose, since if you leave it in place it will feel quite sticky.
Toning and Moisturizing Your Skin
-
1Apply a homemade toner. Toner helps to brighten the skin and restore its balance. You can use a store-bought toner, but many products you probably have on hand at home work just as well. Try one of the following homemade toners:[5]
- 1 tablespoon apple cider vinegar mixed with 1 tablespoon water
- 1 tablespoon witch hazel mixed with 1 tablespoon water
- 1 tablespoon rosewater mixed with 1 tablespoon water
-
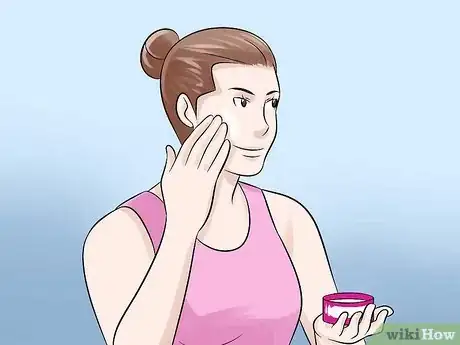
2Finish with a creamy moisturizer. The final step is to apply moisturizer that suits your skin type. Moisturizer will keep your skin from drying out, preserving the results of your facial.[6] Look for a facial moisturizer that doesn't contain alcohol, since this can cause your skin to dry out more quickly.
- If you want to use a homemade, all-natural moisturizer, try argan oil, almond oil or jojoba oil.
- Aloe is another great natural moisturizer that has healing properties as well. It's especially useful if you're recovering from a sunburn.
-
3Wait a few hours before applying makeup. Wait a little while before you start your regular makeup routine to give your facial skin the chance to rest and reap the full benefits of your facial.[7] Makeup normally contains alcohol and a wide range of chemicals, and applying it right after exfoliating your face and cleaning your pores could cause irritation.
Expert Q&A
-
QuestionWhat do you need for a facial at home?
 Lydia Shedlofsky, DODr. Lydia Shedlofsky is a Resident Dermatologist who joined Affiliated Dermatology in July of 2019 after completing a traditional rotating internship at Larkin Community Hospital in Miami, Florida. She earned a Bachelor of Science in Biology at Guilford College in Greensboro, North Carolina. After graduation, she moved to Beira, Mozambique, and worked as a research assistant and intern at a free clinic. She completed a Post-Baccalaureate program and subsequently earned a Master's Degree in Medical Education and a Doctorate of Osteopathic Medicine (DO) from the Lake Erie College of Osteopathic Medicine.
Dermatologist It depends on the patient skin type, lesions and goals of the facial. Discuss the situation with a board-certified Dermatologist to help determine your needs and to receive product recommendations.
 -
QuestionWhat are the possible side effects of doing a facial?
 Lydia Shedlofsky, DODr. Lydia Shedlofsky is a Resident Dermatologist who joined Affiliated Dermatology in July of 2019 after completing a traditional rotating internship at Larkin Community Hospital in Miami, Florida. She earned a Bachelor of Science in Biology at Guilford College in Greensboro, North Carolina. After graduation, she moved to Beira, Mozambique, and worked as a research assistant and intern at a free clinic. She completed a Post-Baccalaureate program and subsequently earned a Master's Degree in Medical Education and a Doctorate of Osteopathic Medicine (DO) from the Lake Erie College of Osteopathic Medicine.
Dermatologist Side effects of using the wrong product or the incorrect frequency may be as mild as not getting the desired results with wasted monetary resources, or as intense as permanent scarring.
 -
QuestionHow can I tell what type of skin I have?
 Community AnswerLook at key areas on your skin. If you are prone to getting acne in your t-zone/chin, you have oily skin. If your skin is patch or flaky (easily seen when applying makeup), you probably have dry skin.
Things You'll Need
- Face cleanser
- Facial scrub
- Pot with water
- Facial mask
- Toner
- Moisturizer
- Towels
References
- ↑ https://www.homemadeforelle.com/10-simple-exfoliating-face-scrubs/
- ↑ https://cleanbeauty101.follain.com/facial-massage-steps/
- ↑ https://www.ebony.com/do-it-yourself-at-home-steam-facial/
- ↑ https://www.realsimple.com/beauty-fashion/skincare/homemade-facial-masks
- ↑ https://www.diynatural.com/homemade-facial-skin-toner/
- ↑ Lydia Shedlofsky, DO. Dermatologist. Expert Interview. 14 May 2021.
- ↑ https://www.makeup.com/complete-guide-to-facials
About This Article
To do a facial at home, start by using a gentle cleanser and exfoliating scrub to slough away dull and dead skin. Next, do a facial steam treatment for about 5 minutes to open up your pores, then apply a face mask that benefits your skin type. Leave the mask on for about 15 minutes so it can draw out impurities, then rinse it away and pat your skin dry. Finish up with a toner and moisturizer! To learn how to mix up your own exfoliating scrubs and facial masks at home, read on!
