wikiHow is a “wiki,” similar to Wikipedia, which means that many of our articles are co-written by multiple authors. To create this article, 100 people, some anonymous, worked to edit and improve it over time.
This article has been viewed 690,515 times.
Learn more...
You're in the mood to draw a frog—and why wouldn't you be? These adorable, semi-aquatic creatures are the perfect subject for any doodle or drawing; plus, they're really easy to sketch out. We've put together 3 tutorials to help you draw 3 very different types of amphibious friends. Hop on down to the article and give them a try!
Steps
Cartoon Frog
-
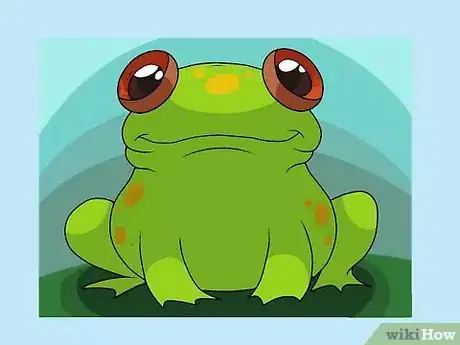
1Sample cartoon frog.
-
2Draw two horizontally-elongated ovals, which overlap each other. The top oval is smaller compared to the other.Advertisement
-
3Add two rings on the left and right sides of the upper oval. This will be for the frog’s big eyes.
-
4Draw the details of the frog’s face using curves.
-
5Draw the details for the frog’s limbs using curves. Draw the webbed feet.
-
6Refine the body using curves.
-
7Trace with a pen and erase unnecessary lines.
-
8Color to your liking!
General Frog
-
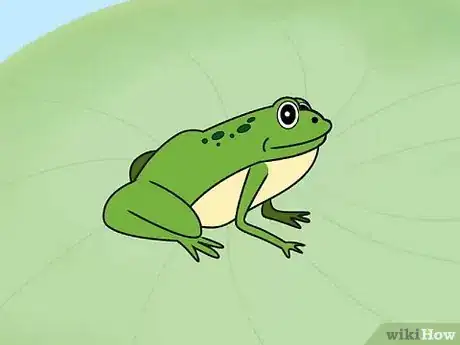
1Sample general frog.
-
2Start by drawing an elongated shape and then make its left side pointy. Then, add two small circles on the uppermost right part of the shape.
-
3Draw its hind legs and front legs next. Sketch a bumpy line for its nostrils and mouth.
-
4Add in details such as his eyes, his dimpled grin and his stomach.
-
5Add a final touch; small circles to illustrate the freckled skin of the frog.
-
6Outline your drawing with a black pen or marker and then clean up the penciled sketch with an eraser.
-
7Color it in and you’re done. Use colors such as dark green, yellow-green, and cream or white.
Traditional Frog
-
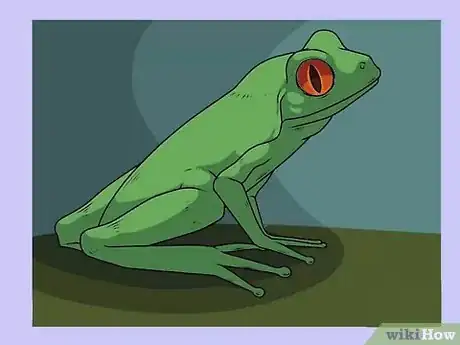
1Sample traditional frog.
-
2Draw an elongated oval that's tilted in the upper right direction. Draw a circle which overlaps the upper part of the oval.
-
3Draw the hind legs, using straight lines to provide the framework. Draw this connected to the rear part of the frog.
-
4Draw the front limbs. Use straight lines connected to the middle part of the oval.
-
5Refine the head by using curved lines. Add details for the eyes, mouth, and nose.
-
6Trace with a pen and erase unnecessary lines.
-
7Refine and color the drawing as you like!
Community Q&A
-
QuestionHow can I improve at drawing?
 ClovieCommunity AnswerPractice is the only way to get better at anything, including drawing. If you'd like to improve at drawing, keep a sketchbook and make it a goal to draw regularly. You can look at tutorials and books to help you learn, and look at other people's art for inspiration.
 -
QuestionIs there a way to make it in a faster way, or no?
 Community AnswerYou should go at the pace that works best for you. Don't rush, you'll get faster with practice.
 -
QuestionHow do I draw a cane toad?
 AlwaysLookinOut4UCommunity AnswerSimilarly to frog, but you make it bigger, add bumps and use different colors.
Things You'll Need
- Paper
- Pencil
- Eraser
References
- DeviantArt.com -Froggie a wallpaper based on the above technique
About This Article
To draw a frog, first draw an elongated shape with a pointy lower left side. Then, add 2 small circles to the upper right side for eye bumps. Next, draw hind legs on the bottom left of your shape and front legs on the bottom middle. Once you're finished with the legs, sketch a bump under the eyes for a nose and mouth. Also, add a pouch for the stomach, as well as a dimpled grin under the mouth and nose. Finally, add some spots on top of your frog to finish it up. To learn how to draw a more traditional-looking frog using both straight and curved lines, keep reading!
