wikiHow is a “wiki,” similar to Wikipedia, which means that many of our articles are co-written by multiple authors. To create this article, 11 people, some anonymous, worked to edit and improve it over time.
wikiHow marks an article as reader-approved once it receives enough positive feedback. In this case, 96% of readers who voted found the article helpful, earning it our reader-approved status.
This article has been viewed 171,297 times.
Learn more...
Acorns, the nut from oak trees, are a commonly harvested food that are eaten raw or used in recipes. Acorns usually ripen and fall in September and October. There is often an overabundance of acorns and they can alternatively be used for crafts. Children can use them to make murals, buttons and other creations, or adults may use them to frame mirrors and candle holders. Whatever acorn crafts you have in mind, there are a few best practices to follow when drying acorns for crafts. Insects often hide inside the shell and you can safely and effectively destroy the risk of future insect problems. This article will tell you how to dry acorns for crafts.
Steps
-
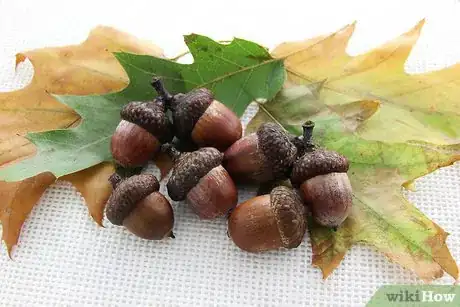
1Harvest acorns from red and white oak trees as soon as they fall off the trees, if possible. They may be green, tan or brown. The more time they are on the ground, the higher the possibility will be that they may be attacked by insects.
- Acorns are a large portion of a squirrel's diet. They are quick to harvest the best acorns, and you will see them actively hunting when the acorns are ripe.
-
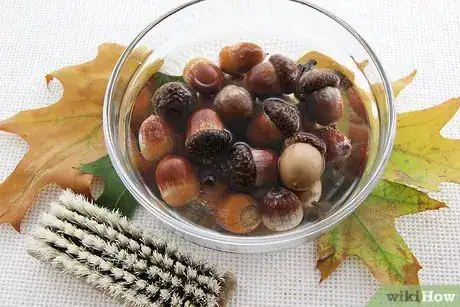
2Place your acorns in a bowl of water to rinse them. Brush them gently with a nylon brush to remove dirt, insect larvae and leaves.[1]Advertisement
-
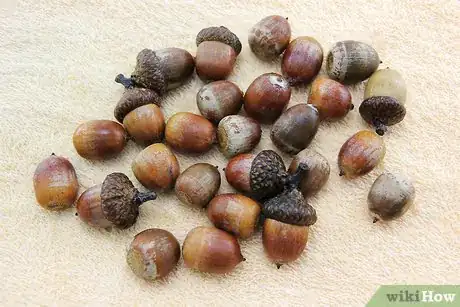
3Lay your acorns out across a towel to dry them for 1 hour. Throw away any nuts that are already molding or decaying. These nuts will not retain the look of healthy nuts in your craft projects.
- If you find any acorns with tiny holes in them, this is a sign that insects have been inside them. Drying them for crafts will kill the insects so it is up to your discretion whether you want to save these acorns.[2]
-
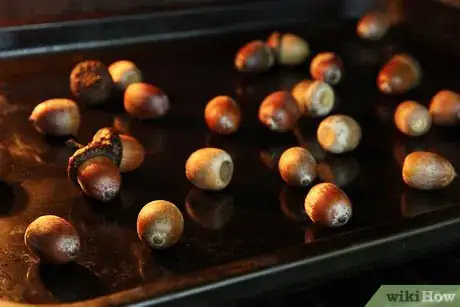
4Preheat your oven to 175 degrees Fahrenheit (79 degrees Celsius). Lay your acorns in a single layer on a cookie sheet with a lip on it. Place your acorns in the preheated oven.[3]
-
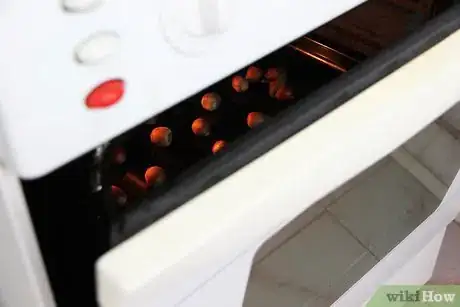
5Leave the oven door cracked slightly. This will allow the moisture to escape from the acorn kernels as they dry.[4]
-
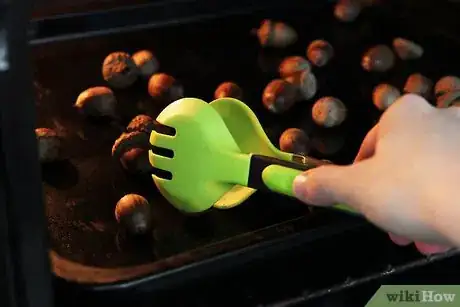
6Turn the acorns every 30 minutes. Leave the acorns in for 1 1/2 to 2 hours, to ensure they dry completely. Remove them from the oven when they have dried.
-
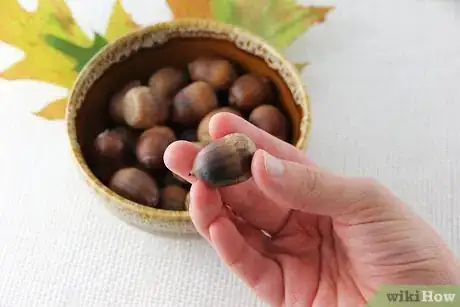
7Turn the oven off. Remove any acorns that may have burned in the process of drying. Allow your acorns to cool on a wire rack for an hour before attempting to use them.
-
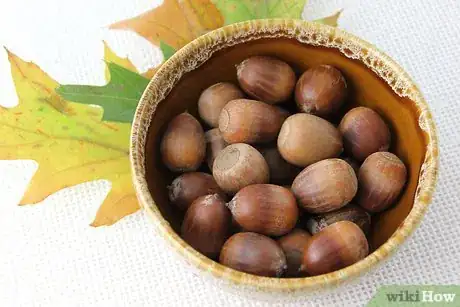
8Use your acorns for crafts. You can attach them using glue or hot glue. Look for acorn craft ideas in magazines, blogs or crafting books.
Community Q&A
-
QuestionHow do I maintain the color of the acorns when drying them?
 Beth H.Community AnswerYou can use clear acrylic to preserve and protect them.
 -
QuestionDo I have to clean acorn caps too before using them for crafts?
 Community AnswerYes, if you want them preserved for a longer time period; otherwise, your caps will age and your nuts will not.
 -
QuestionHow long would these dried acorns last?
 Community AnswerOnce they are dry, they should last as long as needed, as long as they aren't re-wetted. To further prevent the chance of mold growth (from moist environments), seal the nuts with a craft or wood varnish of your choice.
Things You'll Need
- Freshly harvested acorns
- Oven
- Water
- Towels or paper towels
- Cookie sheet
- Aluminum foil
- Bowl
- Nylon brush
References
- ↑ https://modpodgerocksblog.com/how-to-dry-acorns/
- ↑ https://lifeatcloverhill.com/2012/09/how-to-dry-acorns-for-fall-crafts.html
- ↑ https://anextraordinaryday.net/tips-for-preparing-acorns-for-decorating-and-crafting/
- ↑ https://anextraordinaryday.net/tips-for-preparing-acorns-for-decorating-and-crafting/
- http://tipnut.com/acorn-crafts/
- http://www.backwoodshome.com/articles2/clay79.html
