This article was co-authored by wikiHow Staff. Our trained team of editors and researchers validate articles for accuracy and comprehensiveness. wikiHow's Content Management Team carefully monitors the work from our editorial staff to ensure that each article is backed by trusted research and meets our high quality standards.
There are 8 references cited in this article, which can be found at the bottom of the page.
The wikiHow Video Team also followed the article's instructions and verified that they work.
This article has been viewed 49,538 times.
Learn more...
Dried corn cobs are ideal for autumn decor, especially when bound at the husks to form a bouquet. They’re not purely ornamental – the dried kernels can also stored for cooking, whether you shell them for popping, grind them up for cornmeal, or make homemade hominy. They’re also suitable for animal feed, from farm stock to backyard wildlife. Your drying method will depend on the kind of corn you’re using, but all methods take time and patience. You can dry sweet corn out in an oven at a low temperature and leave Indian corn out to air-dry.
Steps
Drying Sweet Corn
-
1Pick out your cobs. Sweet corn is the typical kind of edible corn you'll find at most grocery stores. While its peak season is May to September, you can often find it year-round if it's imported.[1]
- There's effectively no difference between white and yellow sweet corn aside from color, so pick whichever you prefer.[2]
- Feel the cob through the husk before putting it in your basket. If you feel gaps where kernels are missing, put the cob back – no matter your end goal, you want as many kernels as possible.
- Avoid corn that feels soft, as this could be a sign of mold or rot.
-
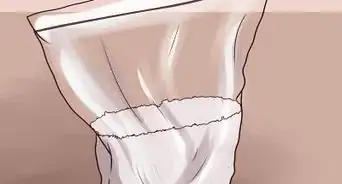
2Remove the husks and silks. Once you've brought your cobs home, peel back the husks. Discard the corn silks, or the thin fibers that grow inside the ear of corn.Advertisement
-
3Blanch the corn cobs by bringing a large pot of water to a boil. Make sure your chosen pot is large enough to accommodate all the ears of corn you want to dry. Place the ears of corn in a wire basket. Lower it into the boiling water, and let it boil uncovered for two to five minutes. [3]
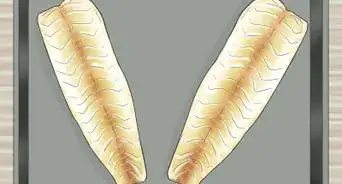
- You can cut the cobs in half crosswise before blanching. This will make it easier to dry them fully.
-
4Fill a large bowl with ice water. Place it on a countertop near the stove. Lift the wire basket of corn from the pot. Dunk it into the ice water straightaway to stop the cooling process, ensuring each cob is submerged. Leave it there for three to five minutes and move on to the next step while it cools.
-
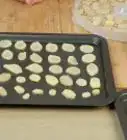
5Place the corn cobs on one or two baking sheets. Once your cobs have cooled down, lift the basket from the bowl of ice water and drain it. Dry the cobs gently with a cloth or paper towel. Lay them on the baking sheet or sheets, keeping them 2 to 3 inches apart ensure they'll dry evenly.
-
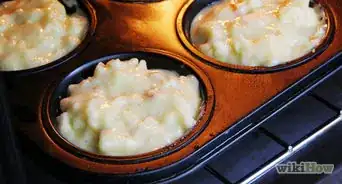
6Turn your oven on to 140 °F (60 °C). Place the baking sheet or sheets on the oven racks, leaving the oven door ajar by about 5 inches (13 cm) to promote free air circulation.
-
7Leave the corn cobs there for 8 hours, rotating each ear halfway through. Repeat this step until the corn cobs are thoroughly dry and feel brittle.
- It may take three or four 8-hour drying sessions over the course of multiple days to complete this process.
- To speed things up and minimize oven usage, you can turn the heat to 175 °F (79 °C) and leave the oven door closed for a single 8-hour period. Then you can complete the process by air drying them on a rack for one or two days. However, you'll need to check the corn cobs and rotate every hour or two while they're in the oven to prevent browning or scorching.
-
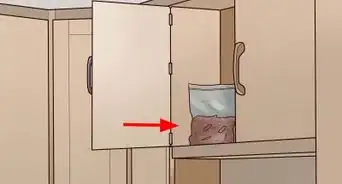
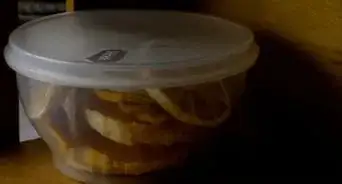
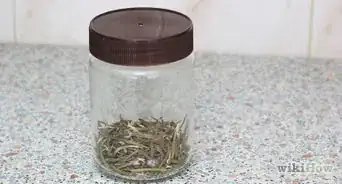
8Store the dried cobs in an airtight container in a dry, conditioned environment. They may last for years in proper storage – just check them periodically for insects or rot. [4]


Drying Indian or Calico Corn
-
1Source your Indian – also known as calico – corn. Farmers pick these colorful varieties when they're already dried, or dry them manually on the cob before delivering them to market. [5] If you find some at the store, you may not need to take any additional steps. If you're picking them yourself, however, you'll need to know what to do.
-
2Wait to harvest until your corn is dry. You'll know it's time when the tassels – the pieces of silk that emerge from the top of the ear of corn – turn brown and the husks are no longer green.[6]
- If you planted in May, the corn will likely be ready by September, depending on regional conditions.
- If you live in a wet climate, you may want to harvest the corn before the rain arrives for drying indoors.
-
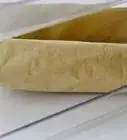
3Pick the corn by pulling briskly downward on the ears. Be sure to leave the husk on, since this will help with the drying process and add a decorative touch.[7]
-
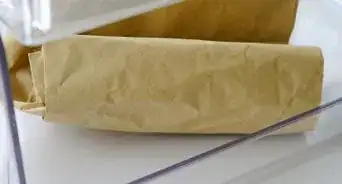
4Place the harvested corn on a drying rack in a heated, low-humidity indoor area. Alternatively, you can bind the husks with twine and hang them up from a clothesline. The idea is that you want as much exposure to the air as possible.[8]
-
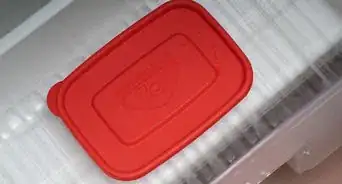
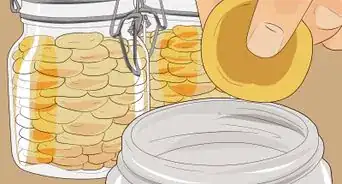
5Leave the ears of corn out to dry out for a week. If you press on a kernel, you shouldn't be able to make a dent, as it will be completely hardened from the drying process. Store these cobs in an airtight receptacle in a dry, heated area of your home.


Warnings
- Before drying, inspect each ear of corn for signs of rot or insect infestation. Don't use cobs that aren't in good condition.⧼thumbs_response⧽

References
- ↑ https://www.almanac.com/plant/corn
- ↑ https://www.thekitchn.com/whats-the-difference-between-white-and-yellow-corn-233298
- ↑ https://extension.psu.edu/preserving-sweet-corn-successfully
- ↑ https://www.lakehaven.org/202/Shelf-life-of-Foods-for-Storage
- ↑ http://www.uky.edu/ccd/sites/www.uky.edu.ccd/files/orncorn.pdf
- ↑ http://www.uky.edu/ccd/sites/www.uky.edu.ccd/files/orncorn.pdf
- ↑ https://www.youtube.com/watch?v=7i6wdbSAOCU
- ↑ https://www.youtube.com/watch?v=7i6wdbSAOCU
- ↑ https://web.extension.illinois.edu/state/newsdetail.cfm?NewsID=7924
About This Article